WeBoost Cell Booster, does it work?

IMG_0864.jpeg

Cell phones, as we all know, are relatively thin handheld devices. But as thin as they may be, there is a lot of technology sandwiched between the front and back. Cameras, processors, batteries and antennas, just to name a few. Those last two are what we’re going to focus on here. Antennas pick up radio signals. Not rocket science, I know. Where it gets interesting is when you start to block the antennas. You know, that really cool, super indestructible metal case that you placed over your brand new $1000 smart phone so you could protect your investment. Yeah, that blocks the cell signals. Ok, so you don’t have a metal one. Maybe you’re rocking the old school Otterbox or some other type of plastic case like a Lifeproof. Well, guess what? They affect the cell signal too. Sometimes it’s not even what is physically on the phone, it could be what’s around the phone too. Trees, mountains, valleys, buildings. Do you think radio signals pass through solid objects very easily? Think about when you’re in your car. It’s a big metal object isn’t it? Do you think that will affect the cell signal? As a matter of fact, anything that is placed on or over the phone will affect the cell signal in some way.

Great, so we’ve established that objects and even your environment can affect cellular signals. Ground breaking stuff, I know. But did you know that it will directly affect how long you can use your phone too? What a lot of people fail to make a correlation between is that other thing I previously mentioned above. The battery. Think about it. Have you ever noticed when you have poor cell reception, your battery dies a lot faster? Your phone is constantly looking for the best signal it can get. Switching from frequency to frequency searching out that high speed LTE signal. All the while, you battery is slowly creeping down. I bet you didn’t know that if you have poor cell coverage, you can actually prolong your battery life by switching off 4G LTE and leaving it on 2G/3G. That’s a little pro tip for you.

Cell boosters, let’s start off by stating what a cellular booster does. I’m not an expert by any means, so we’re going to keep this as simple as possible. An exterior mounted antenna picks up a cellular signal and sends it, via wired connection, to the booster module. The booster module then amplifies or “boosts” the signal and sends it, via wired connection, to an antenna mounted in the interior. This antenna then transmits the cellular signal wirelessly to your devices. That’s about as simple as I can make it.

Here’s a scenario. Let’s imagine that we’re rolling along in our car and we notice our cell reception is just teetering on one bar of LTE. We pull over and step out of the vehicle. Alas, we have three to four bars of LTE. So what gives? Like I said before, anything around the cell phone that stands between the antenna and the radio signal will affect the strength of the signal. The big metal box on four wheels that you just stepped out of is no exception. Now let’s look at the same scenario, but with a booster installed. One bar of LTE, we simply switch on the booster and boom, three bars of LTE. Pretty cool huh? The booster basically takes the affects the car has on the signal out of the equation. It’s almost like you’re standing outside.

IMG_6711.jpeg

To be 100% clear here, cell boosters boost signals. They do not create signals or connections. So if you don’t have a signal, guess what, you still don’t have a signal even with the booster on. You may get lucky and pick up one bar, but it’s unlikely. Oh, and speaking of bars of service. It’s a lie. That little icon at the top of your phone is there to make you have warm and fuzzy feelings inside. Don’t believe me? Have you ever had a hard time pulling up a webpage or loading an app, even though your phone says you have a good LTE connection? Yep, that’s what I’m talking about. If you want a real representation of what your signal is, just google “cell signal in dB” and you’ll find out how to pull it up on your phone. WeBoost also has a good write up on this on their support page.

One other thing I have to give WeBoost credit on is how easy they make installing and setting up the booster. Each component in the box is labeled in order of installation, making it a foolproof install. The hardest part we had was figuring out where we wanted to mount the exterior antenna and how to run the wire inside. They have some great reference video’s on their webpage and YouTube channel to help with that as well.

IMG_0866.jpeg

So the burning question still to be answered. Does it work? It does exactly what they claim it should do. In every test I have performed it has increased the cell signal profoundly. Does that mean I am able to pull up the weather app or Instagram or Google maps anywhere that I am. No. Just because my cell signal increased, does not mean that the data will always increase. That has more to do with the frequency channels that are available or provided by the cell tower in that area and what your phone can use. I’m still rocking an IPhone 8plus. A little out dated I know. Admittedly, it’s falling behind on the bands/channels that it can take advantage of these days. Cellular providers are always updating their network and adding bands/channels to help improve their speeds by spreading the load out. Something that older phones cannot take advantage of as they do not have to provisions for these new channels. What I can say is that there was a very noticeable difference when using my daughters IPhone XR. I was able to pull up maps in more locations and faster than I could with my phone. Either way, this was not an issue with the cell booster, as both were connected at to the same booster at the same time. Even with my older IPhone though, everywhere I tested with my signal was boosted, I was able to place a voice call.

So there you go. You made it through my very long winded write up, just to tell you that it works. The next obvious question is “Should I spend $500 to get one?” If you’re serious about a cell booster, then I’d say yes. This is without a doubt the best one you’ll get for the money. But you really need to look at why you want one. If it solely for emergencies, I’d almost suggest you buy a Garmin InReach instead. The booster is just that a booster. Nothing in, means nothing out, not something I’d trust my life too. But if you’re somewhere where the cell service is spotty/weak and all you need is a little boost, then I say go for it. As a matter of fact, we have a friend that has a cellular hotspot that he keeps next to his interior cell booster antenna. He shuts off all of the cell antennas on their phones and connects them to their hotspot via WiFi. This allows the hotspot to take full advantage of the cell booster signal while still giving voice over WiFi and data to all of the devices connected to the hotspot. Genius! It’s little things like that idea that really show how the WeBoost can shine!

In an attempt to remain transparent, I want you to know that the unit we tested was provided by WeBoost in exchange for testing and writing of a review. In no way did they influence any of the information provided in this article. The results that we experienced are what we have conveyed above. That being said, the choice to to purchase one or not rests solely upon your shoulders. It is an excellent product and we have enjoyed it’s use. But we also do not turn it on all of the time. It is just another tool that we use when the time arises. This article is true a true representation of our experiences with the installation and use of this product.
Land Cruiser Rear Glass Replacement

We’ve had a lot of questions relating to the tools needed on our Land Cruiser Rear Glass Replacement series on YouTube lately. To help out, here’s a list of the tools needed. We have linked the video series below as well. As always, if you have any questions pertaining to these or any of our other videos, feel free to drop them in the video comments and we will be more than happy to help in any way we can.

Tools and Supplies needed for Land Cruiser Rear Glass

  1. Toyota Weather Seal (68291-60050)

  2. Sika Primer 207 and Swabs

  3. 3M Windshield Urethane (08690)

  4. Professional Caulk Gun (highly recommend power gun)

  5. Toyota Factory Touch-up Paint

  6. Alcohol or Acetone Solvent

  7. Painters tape (highly recommend yellow Autobody tape)

  8. PB Blaster Penetrating Oil

  9. 3/16” Diamond Braid Nylon Rope or equivalent

  10. Sand Paper (80-220 grit)

  11. Foam Painters Brush

  12. Straight Razor Blade

  13. Extendable Razor Knife

  14. 8mm Socket 

  15. 10mm Socket

  16. Phillips Head Screwdriver

  17. Flat Head Screwdriver

  18. Pocket Screwdriver or Bit for 3rd Brake Light Clips

  19. Needle Nose Pliers (preferably 90 degree)

  20. Paint Scraper

  21. Wire Brushes (stainless bristled)

  22. Pneumatic Grinder or Electric Sander

  23. Body Filler Squeegee/Wedge

  24. Plastic Trim Wedge

  25. Windex

  26. Paper Towels

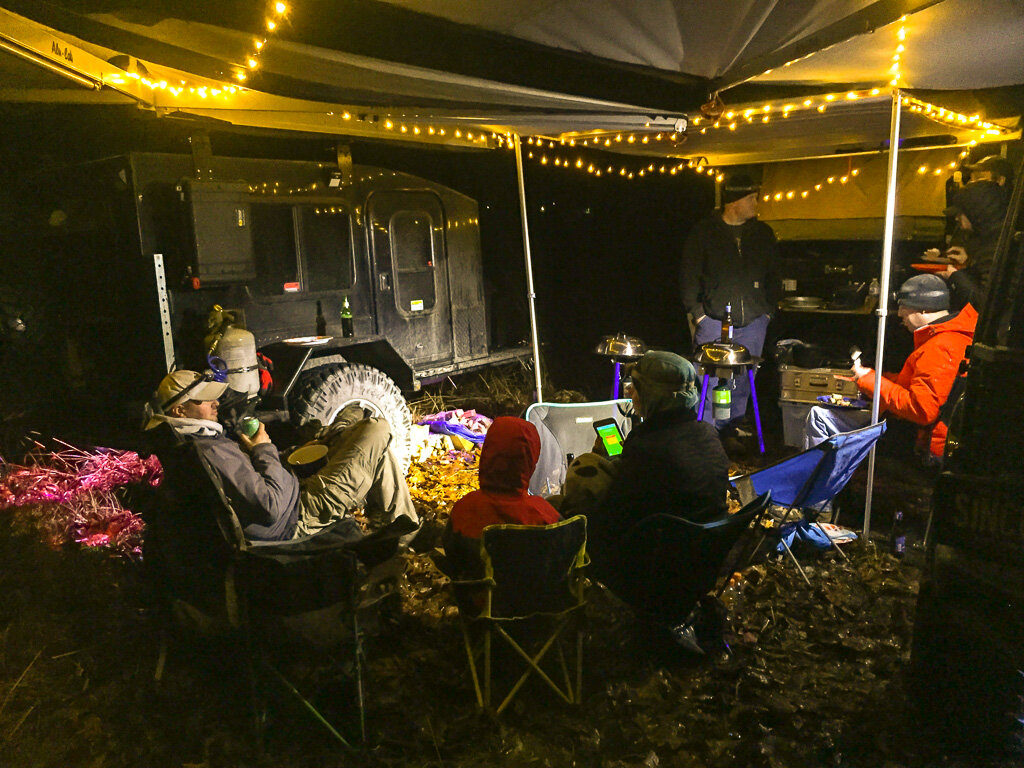
2019 Overlander Cook-off

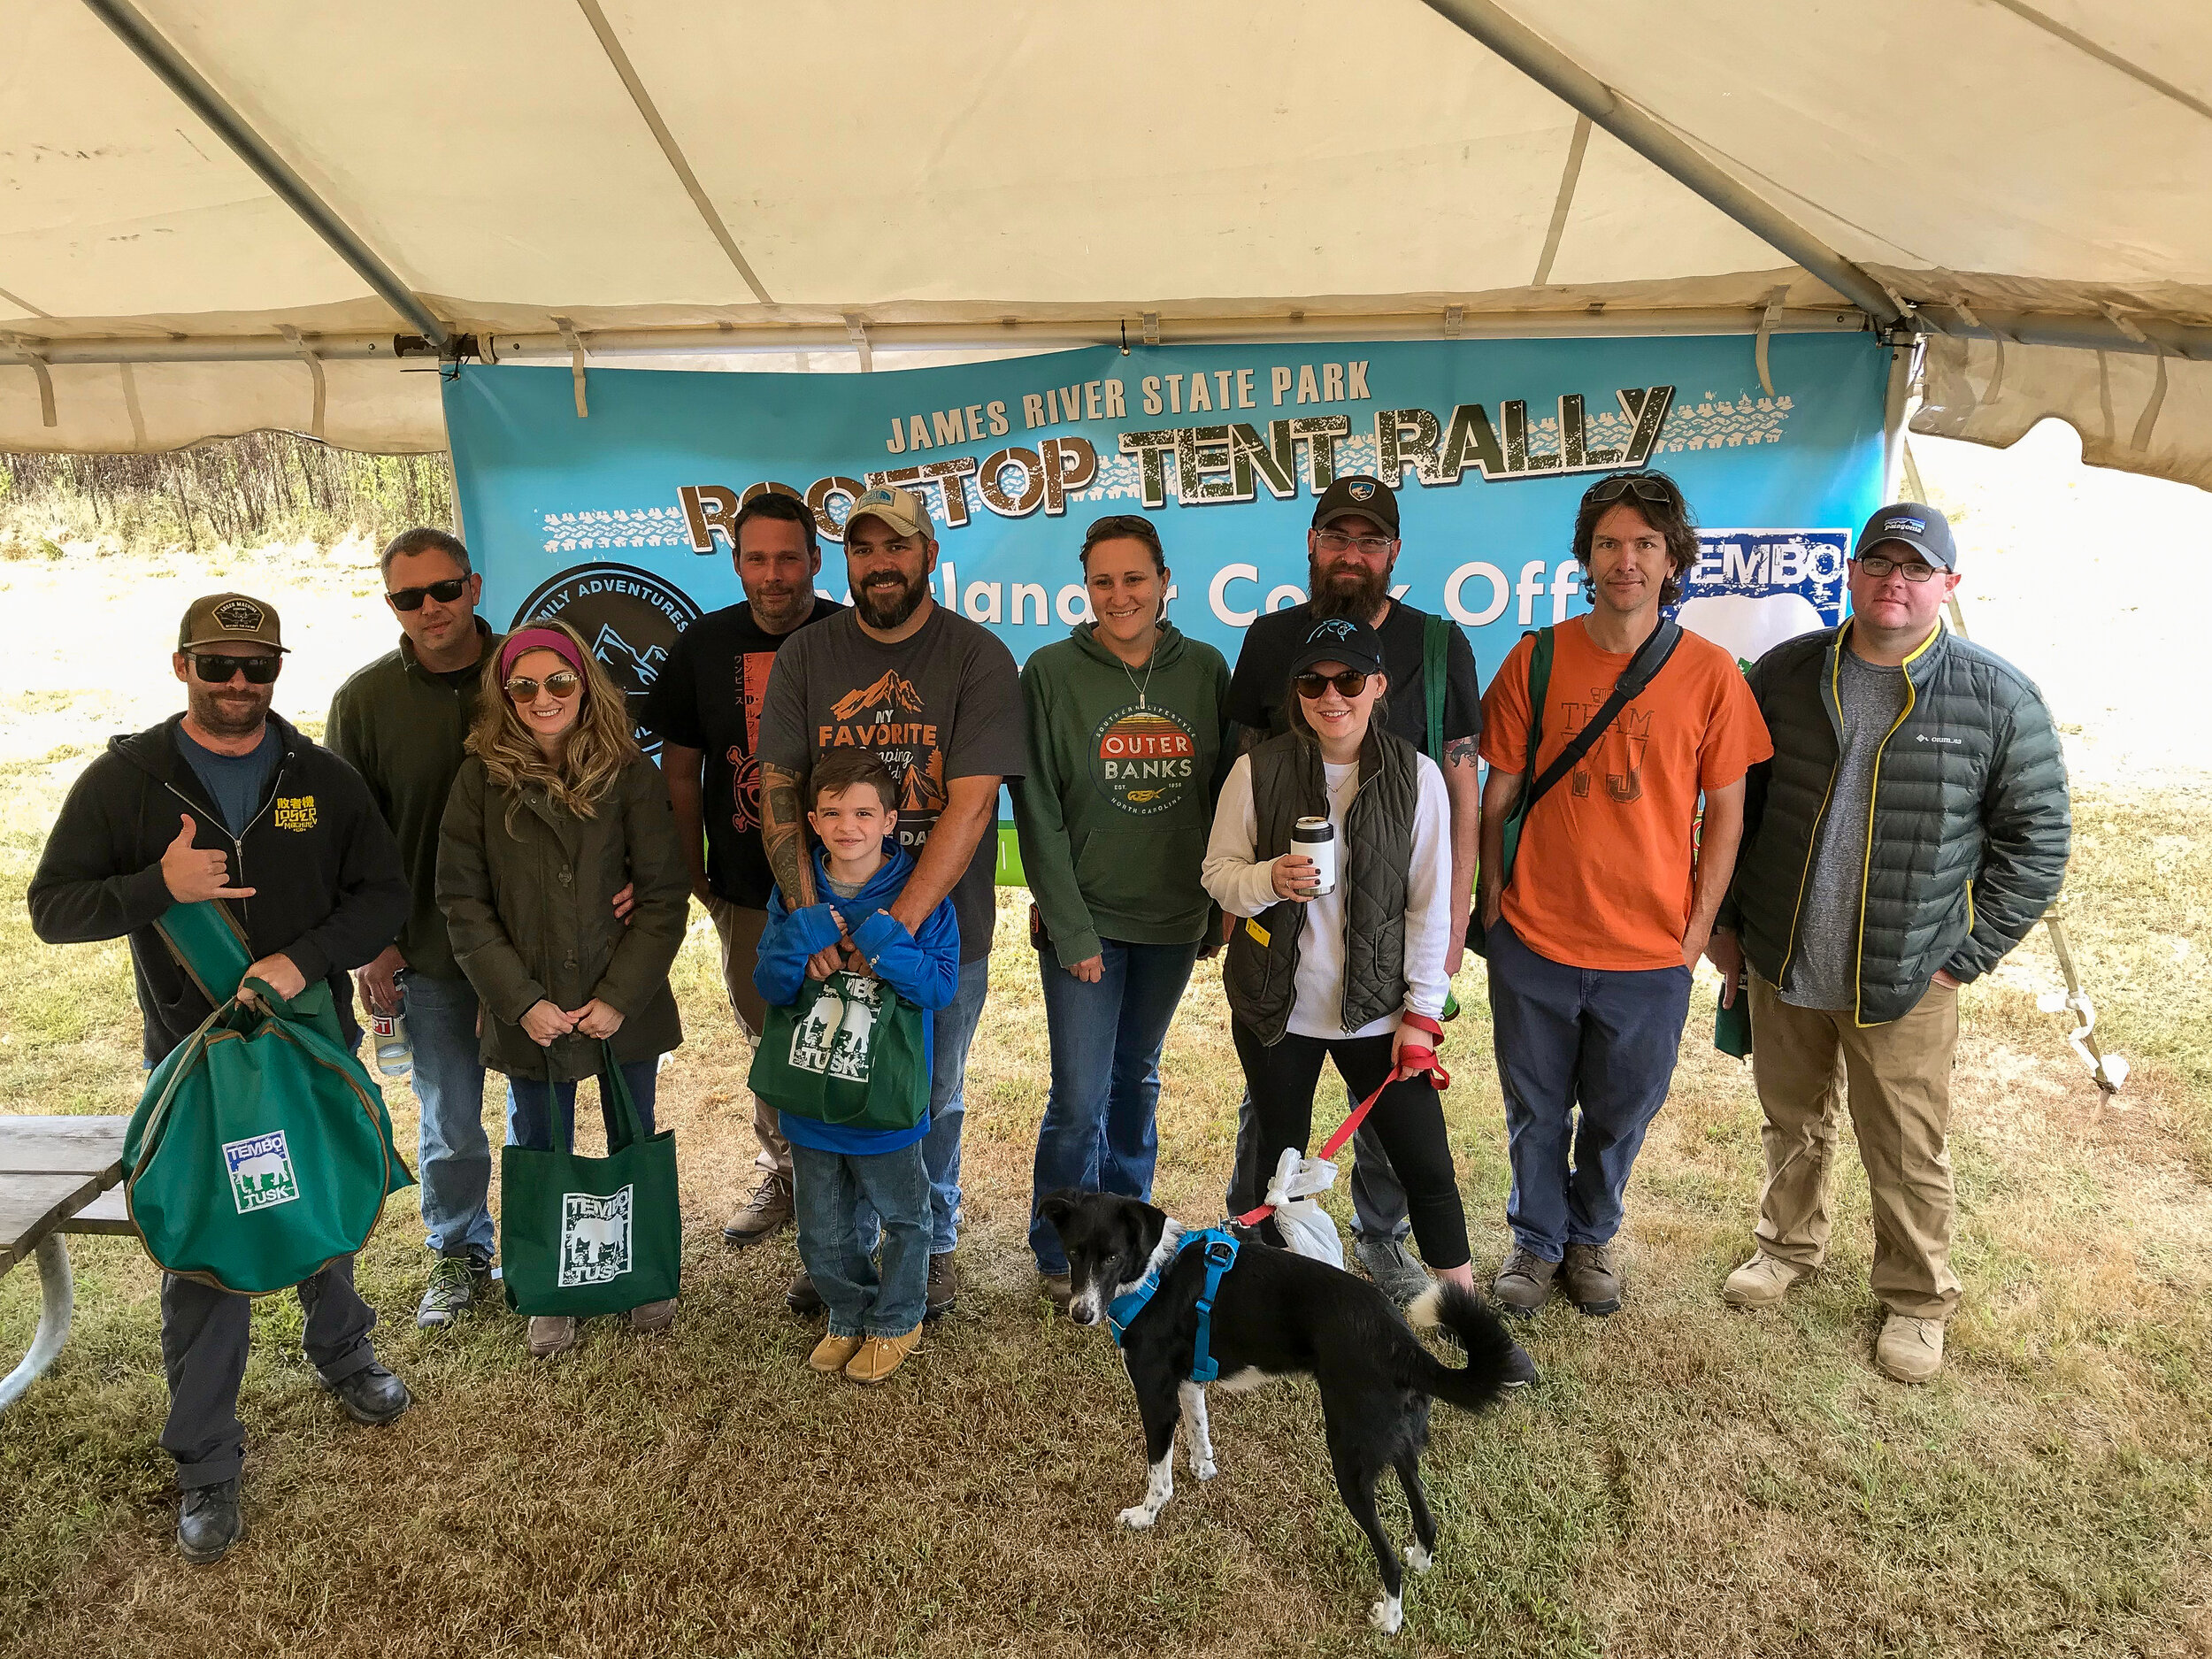
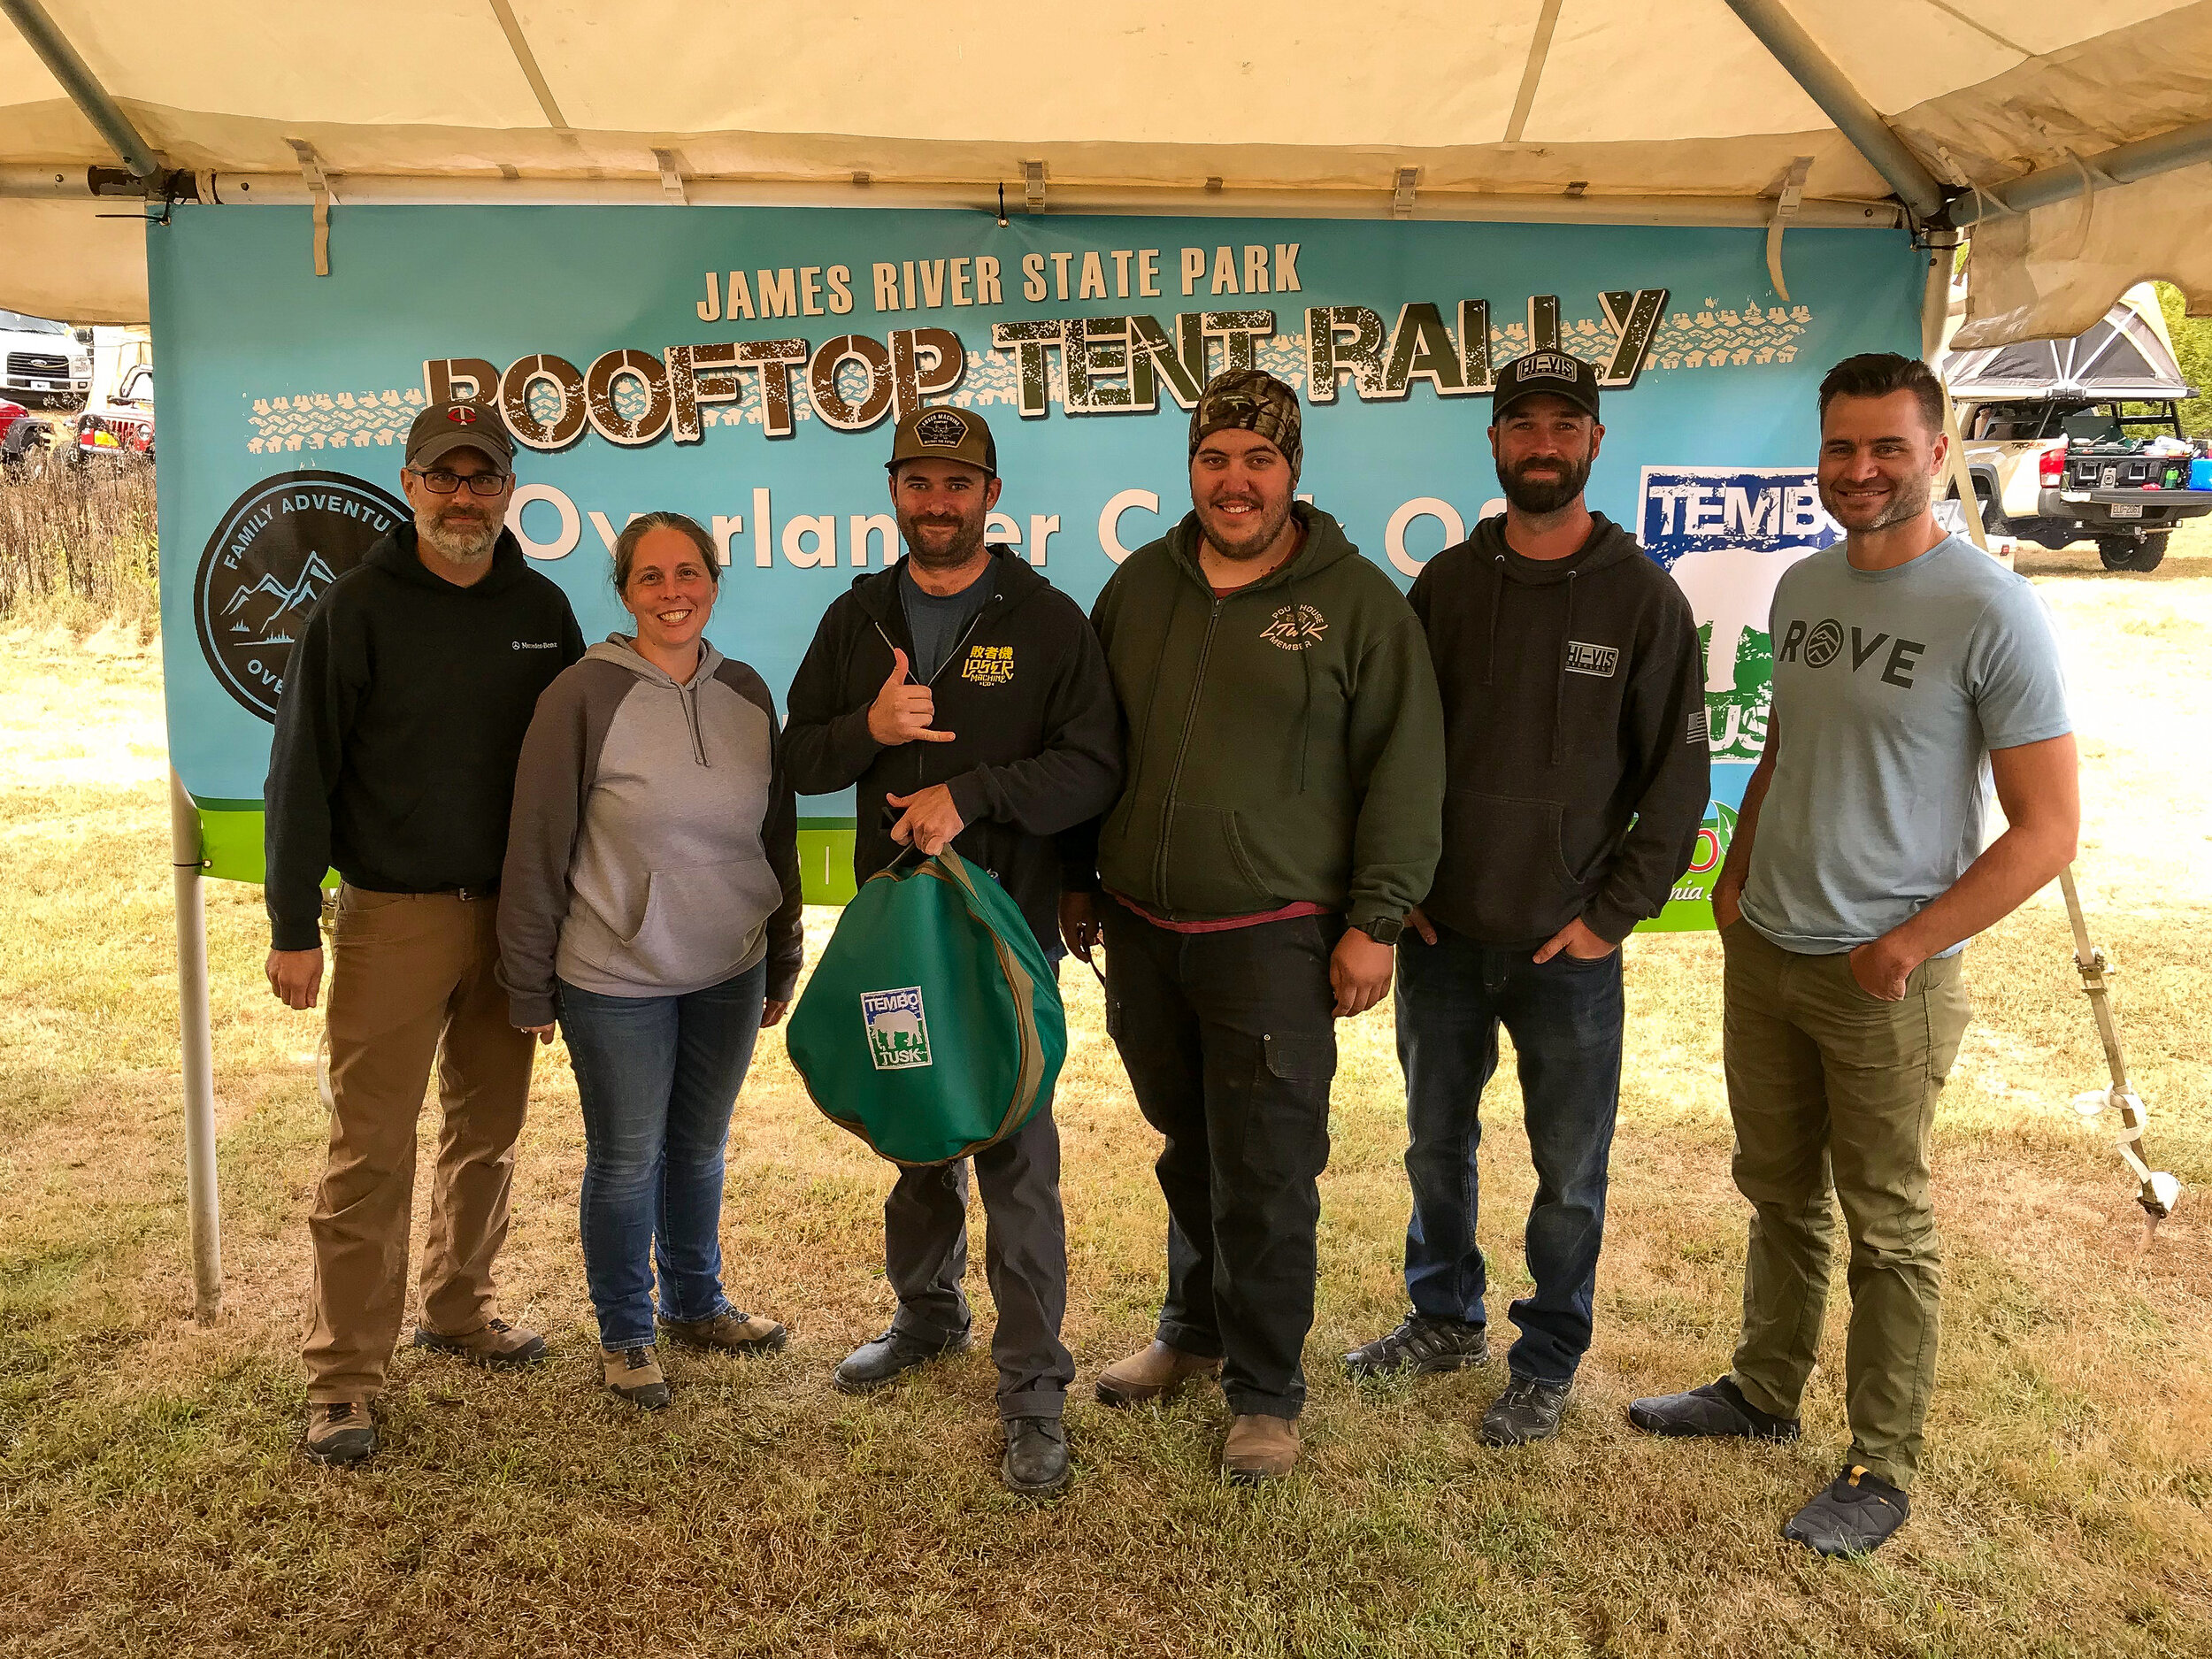
This year marked the 3rd annual installment of the James River State Park Rooftop Tent Rally in Gladstone, VA, the brain child of Assistant Park Manager John Fury. An event that has quickly gained popularity with overland travelers in the Mid Atlantic region. Less of a corporate setting than that of Overland Expo, this event has become more of a social gathering for overlanders to kick back and enjoy the company of like minded travelers. Individuals and families from near and far take part in family friendly activities, attend workshops and share stories around the fire side chat bonfire, held every evening. Whether you’re an experienced traveler or a novice, this event is guaranteed to have something for you. 


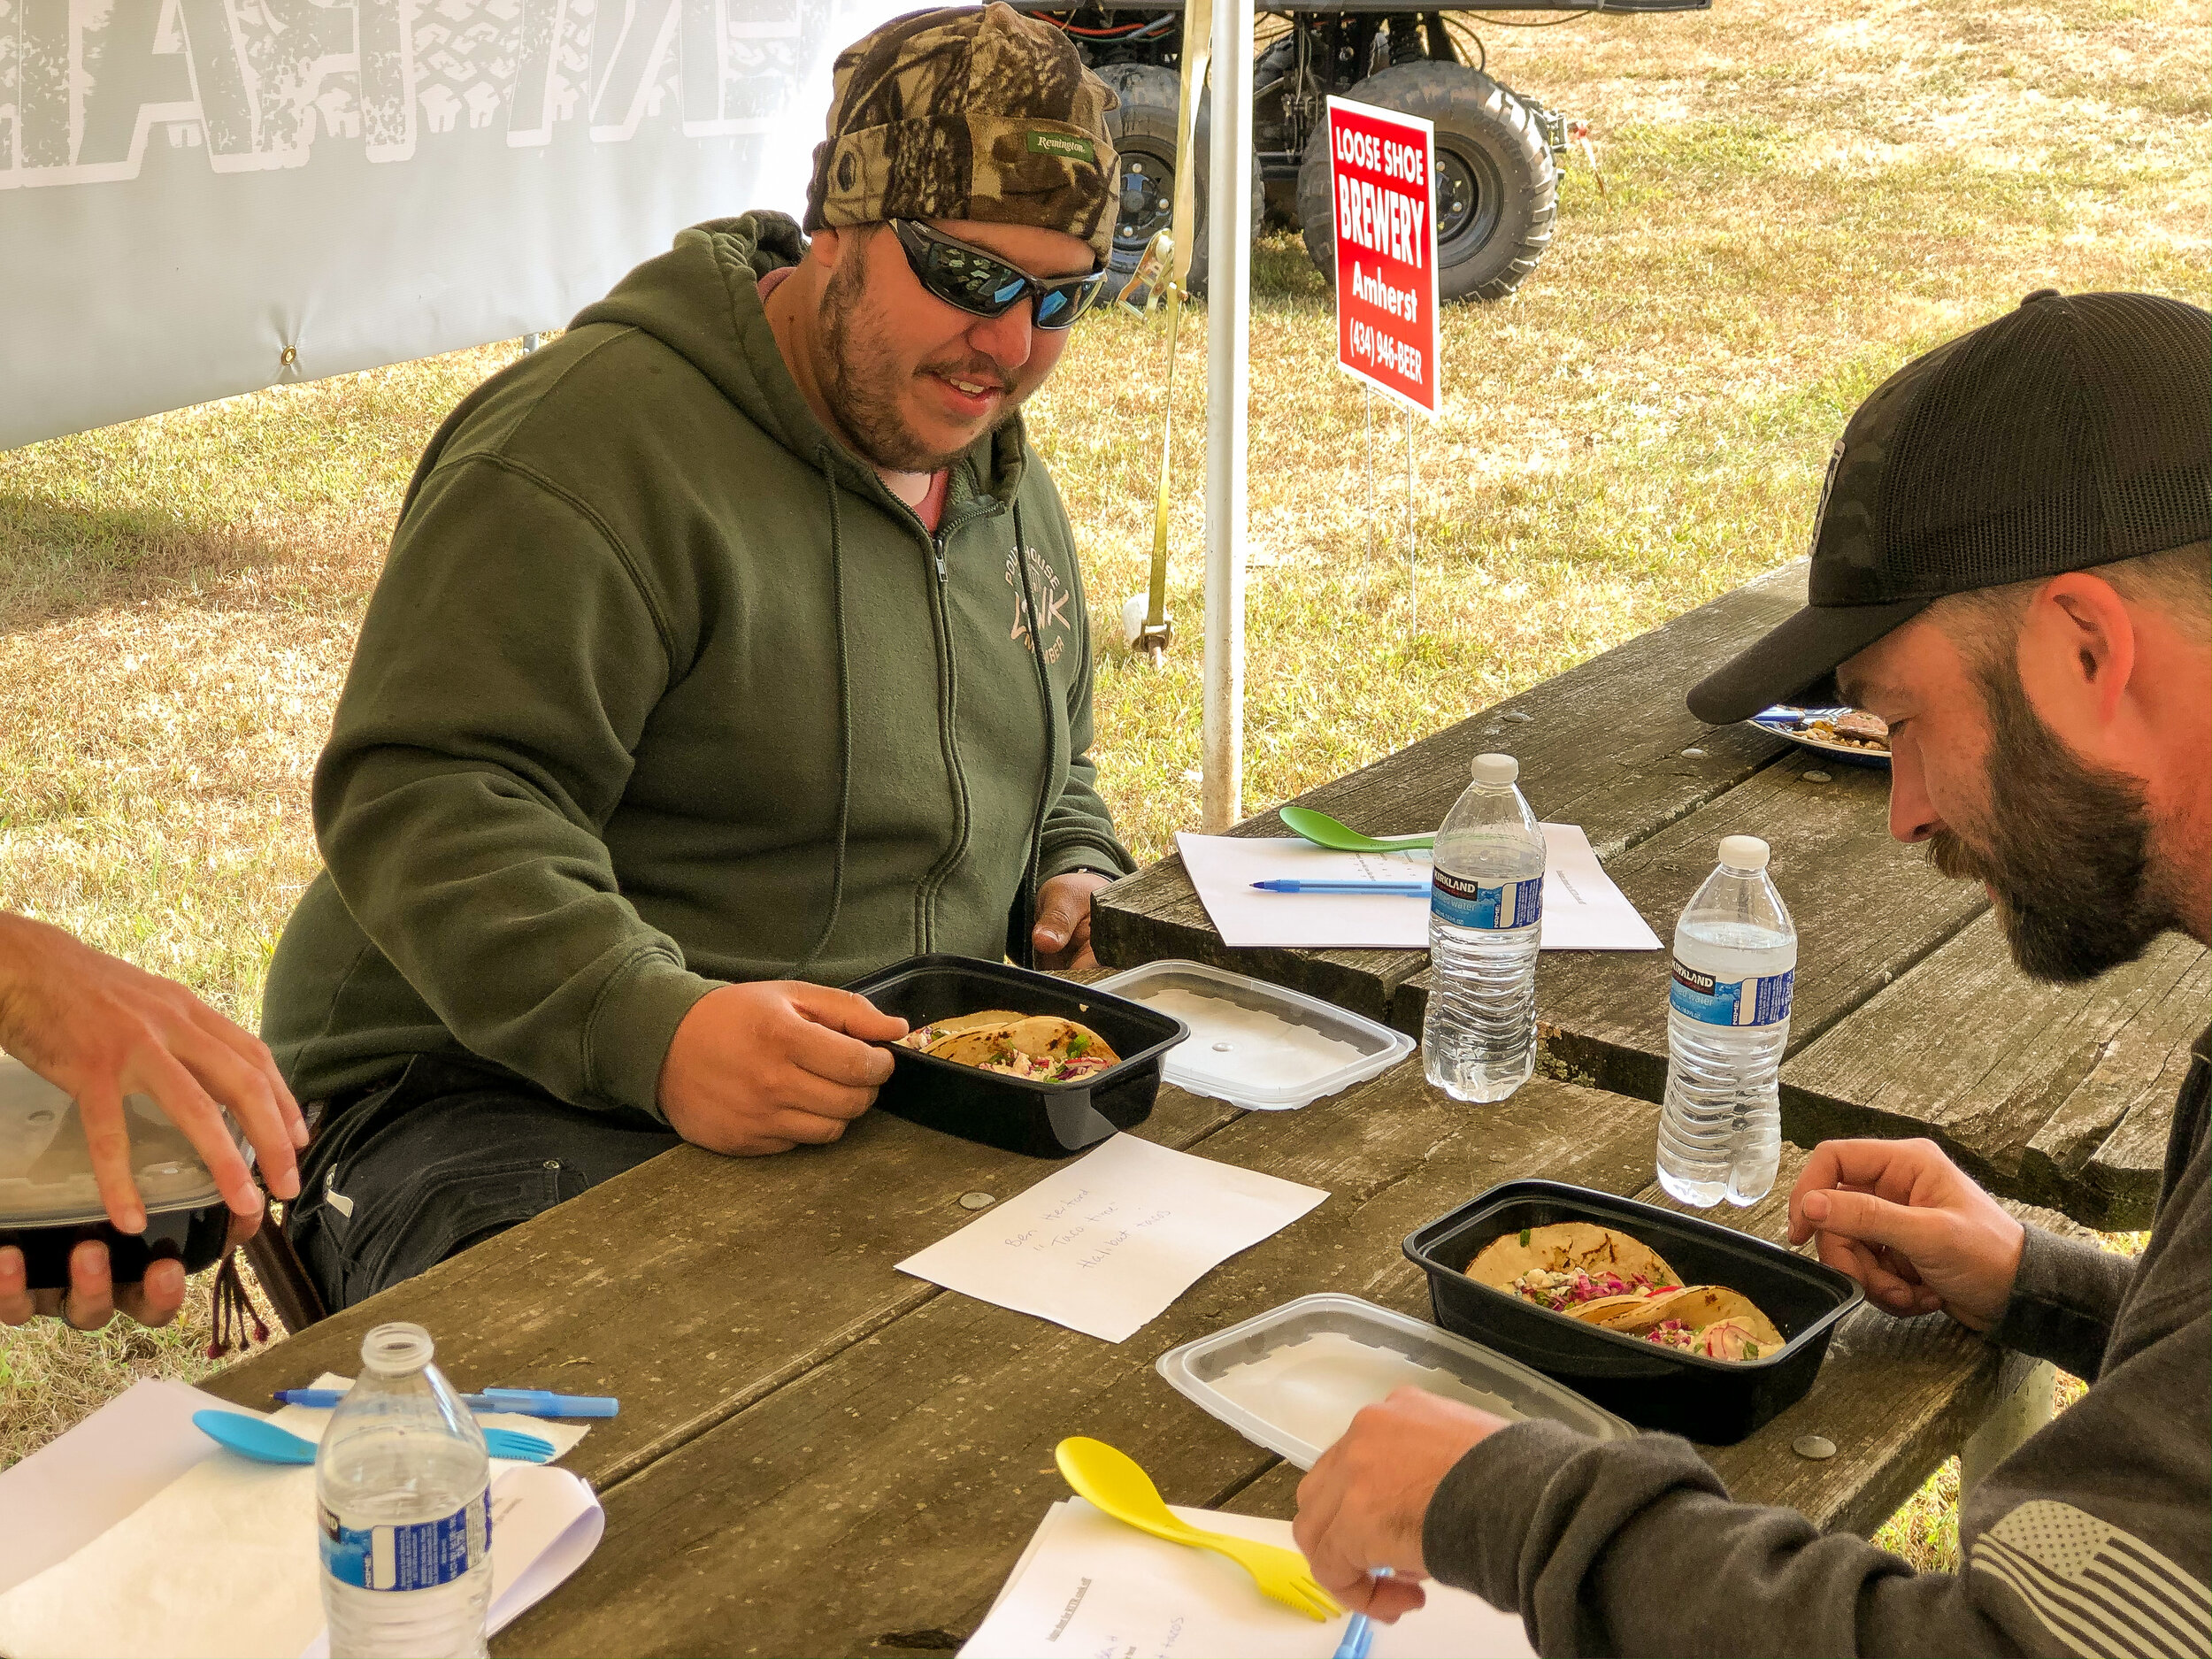
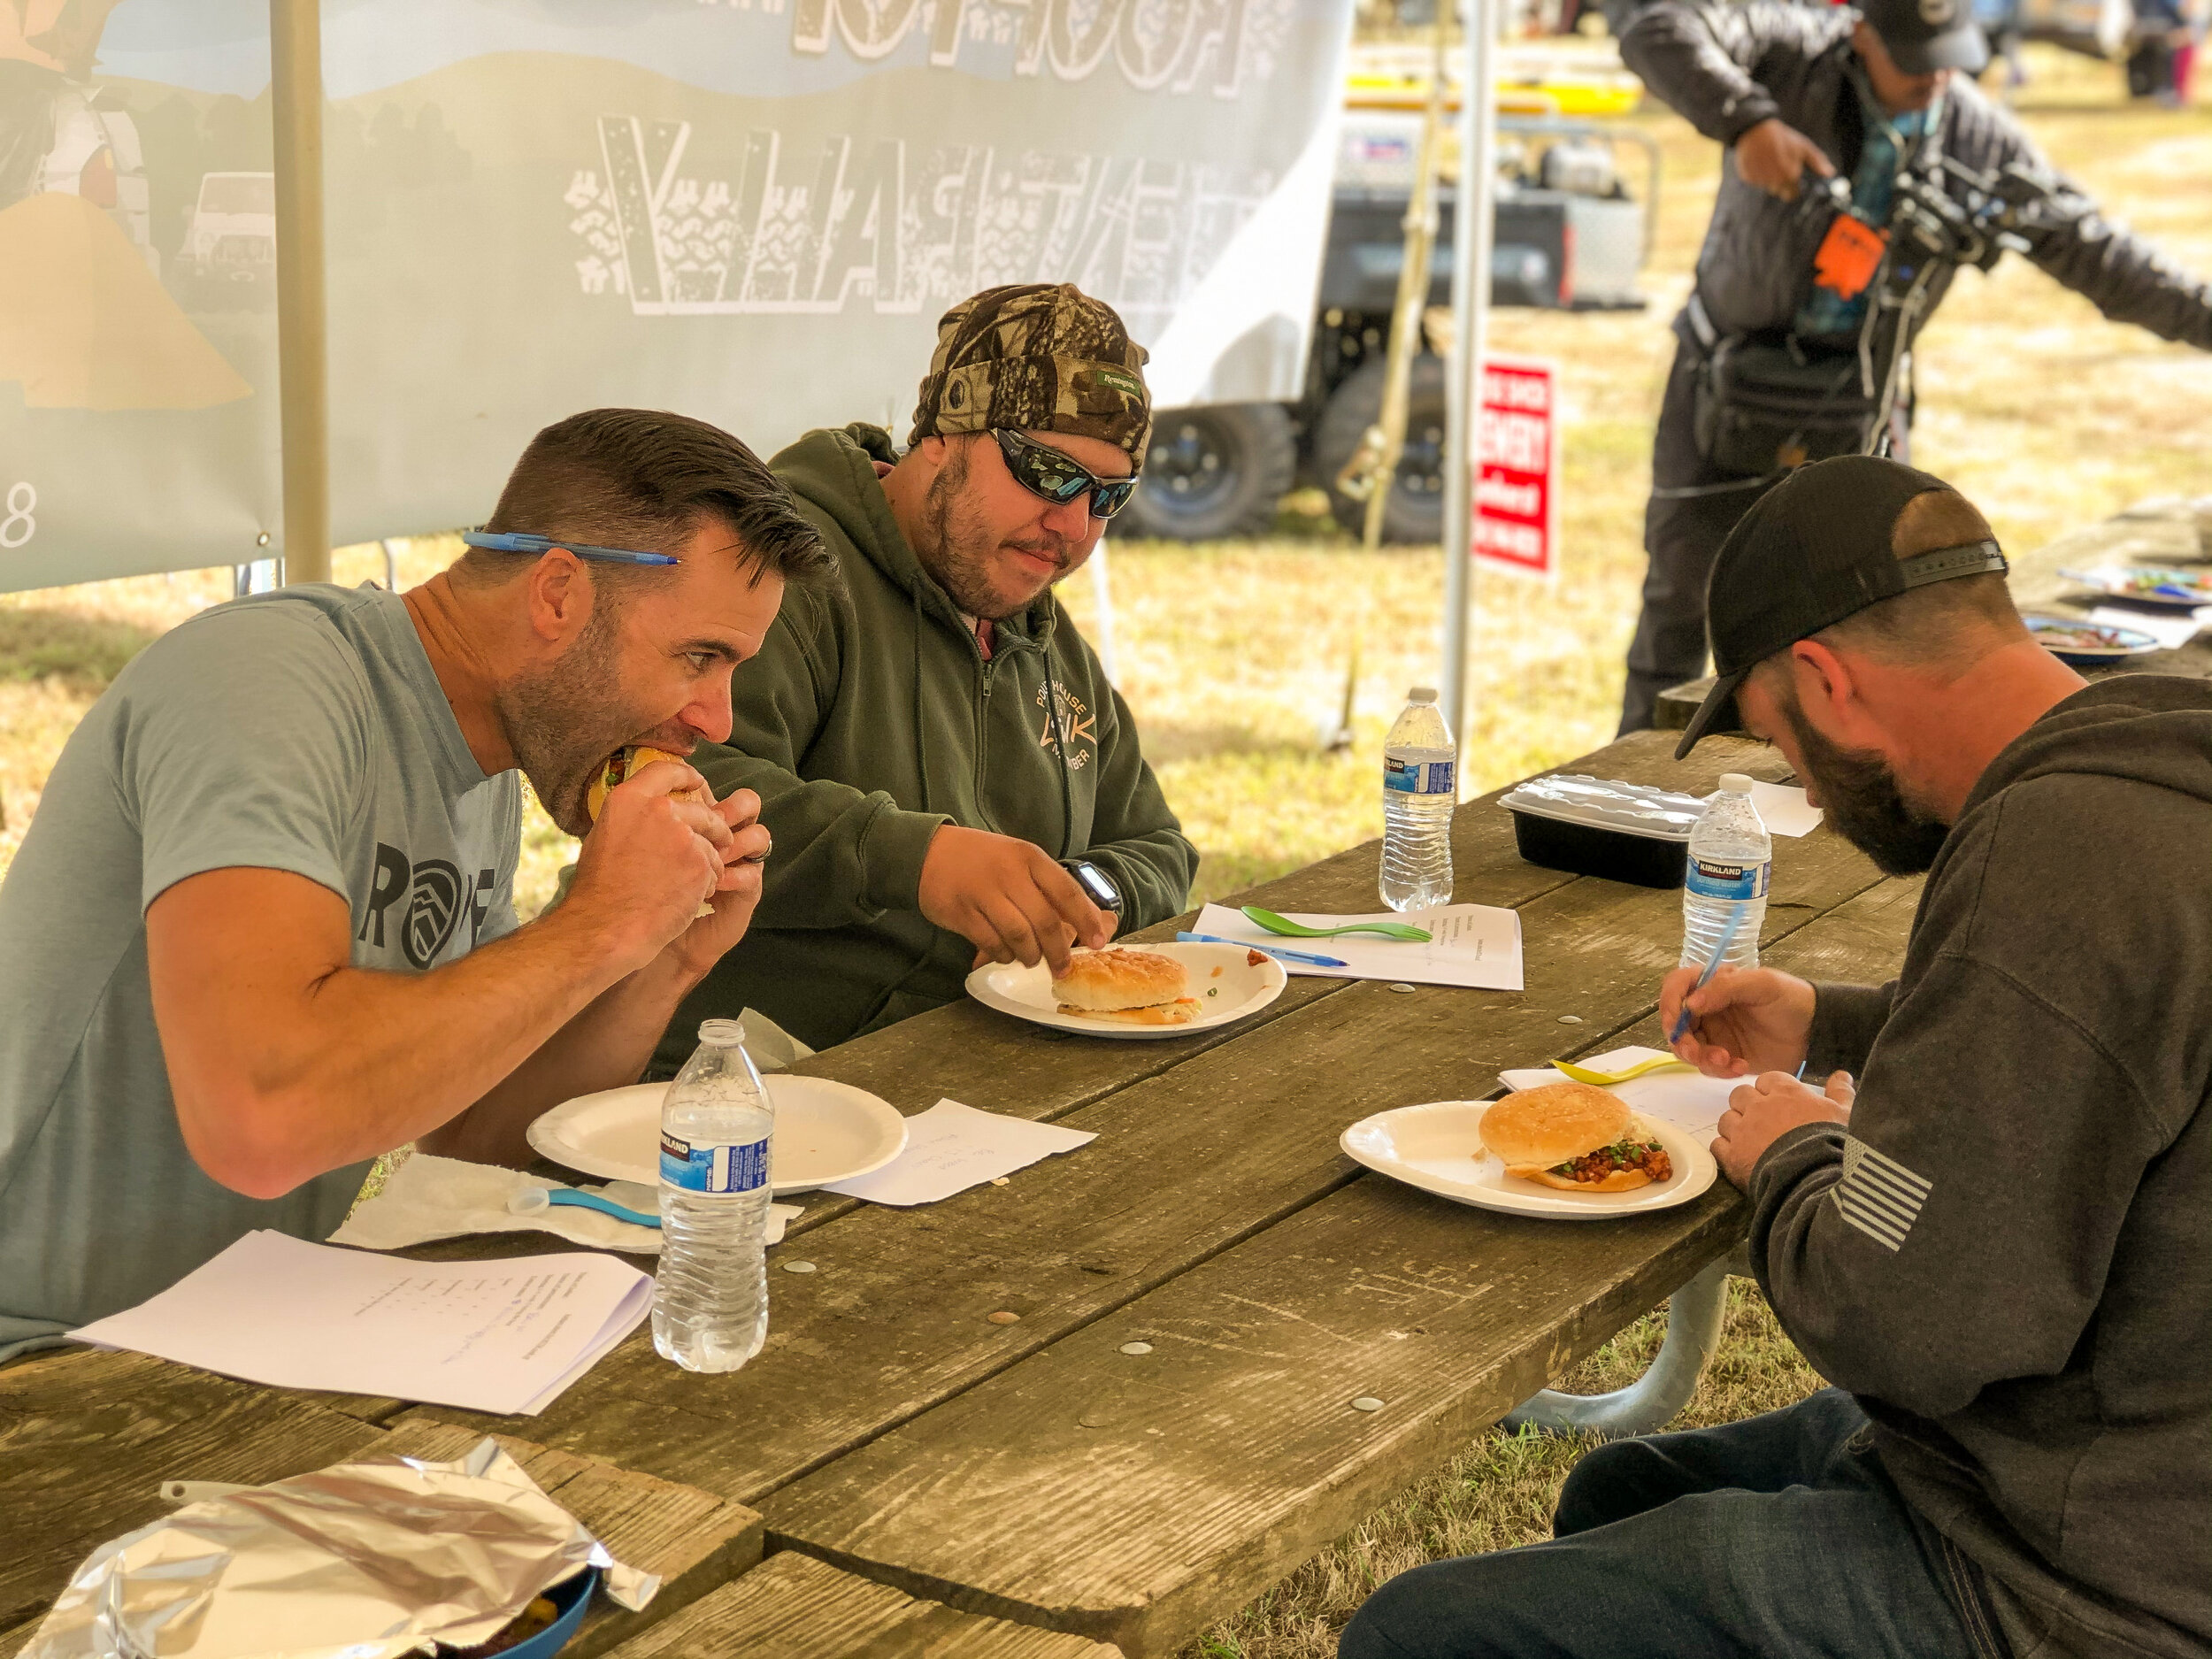
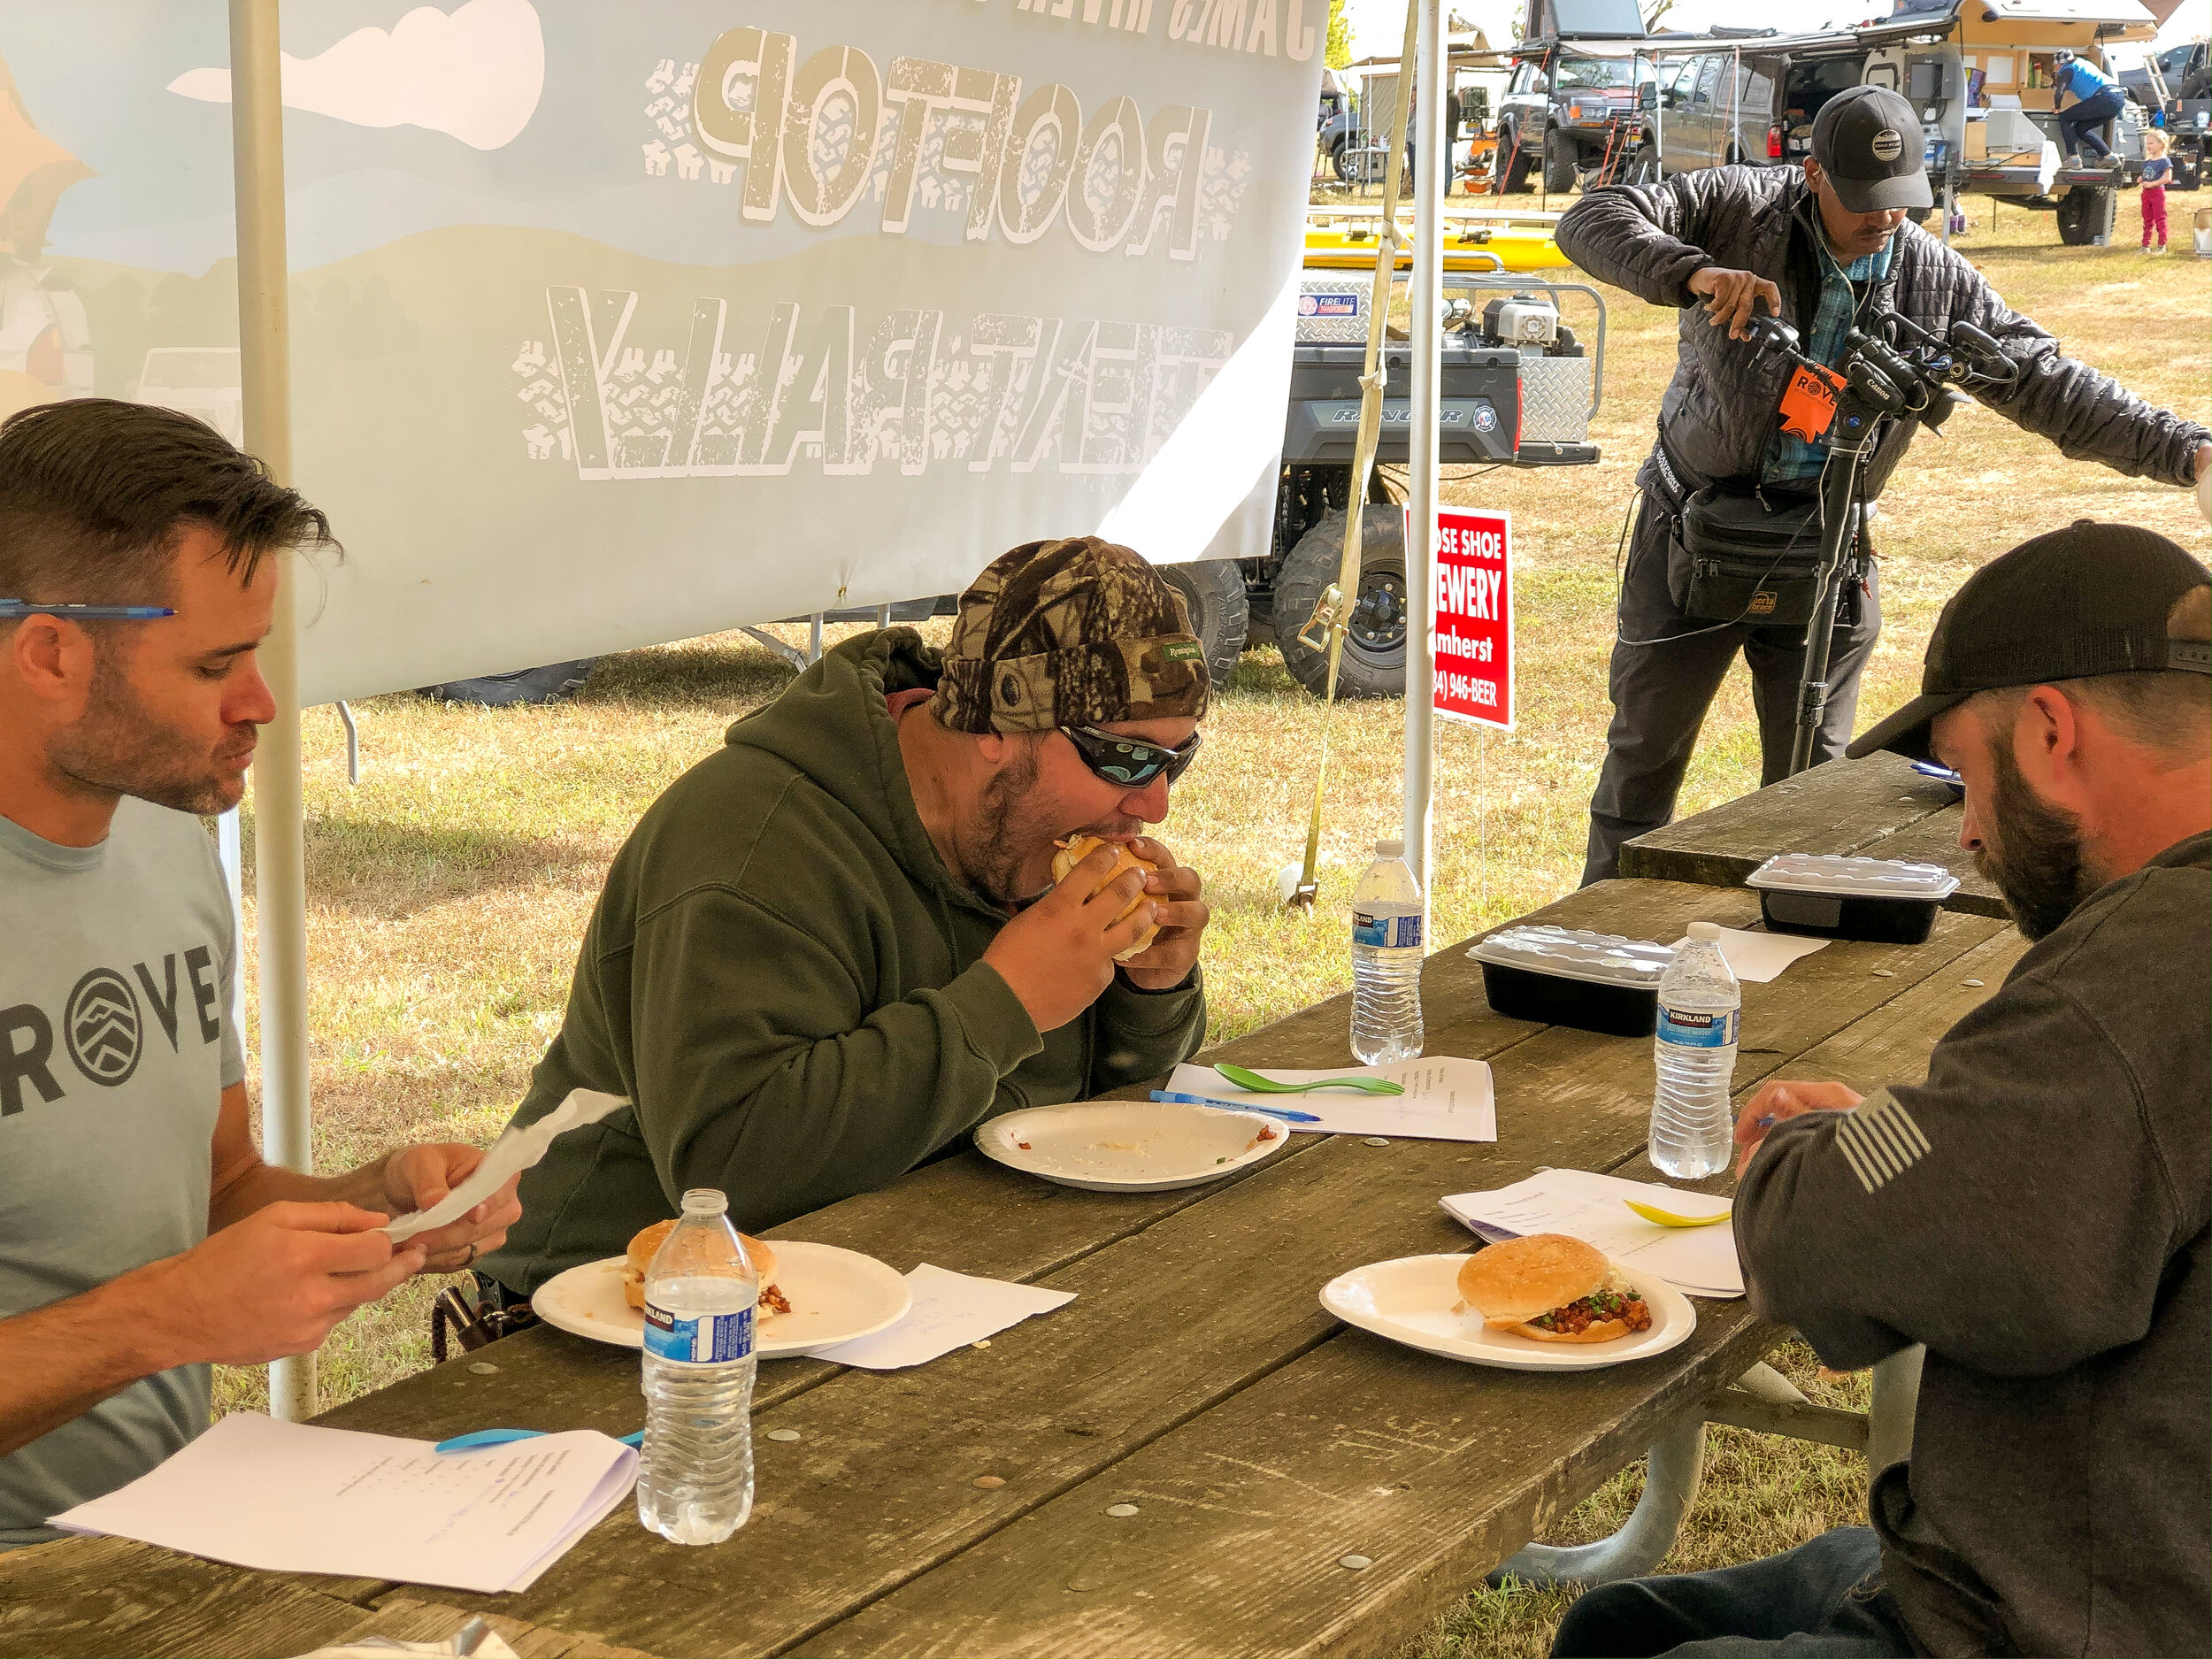
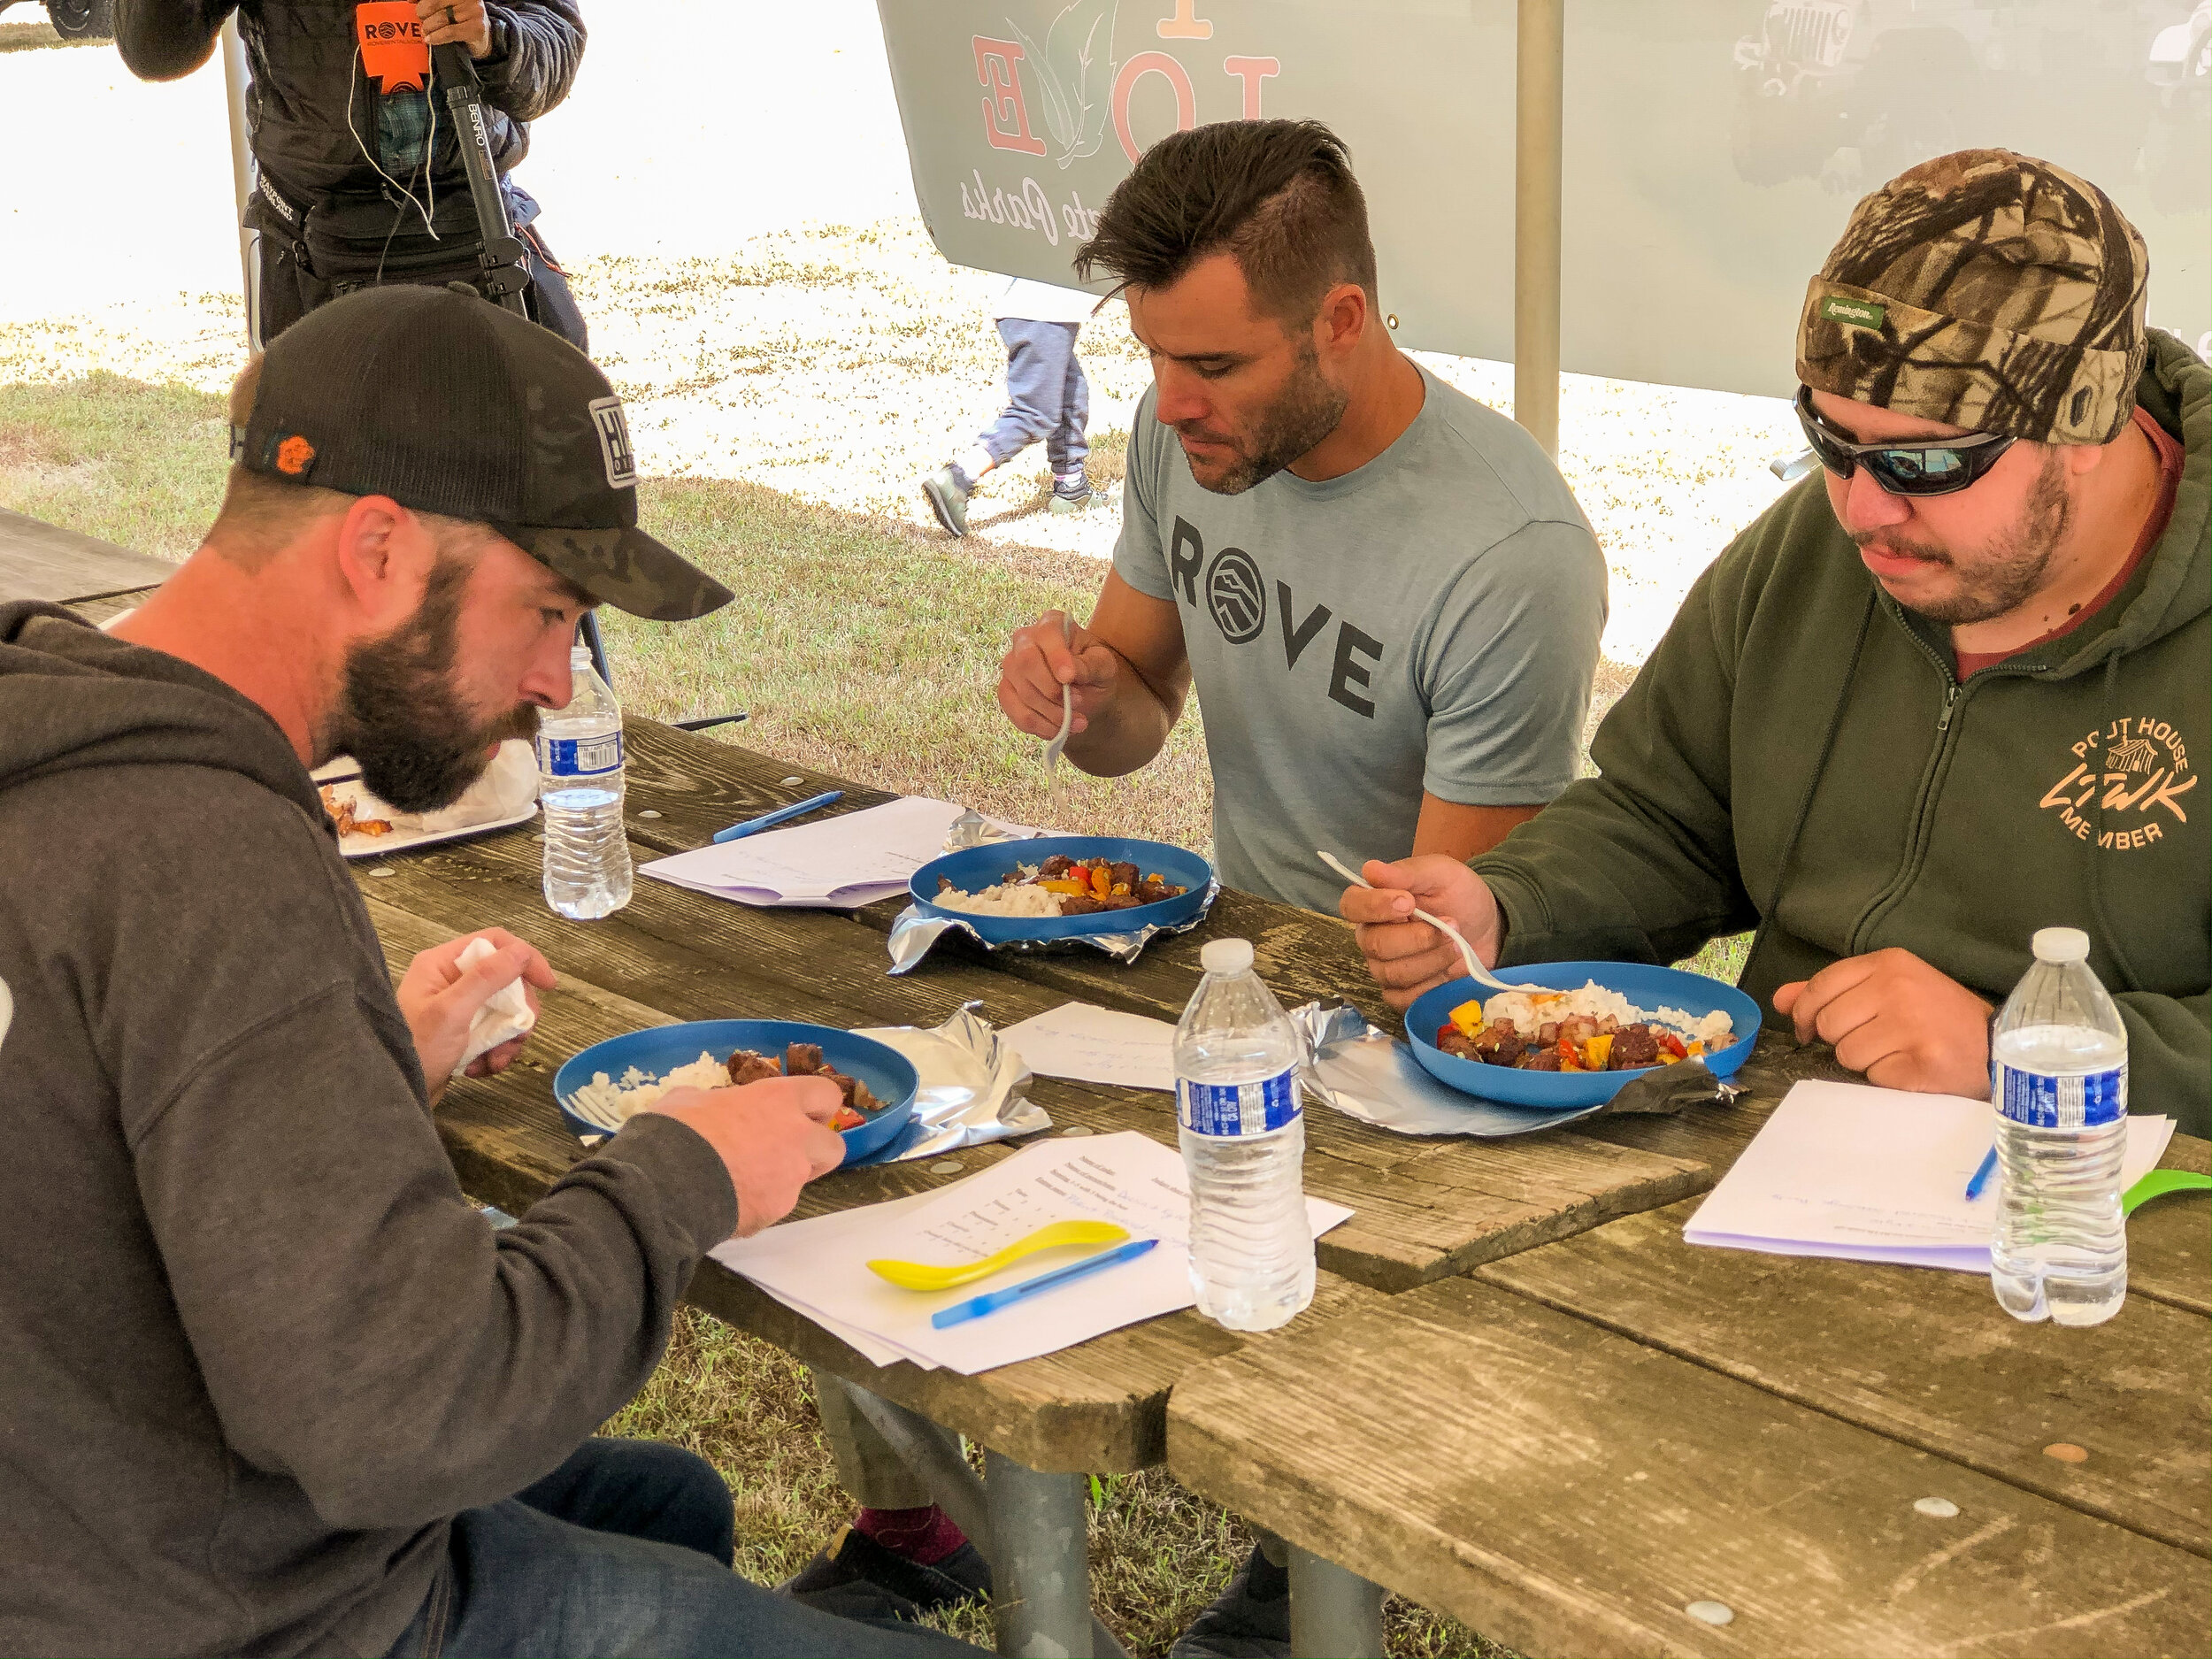
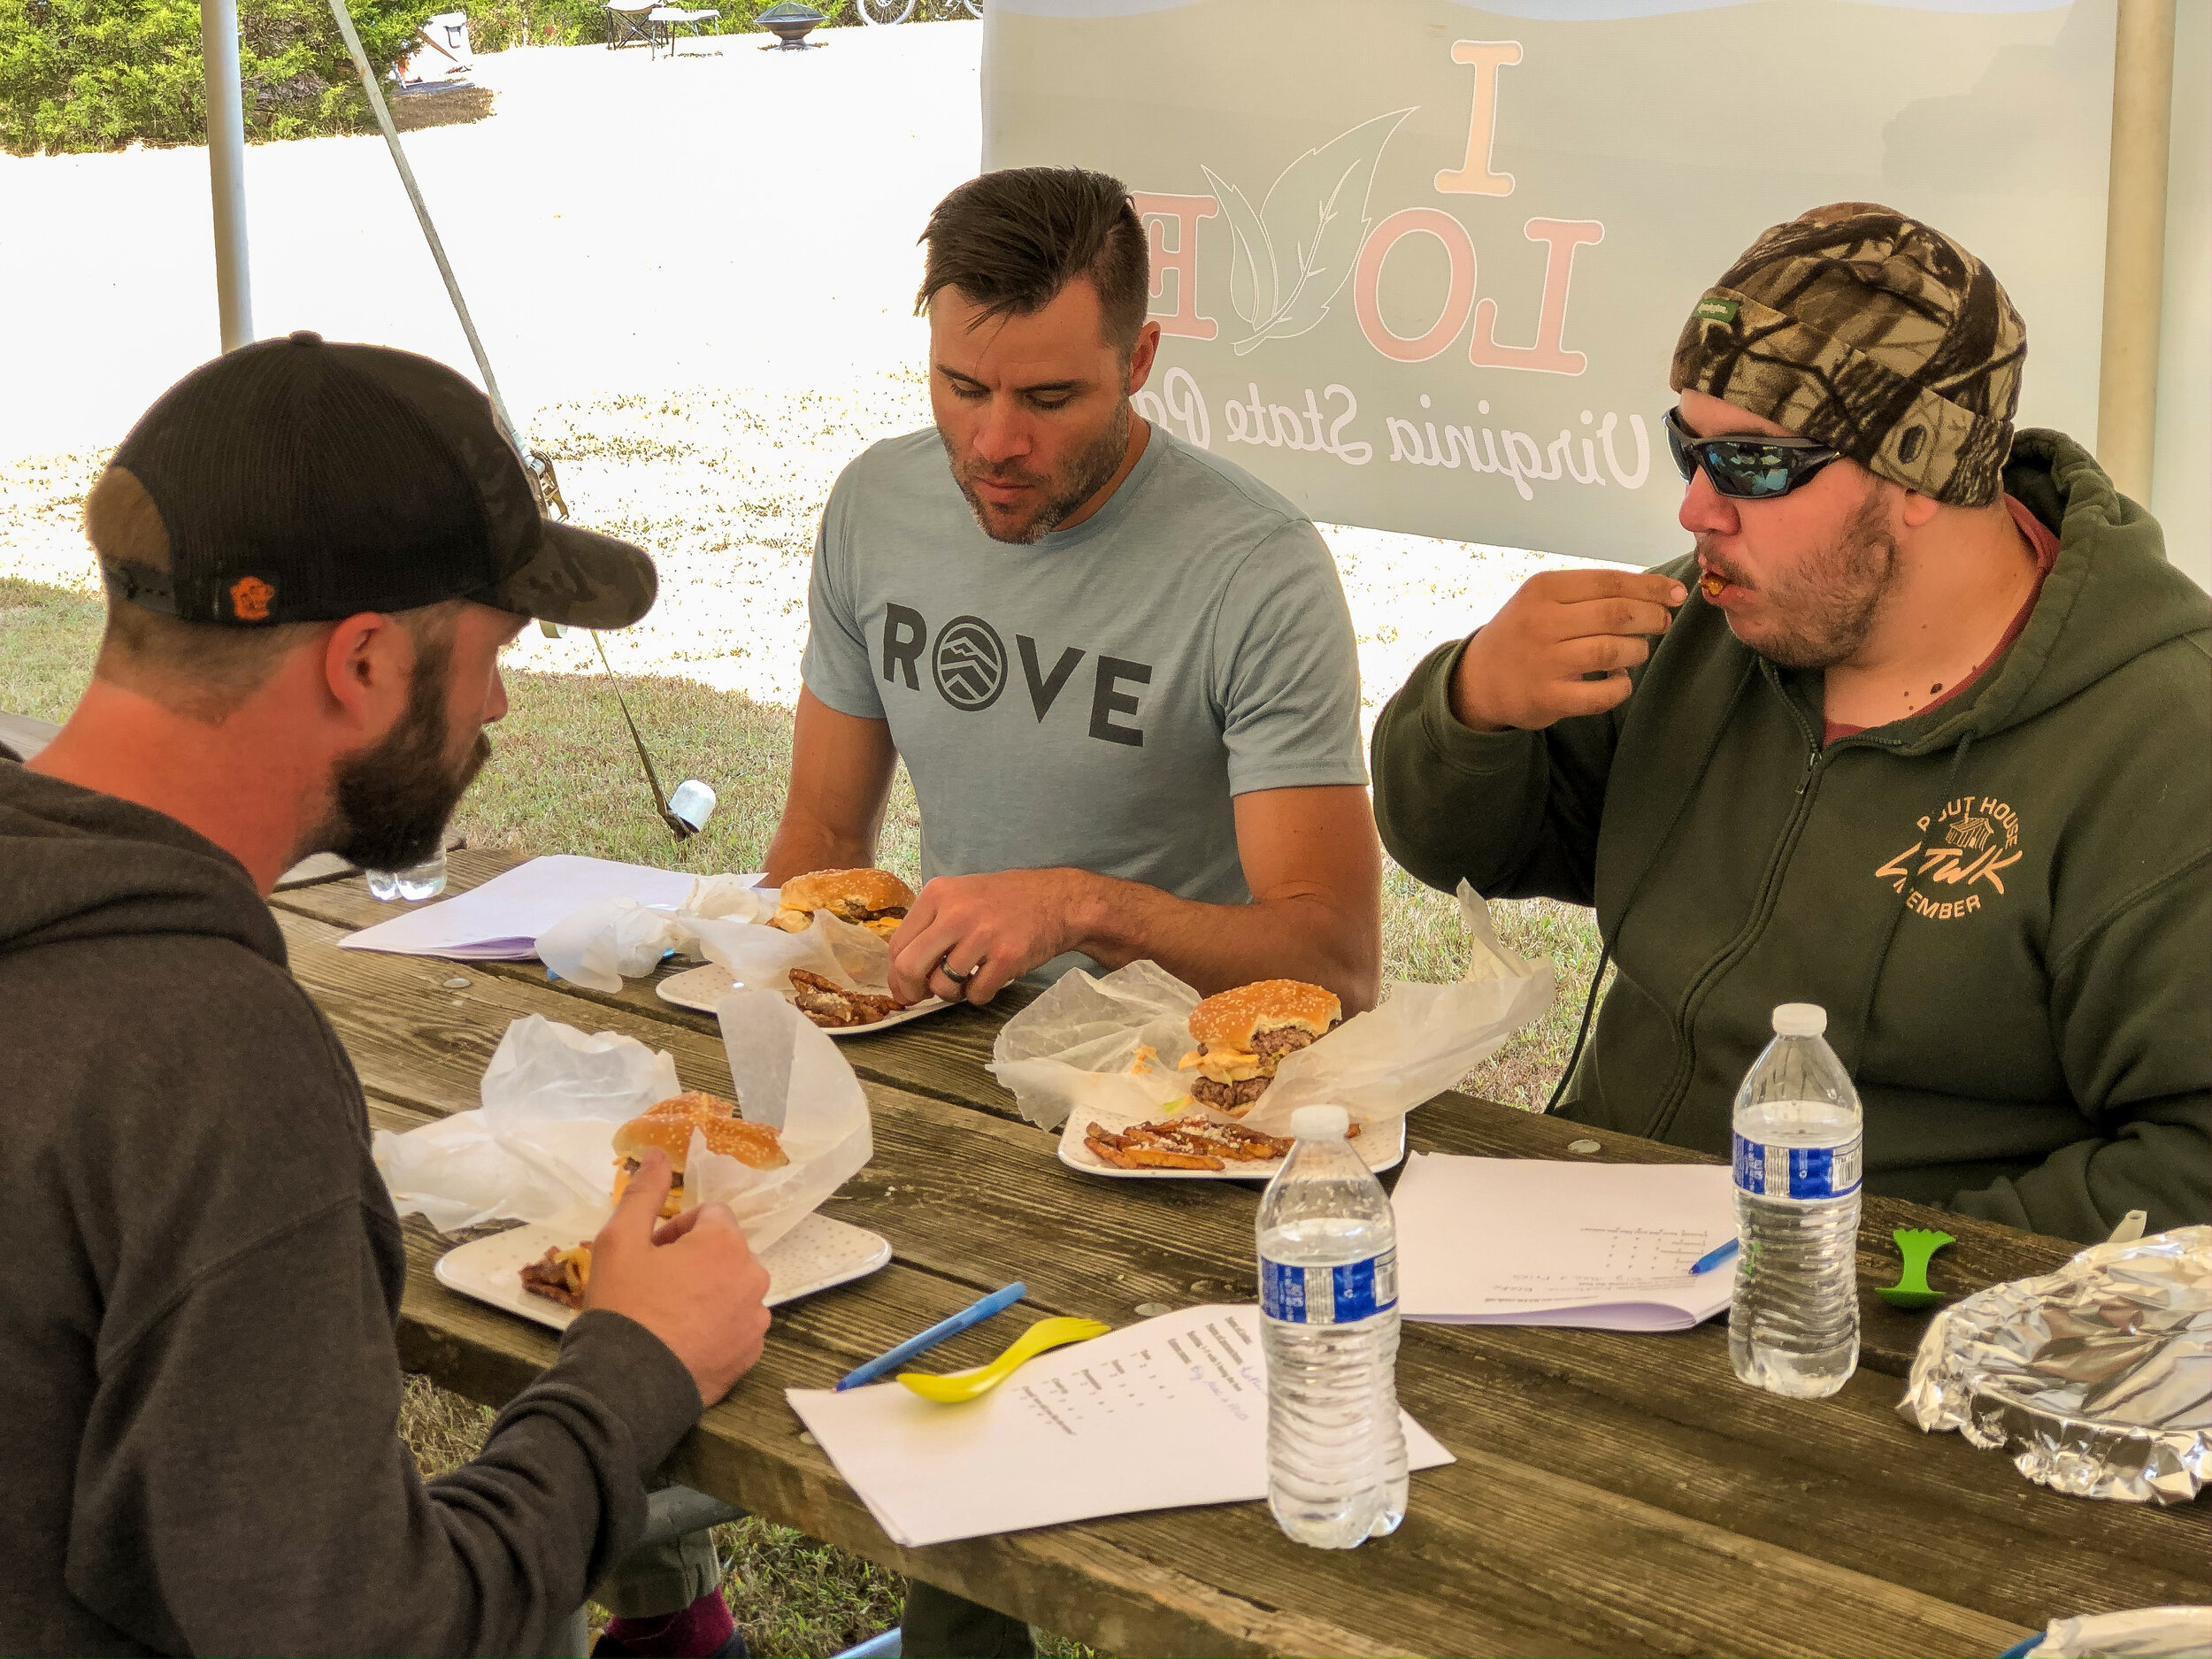
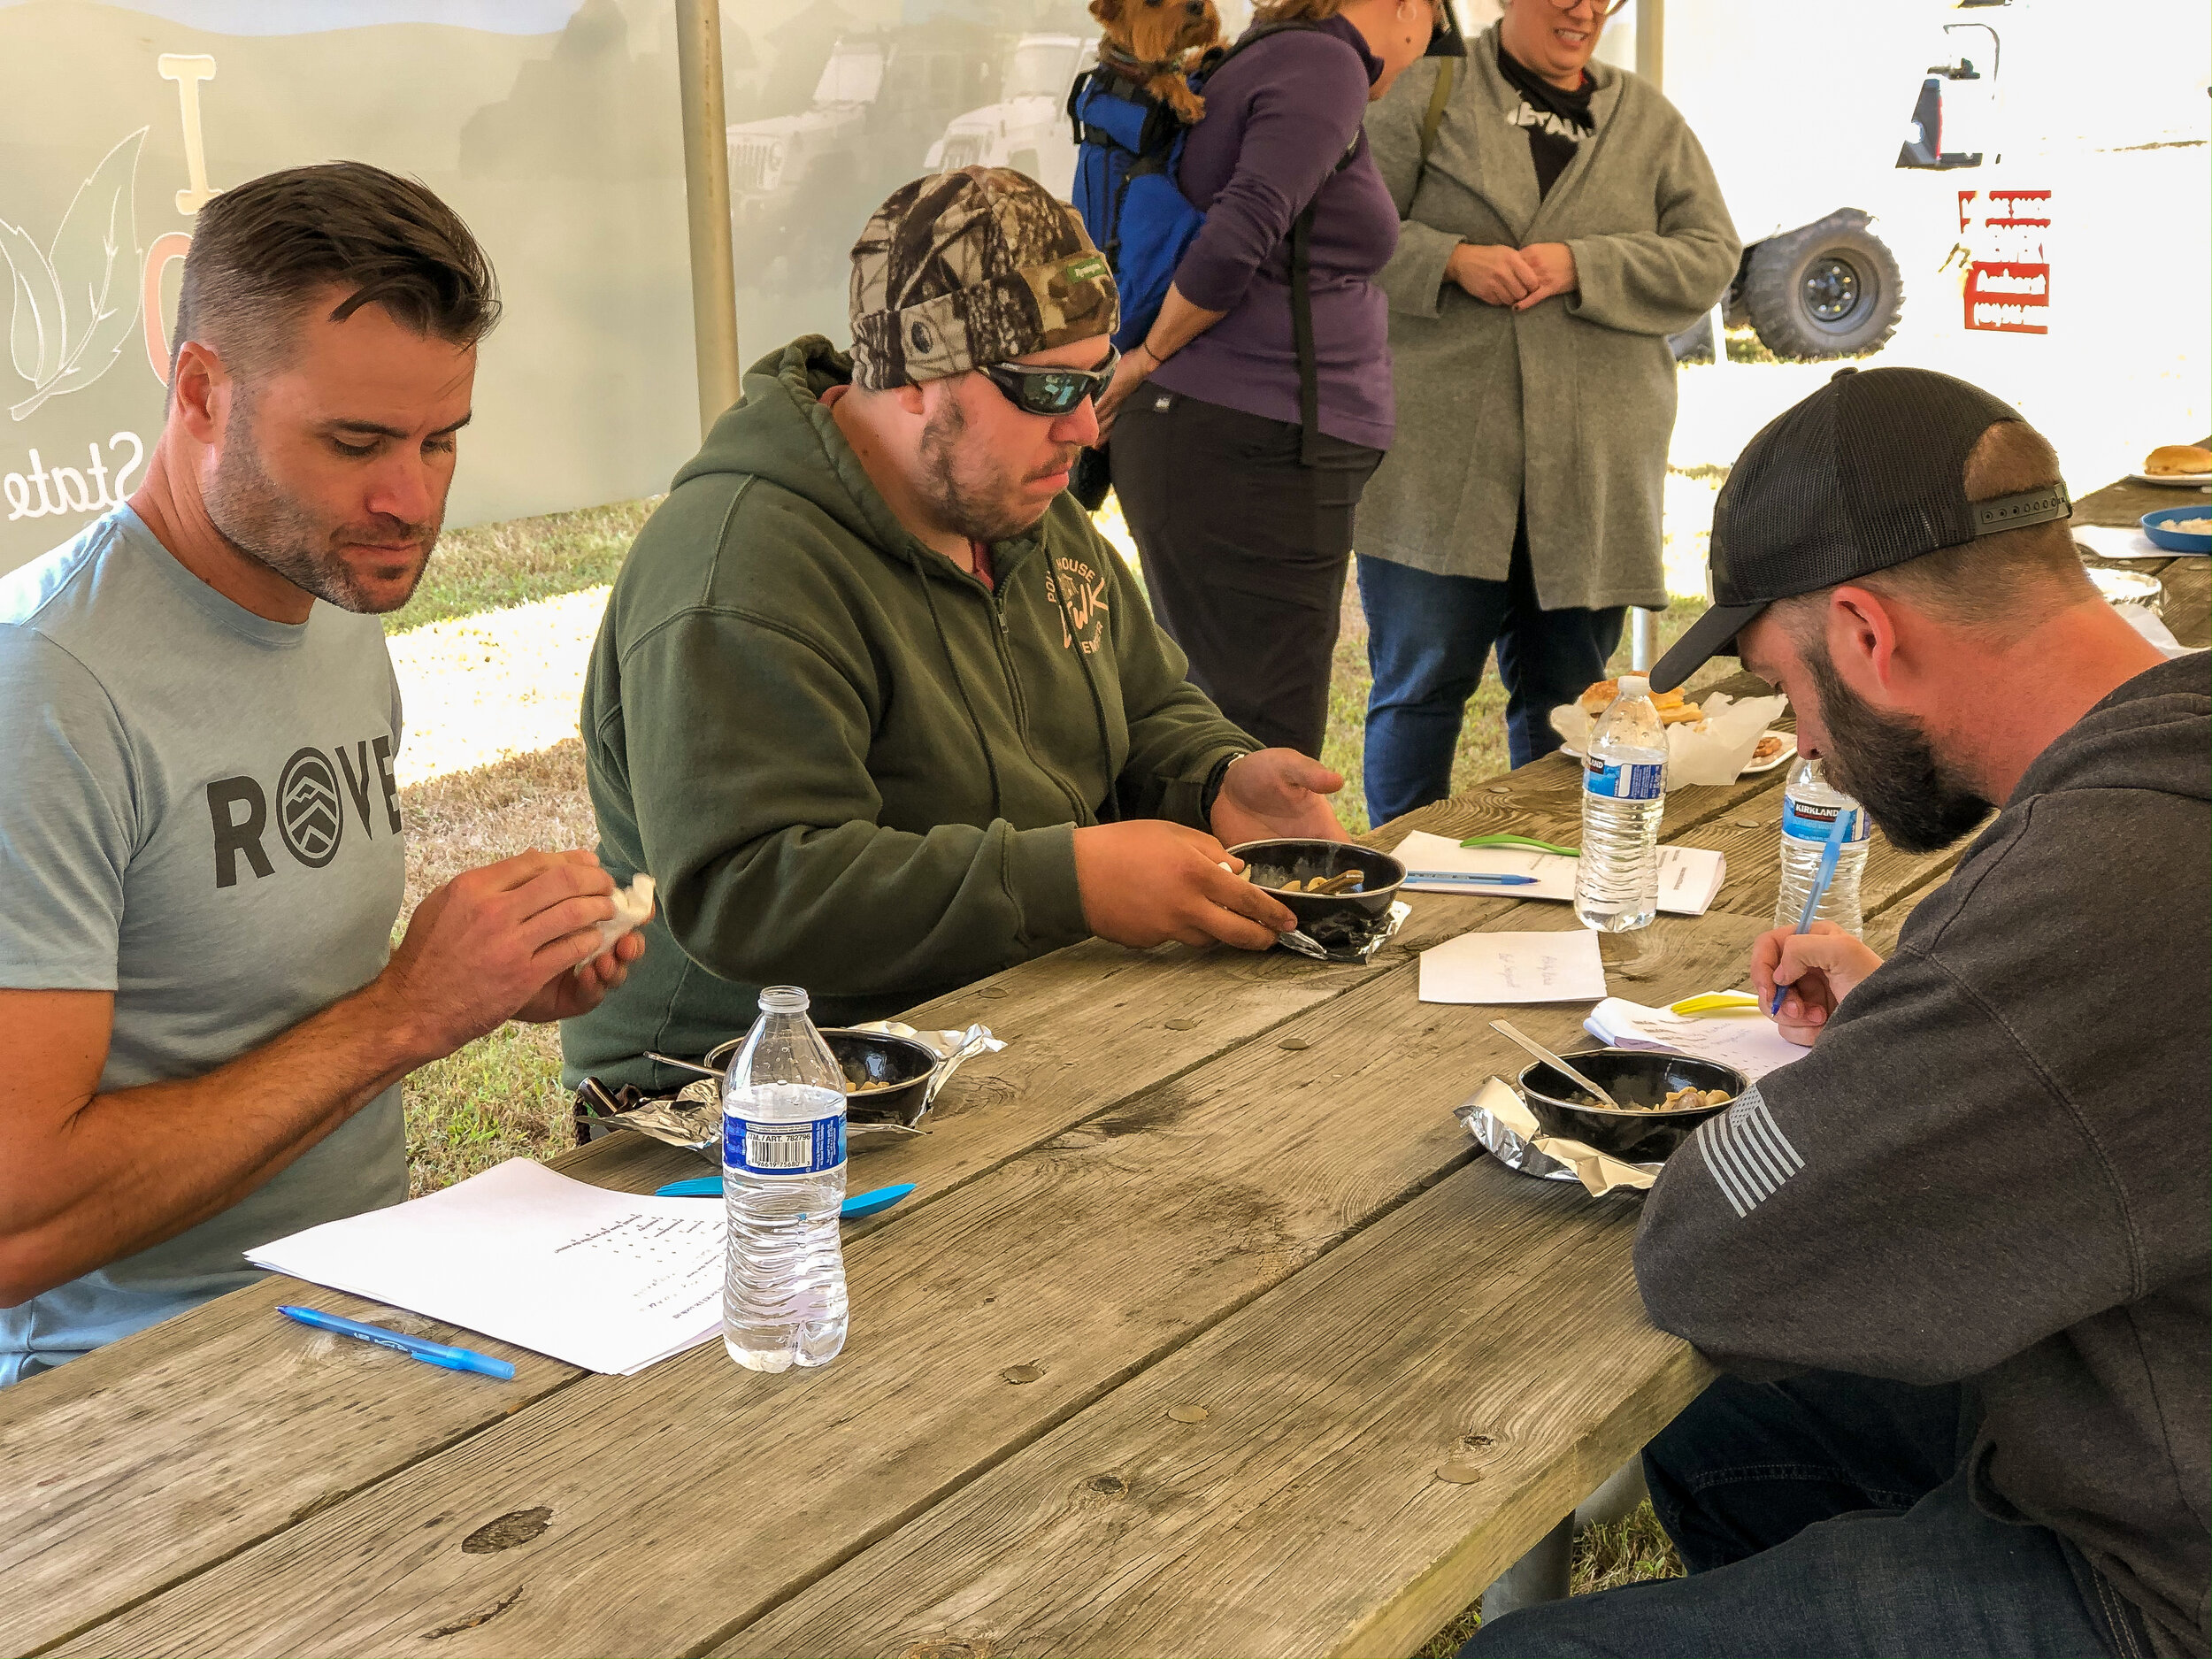
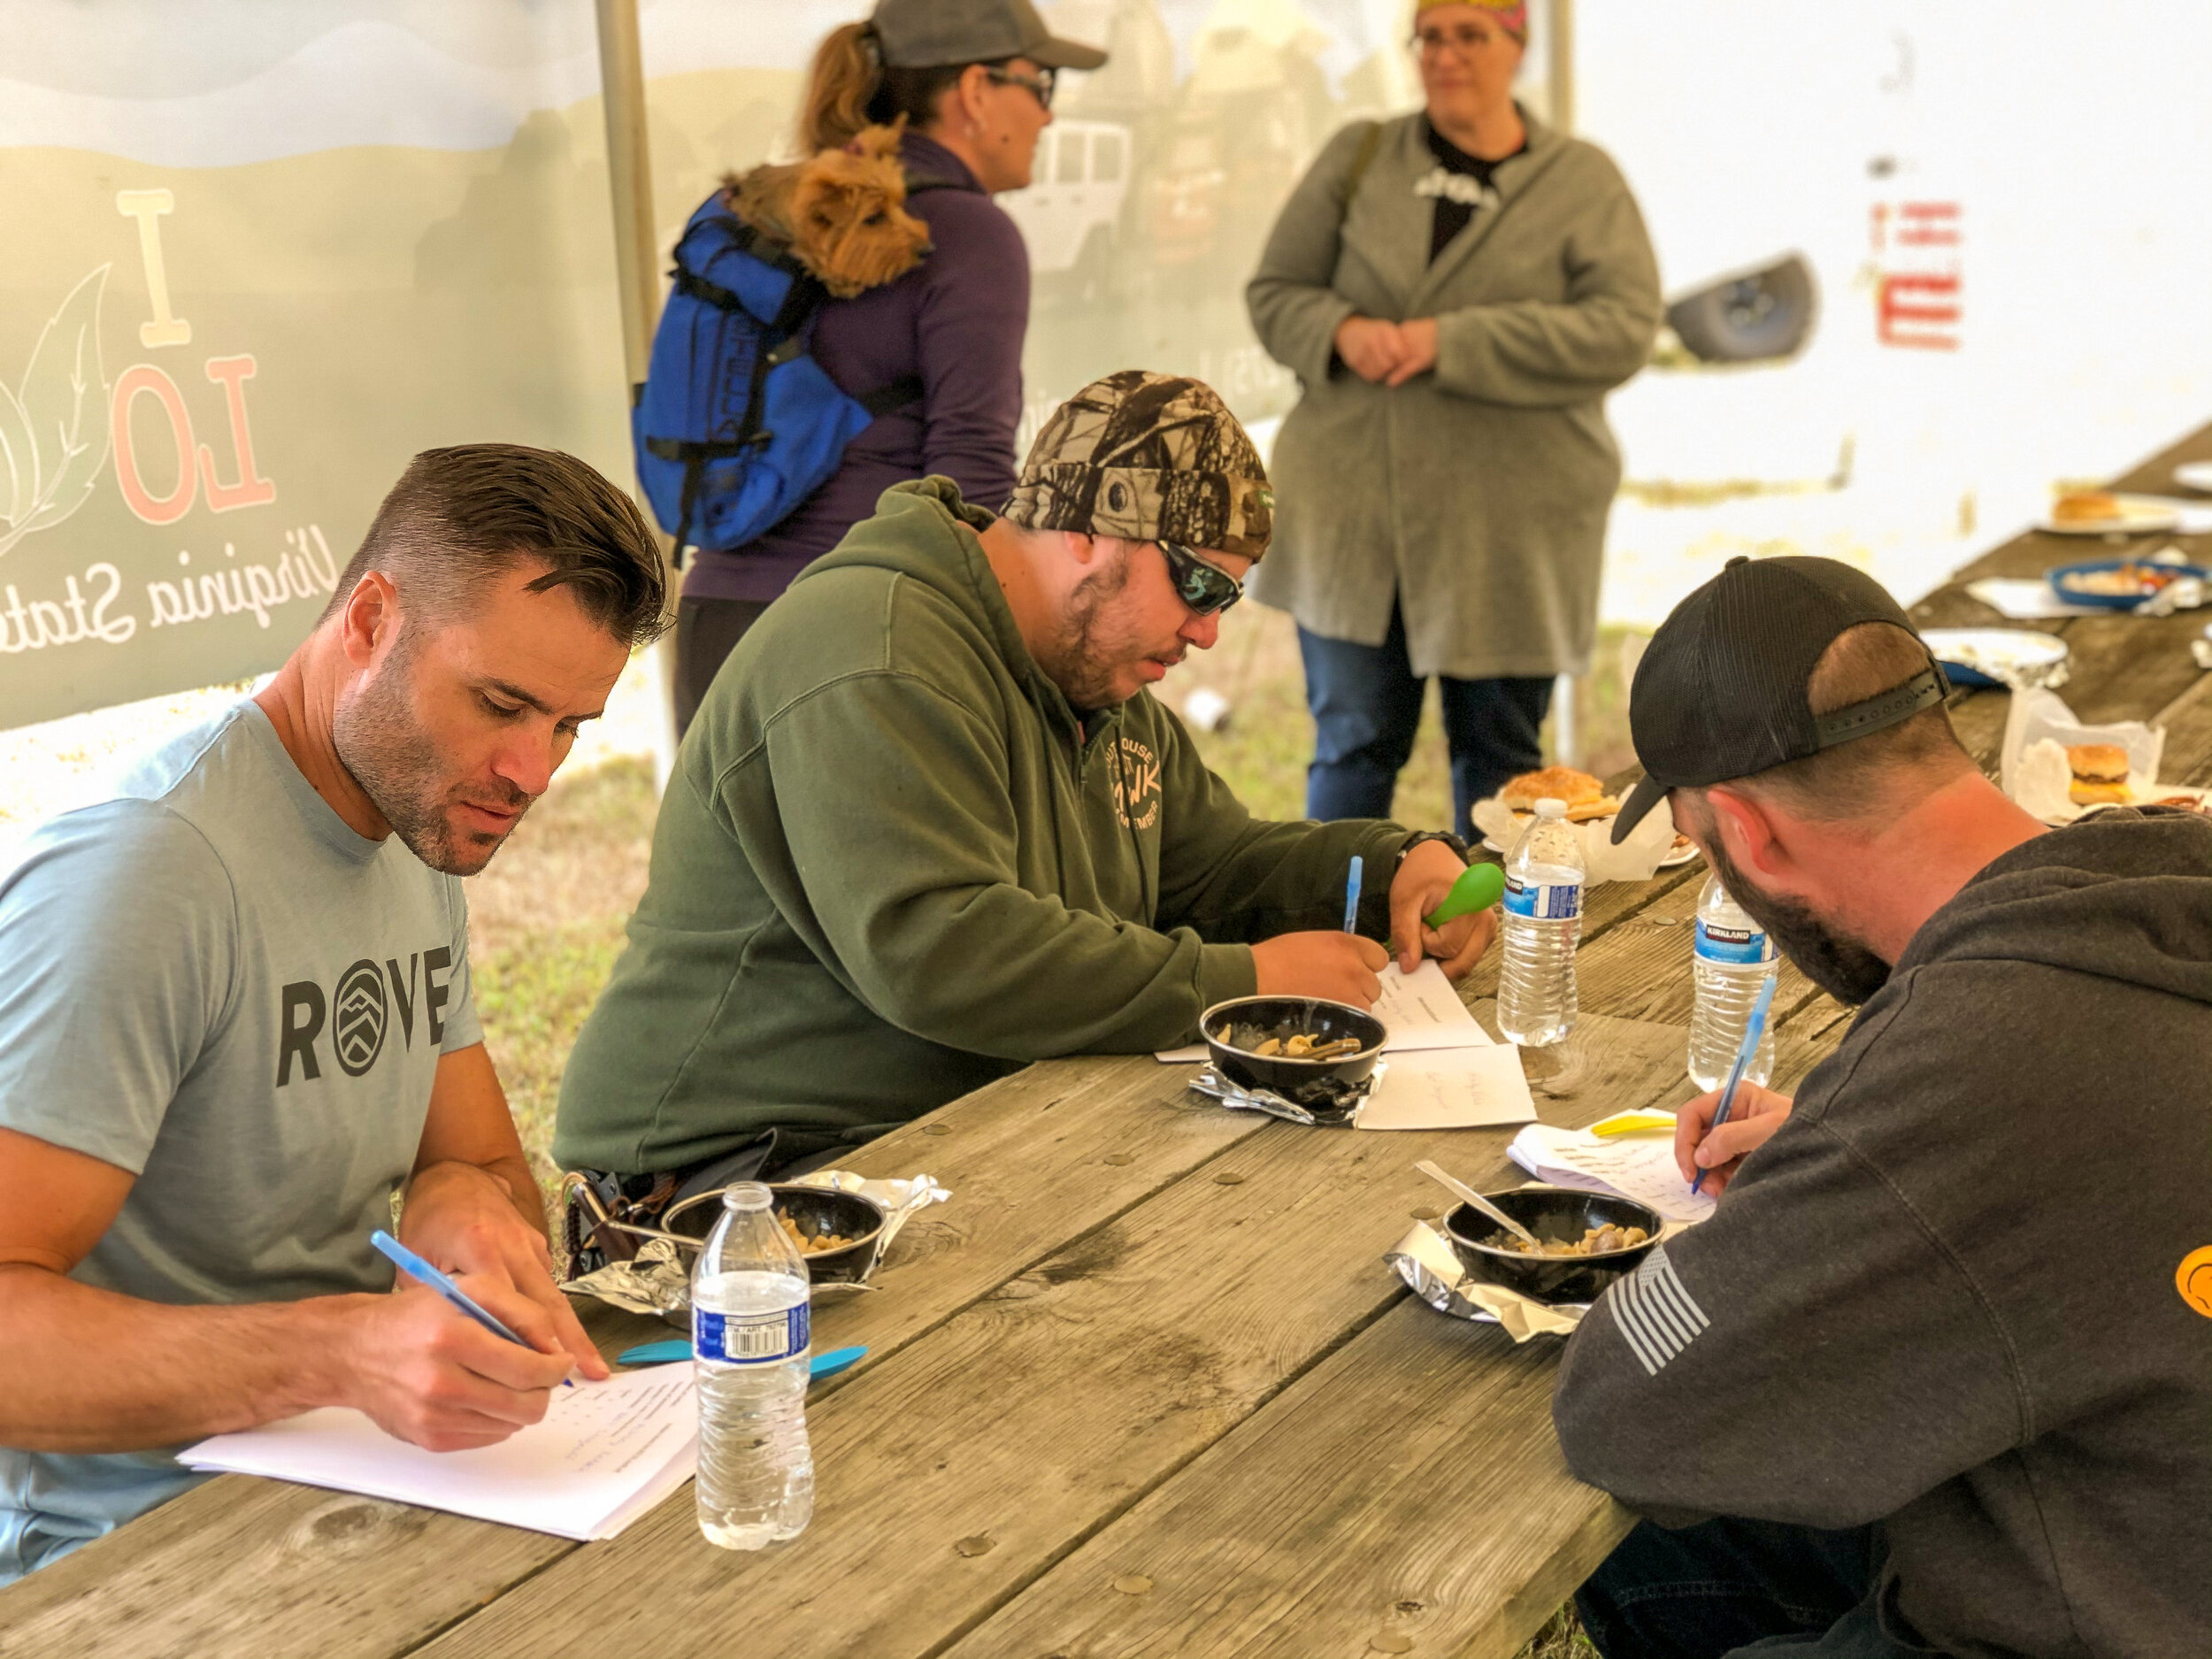
The Overlander Cook-off is one of the most recent additions to the RTTR events list and is quickly growing in popularity. Now in its second year, contestants engage in a culinary competition that is sure to wow the masses. This year the format for the competition had changed slightly, eliminating the appetizer portion as a requirement, thus allowing the contestants more time to focus on their amazing camp creations. The rules for this event are simple. Cook one of your favorite camp meals as you would at camp and make sure you bring your “A-game.” This years contestants certainly did that! You can see them and check out their mouth watering culinary creations below.

IMG_4984.jpg


Contestants:

IMG_0366.jpg

Name:

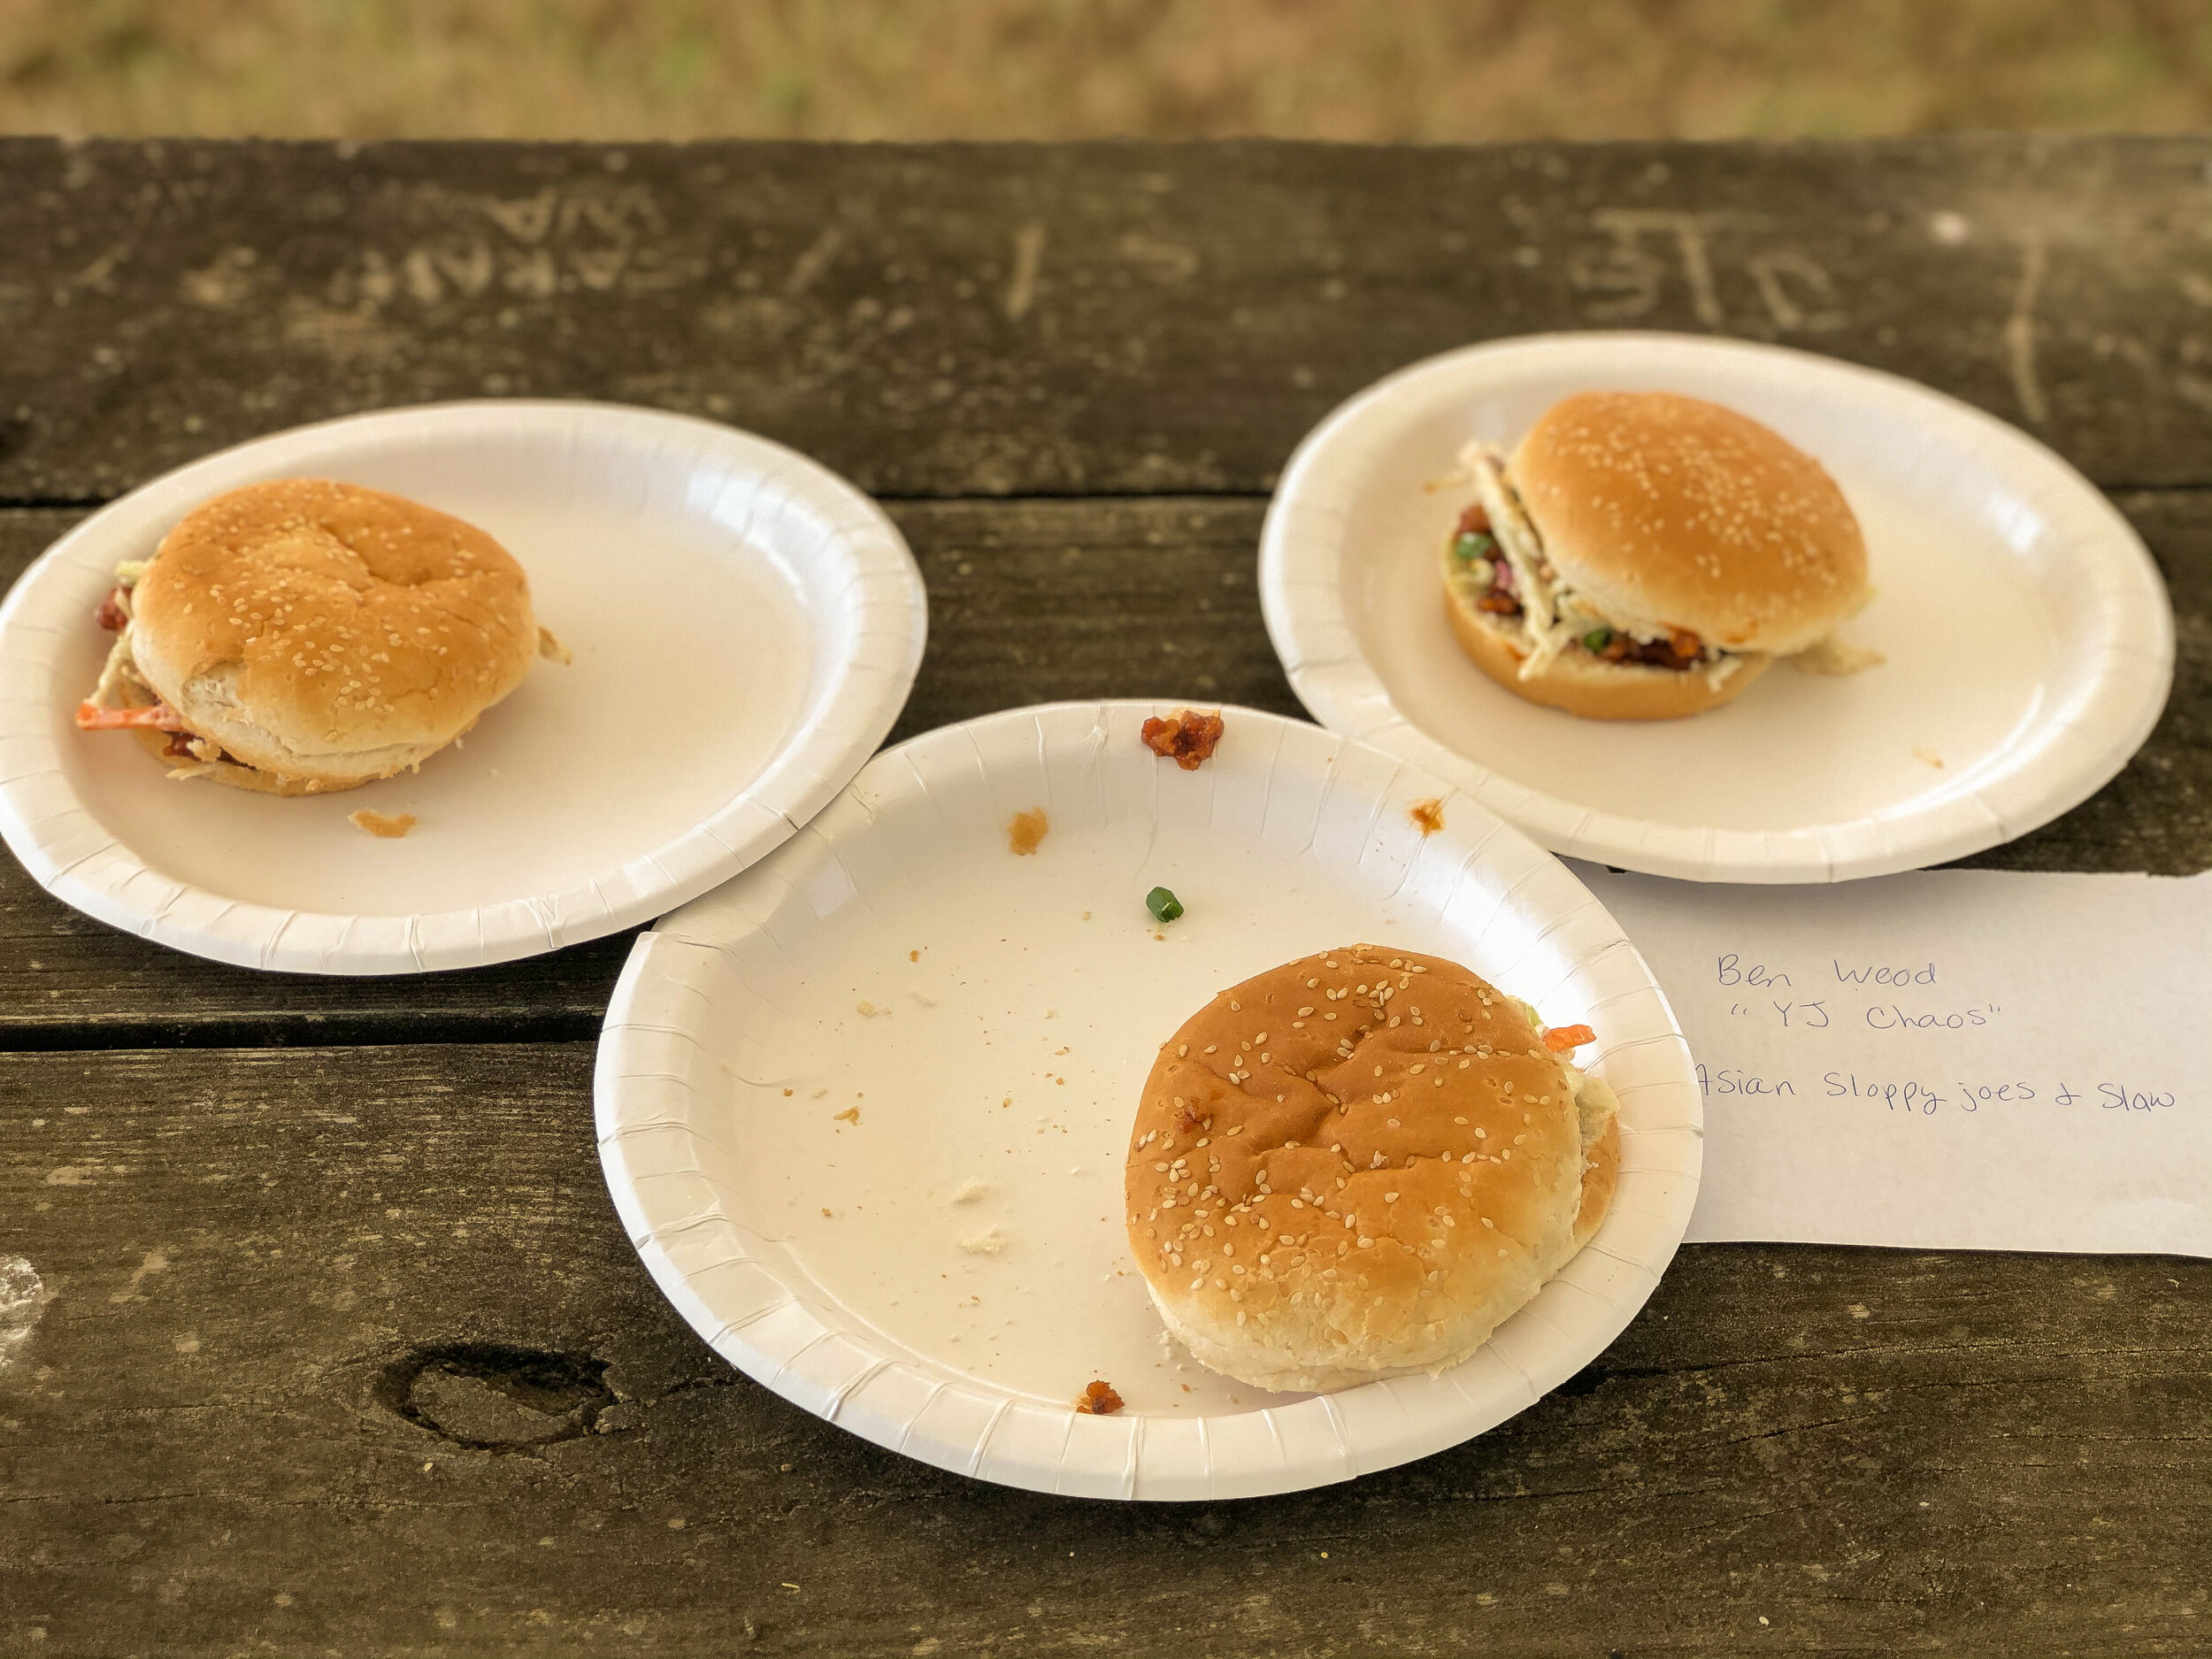
Ben Wood

Social Media:

Ben Wood (Facebook)

Dish:

Asian Sloppy Joes with Slaw

Cooking Device:

Coleman two burner stove


IMG_0351.jpg

Name:

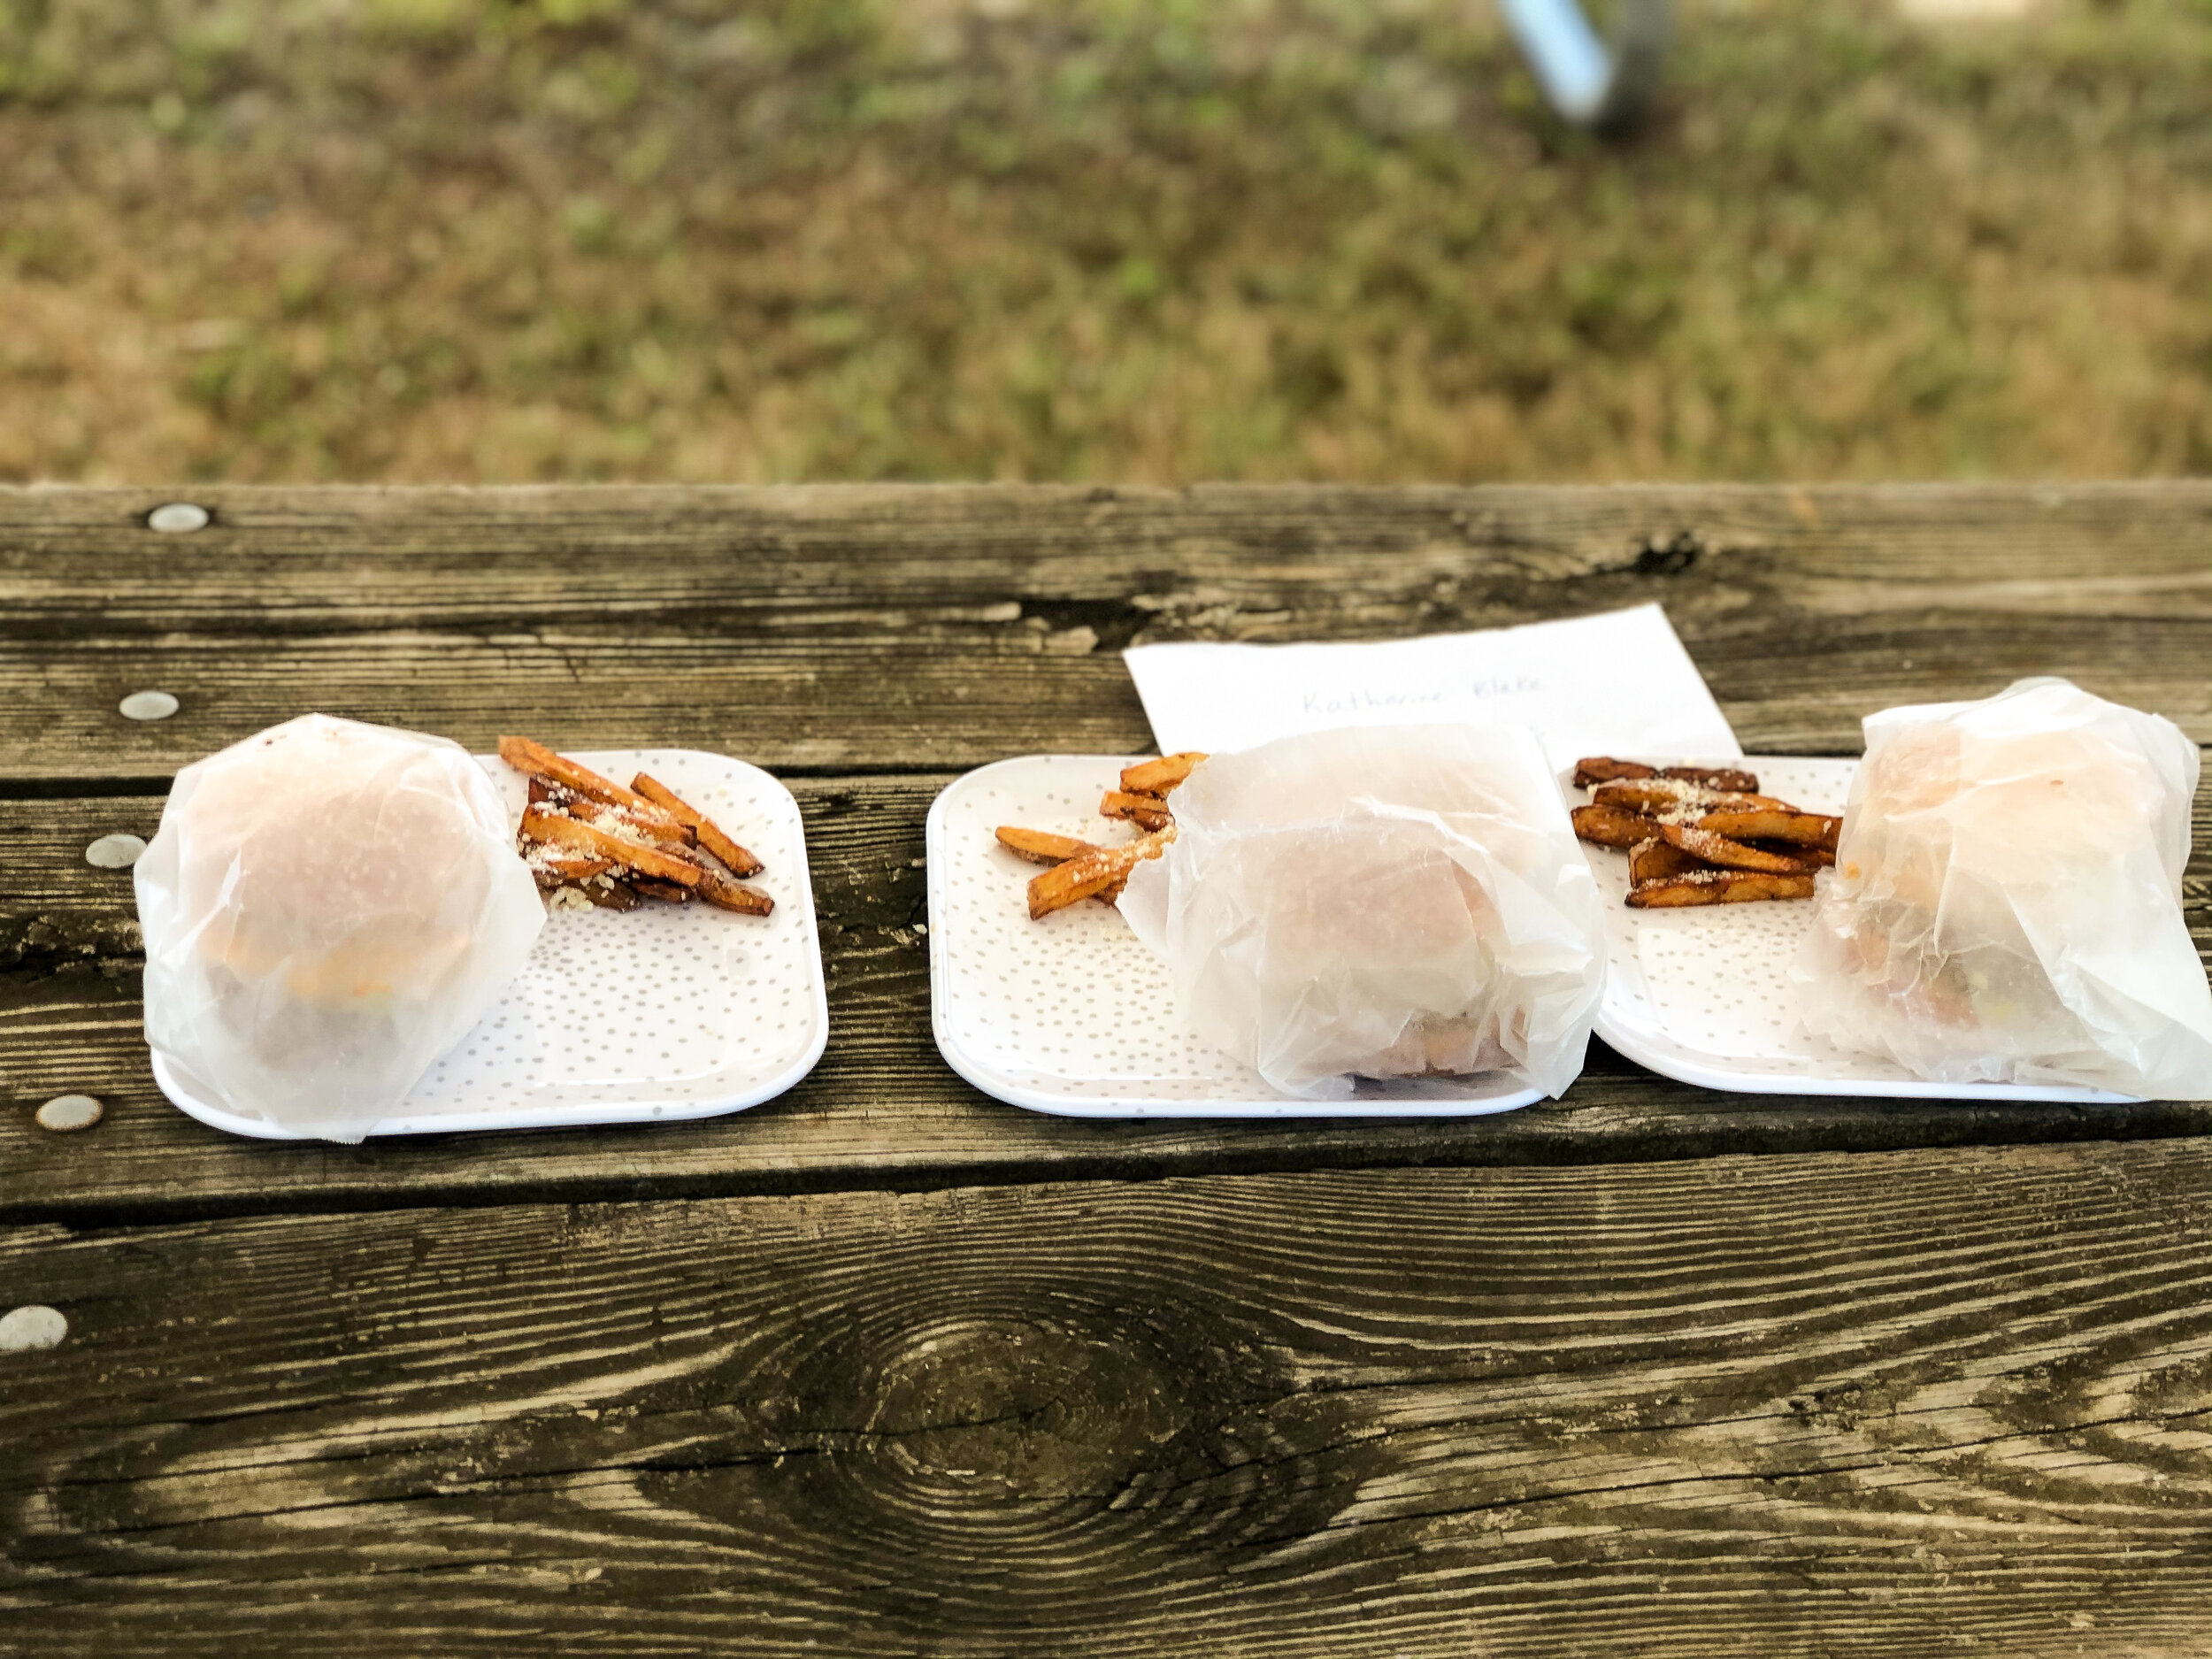
Katherine Blake

Social Media:

@katherineblake (Instagram)

 Katherine Blake (Facebook)

Dish:

Big Mac w/Fresh Fries

Cooking Device:

Tembo Tusk Skottle


IMG_0362.jpg

Name:

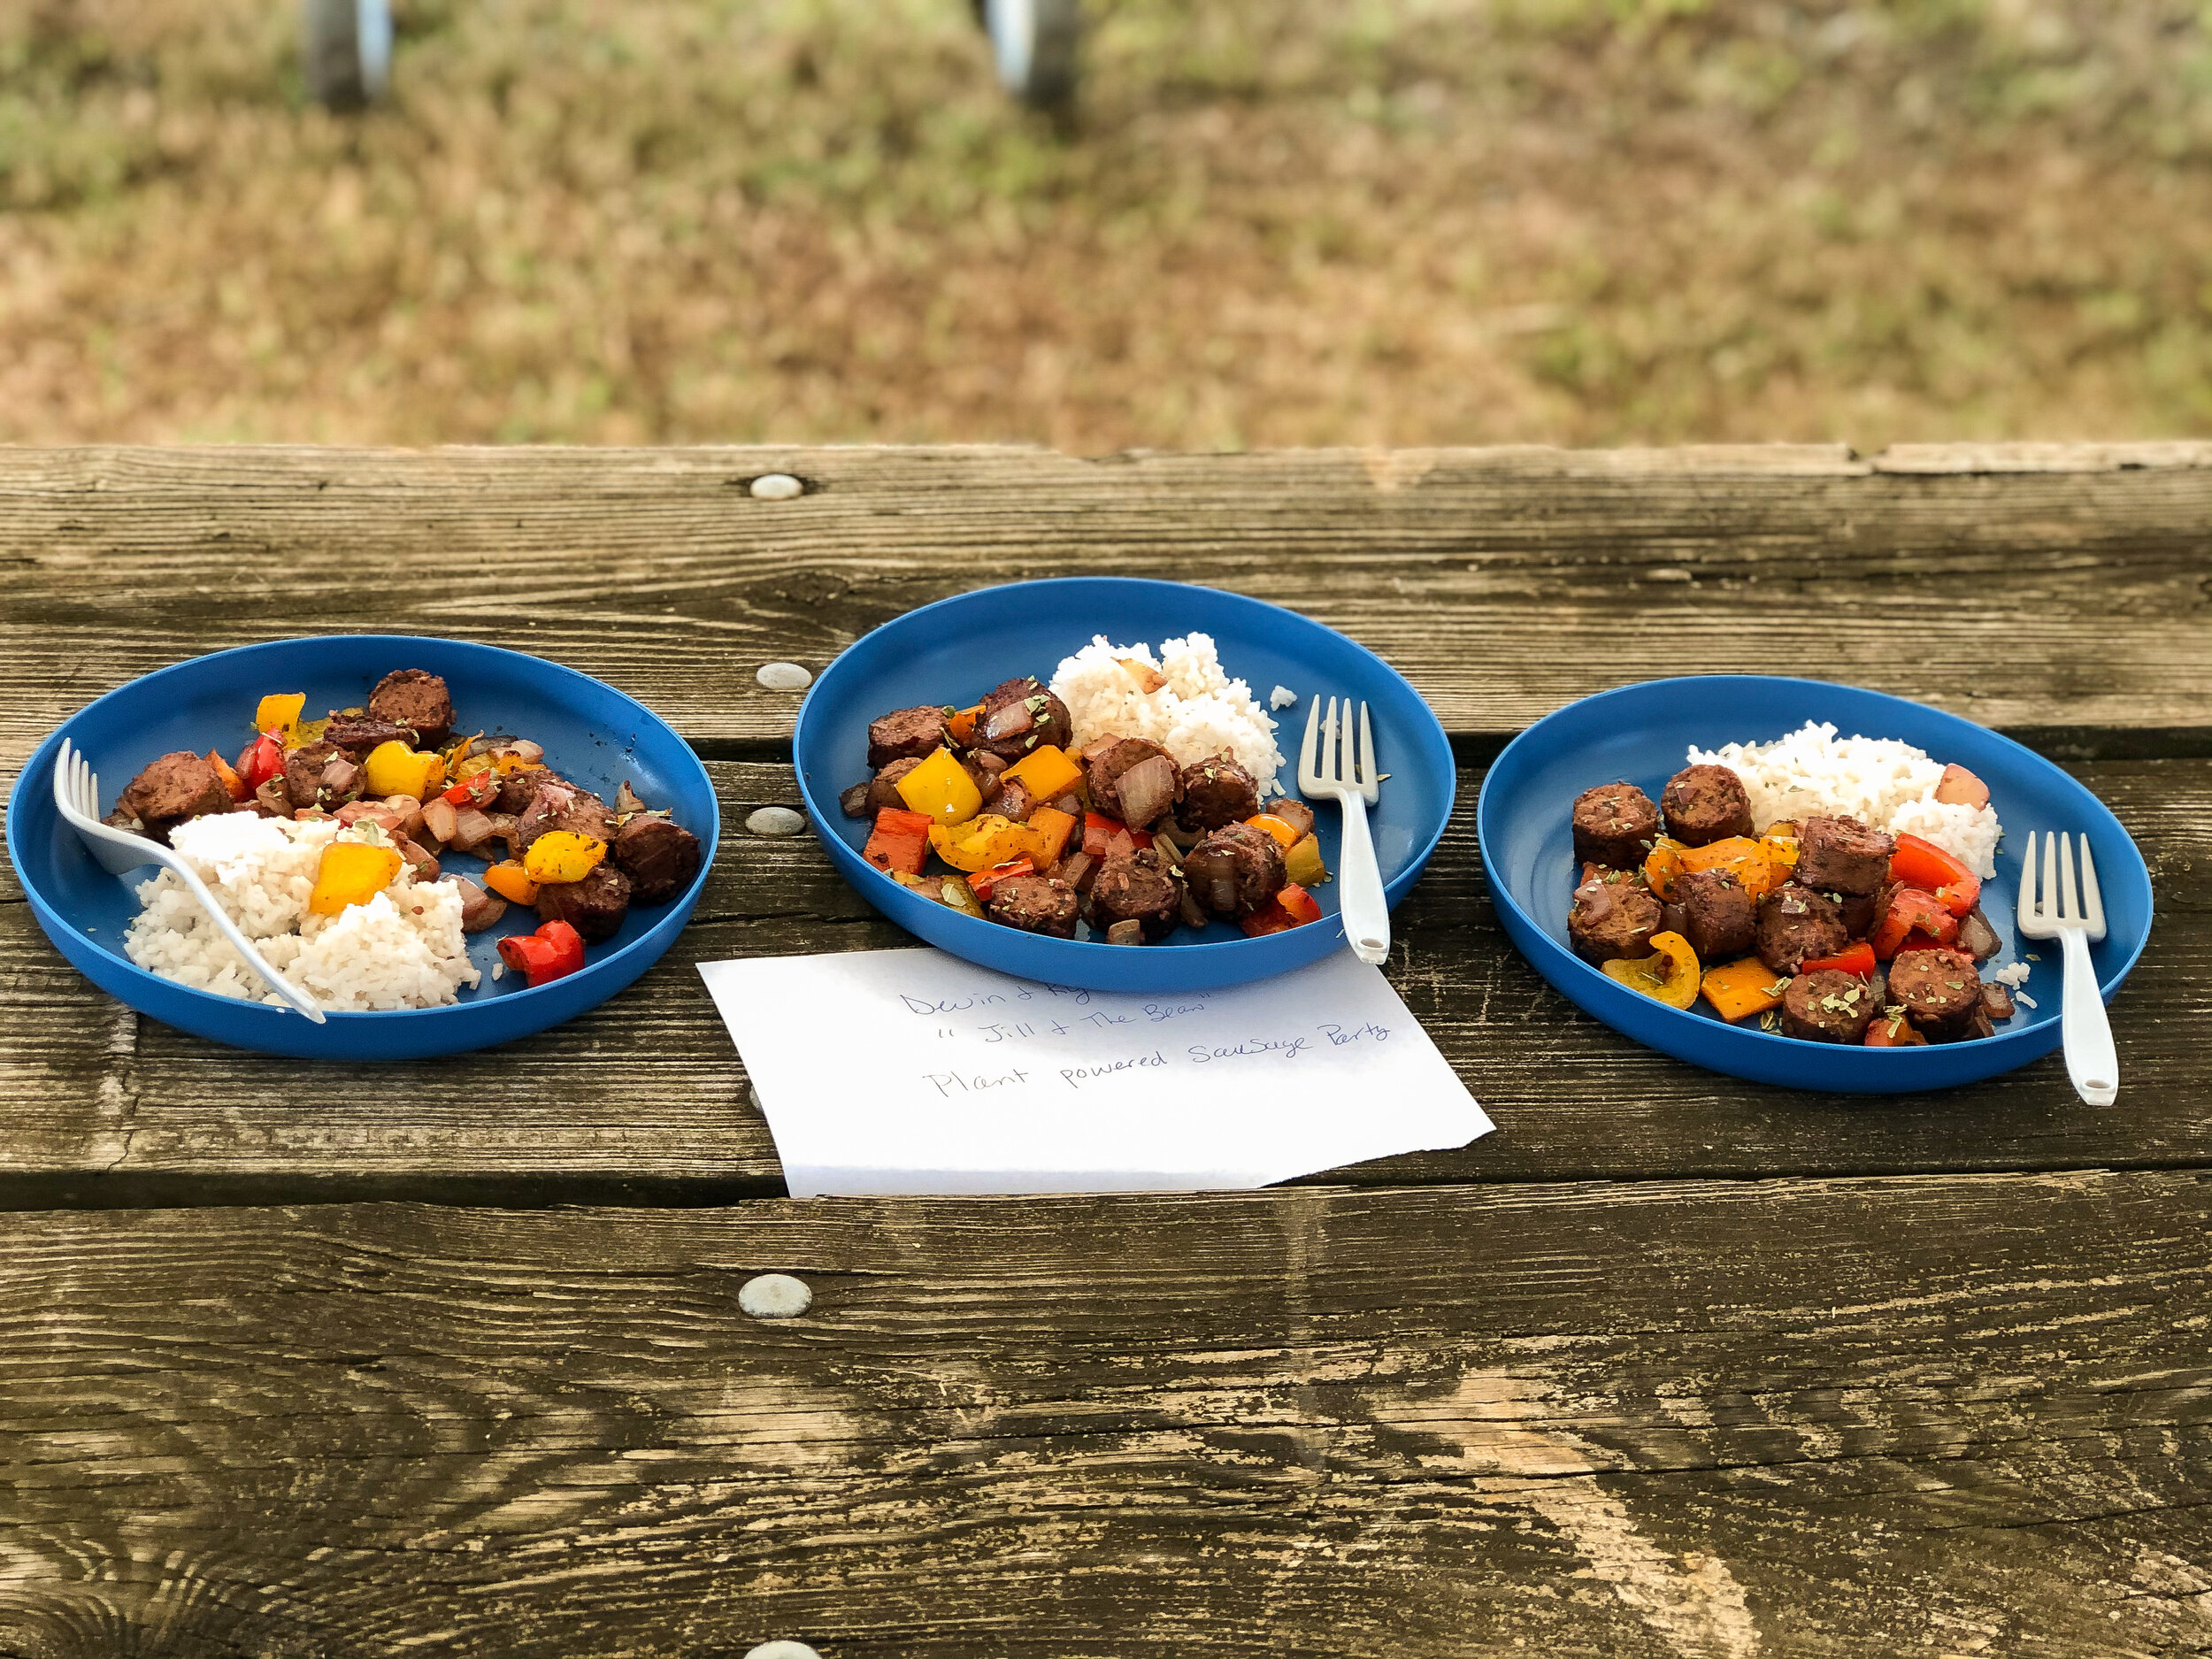
Devin Treger & Kyle Thompson

Social Media:

Devin Treger (Facebook)

 @devtreger (Instagram)

 Kyle KP Thompson (Facebook)

 @Dj_k9_gso (Instagram)

Dish:

Plant Powered Sausage Party

Cooking Device:

Coleman two burner stove and Jetboil


IMG_0353.jpg

Name:

Brian Nabywaniec & TJ Shaffer

Social Media:

@i_do_da_jeepin (instagram)

Dish:

Flank Steak w/Chimichurri, Double Cooked Potatoes & Sautéed Green Bean w/Bacon

Cooking Device:

Coleman two burner stove and Jetboil


IMG_0360.jpg

Name:

Ashley Aylestock

Social Media:

@gypsyoverland (Instagram)

Dish:

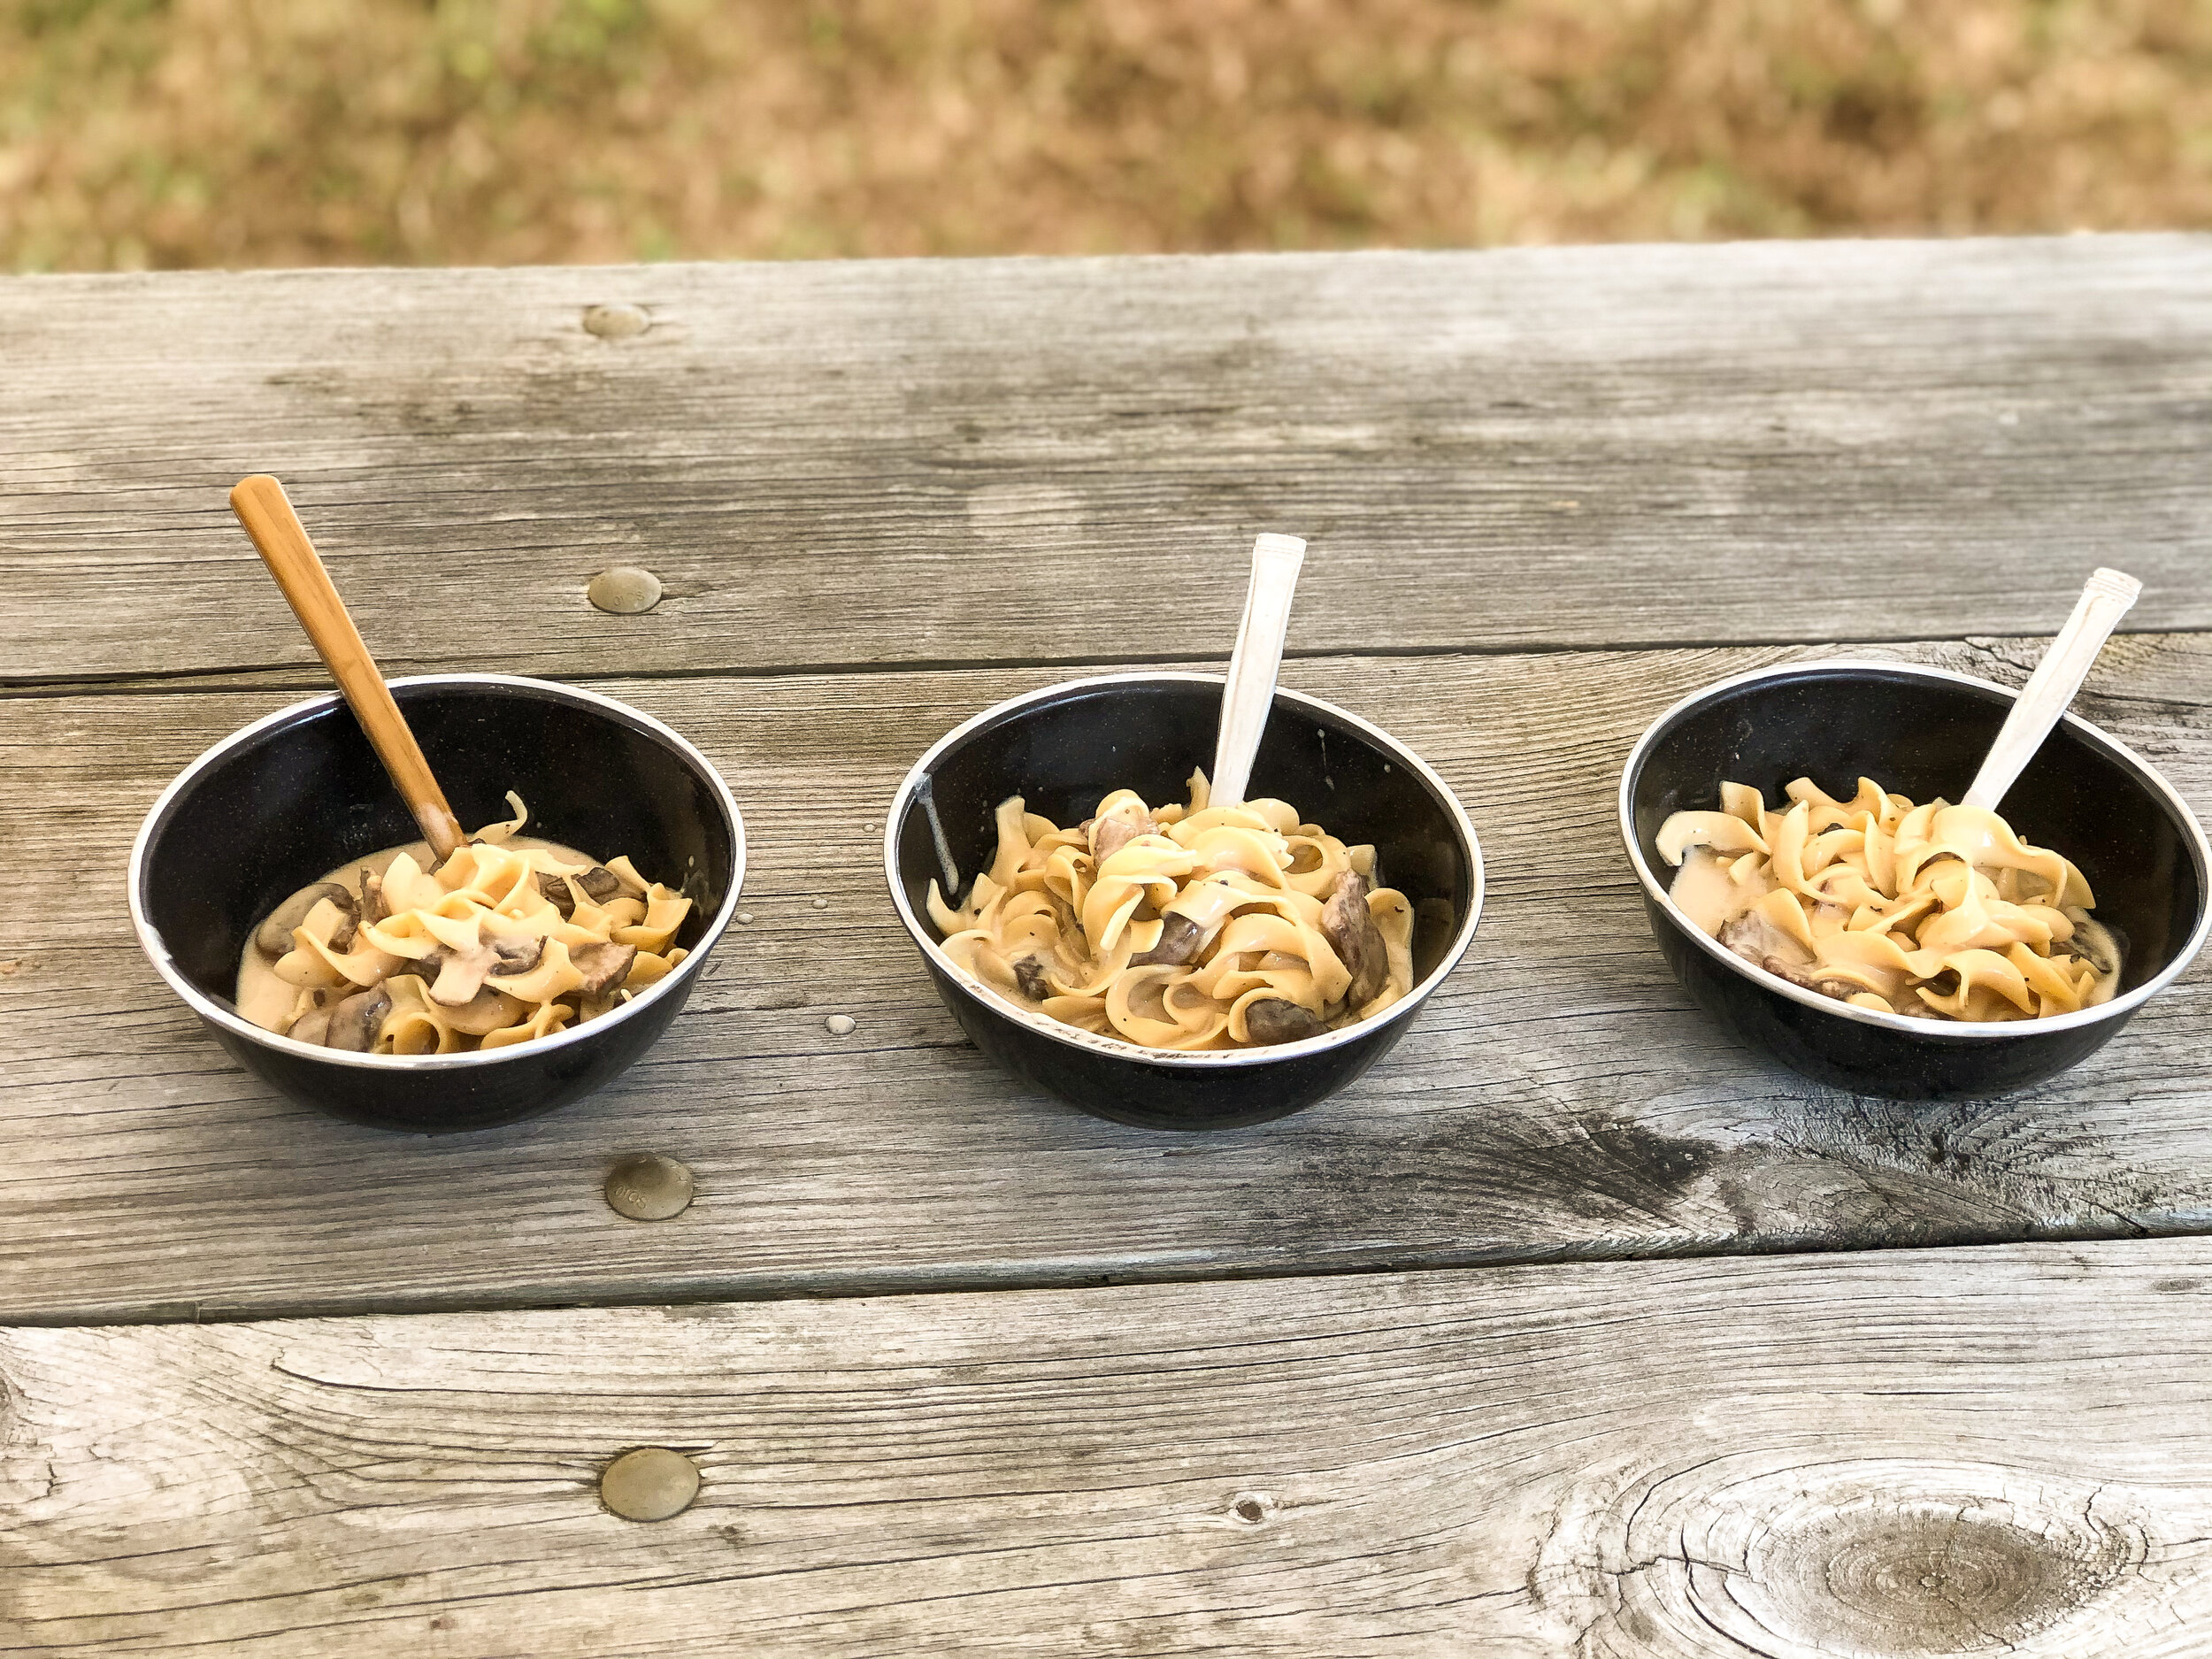
Beef Stroganoff

Cooking Device:

Tembo Tusk Skottle & Coleman single burner


IMG_0357.jpg

Name:

Matt Malloy

Social Media:

@porkchopexpress (Instagram)

Dish:

Polish Gumbo

Cooking Device:

Coleman two burner stove


IMG_0364.jpg

Name:

Ben Heriford

Social Media:

Ben Heriford (Facebook)

Dish:

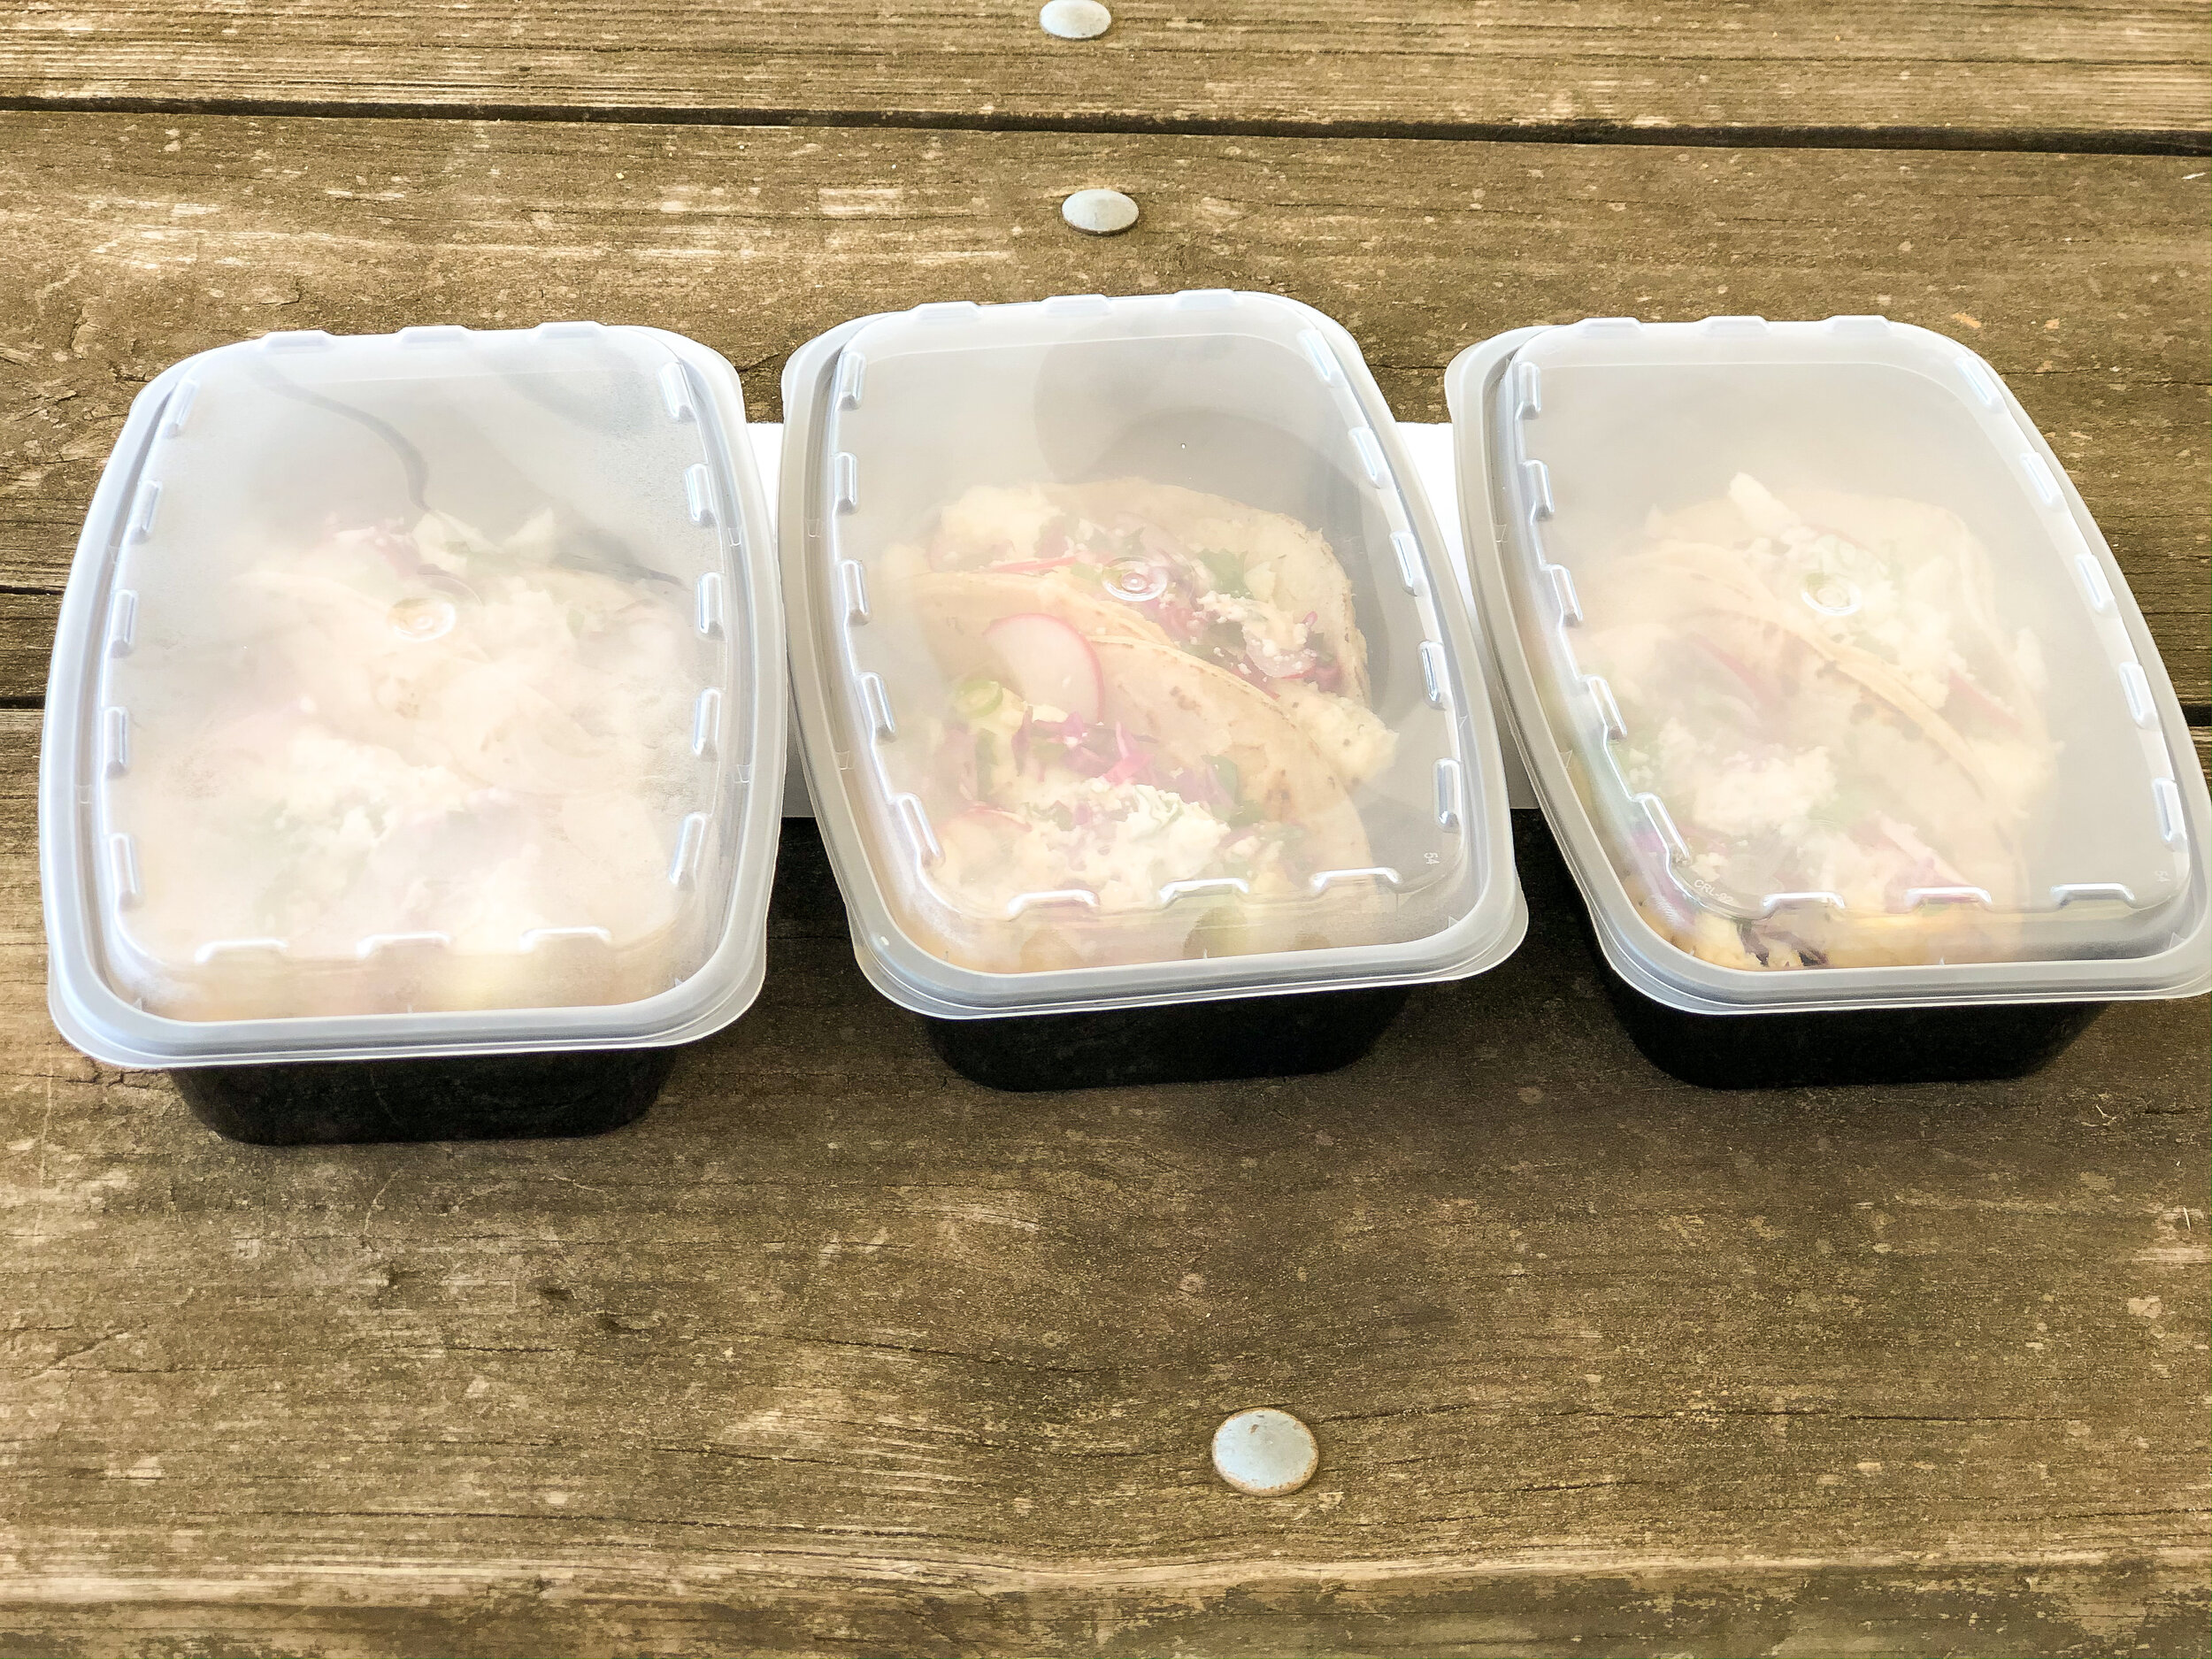
Halibut Tacos w/Cilantro Lime Sauce & Slaw

Cooking Device:

Coleman two burner stove


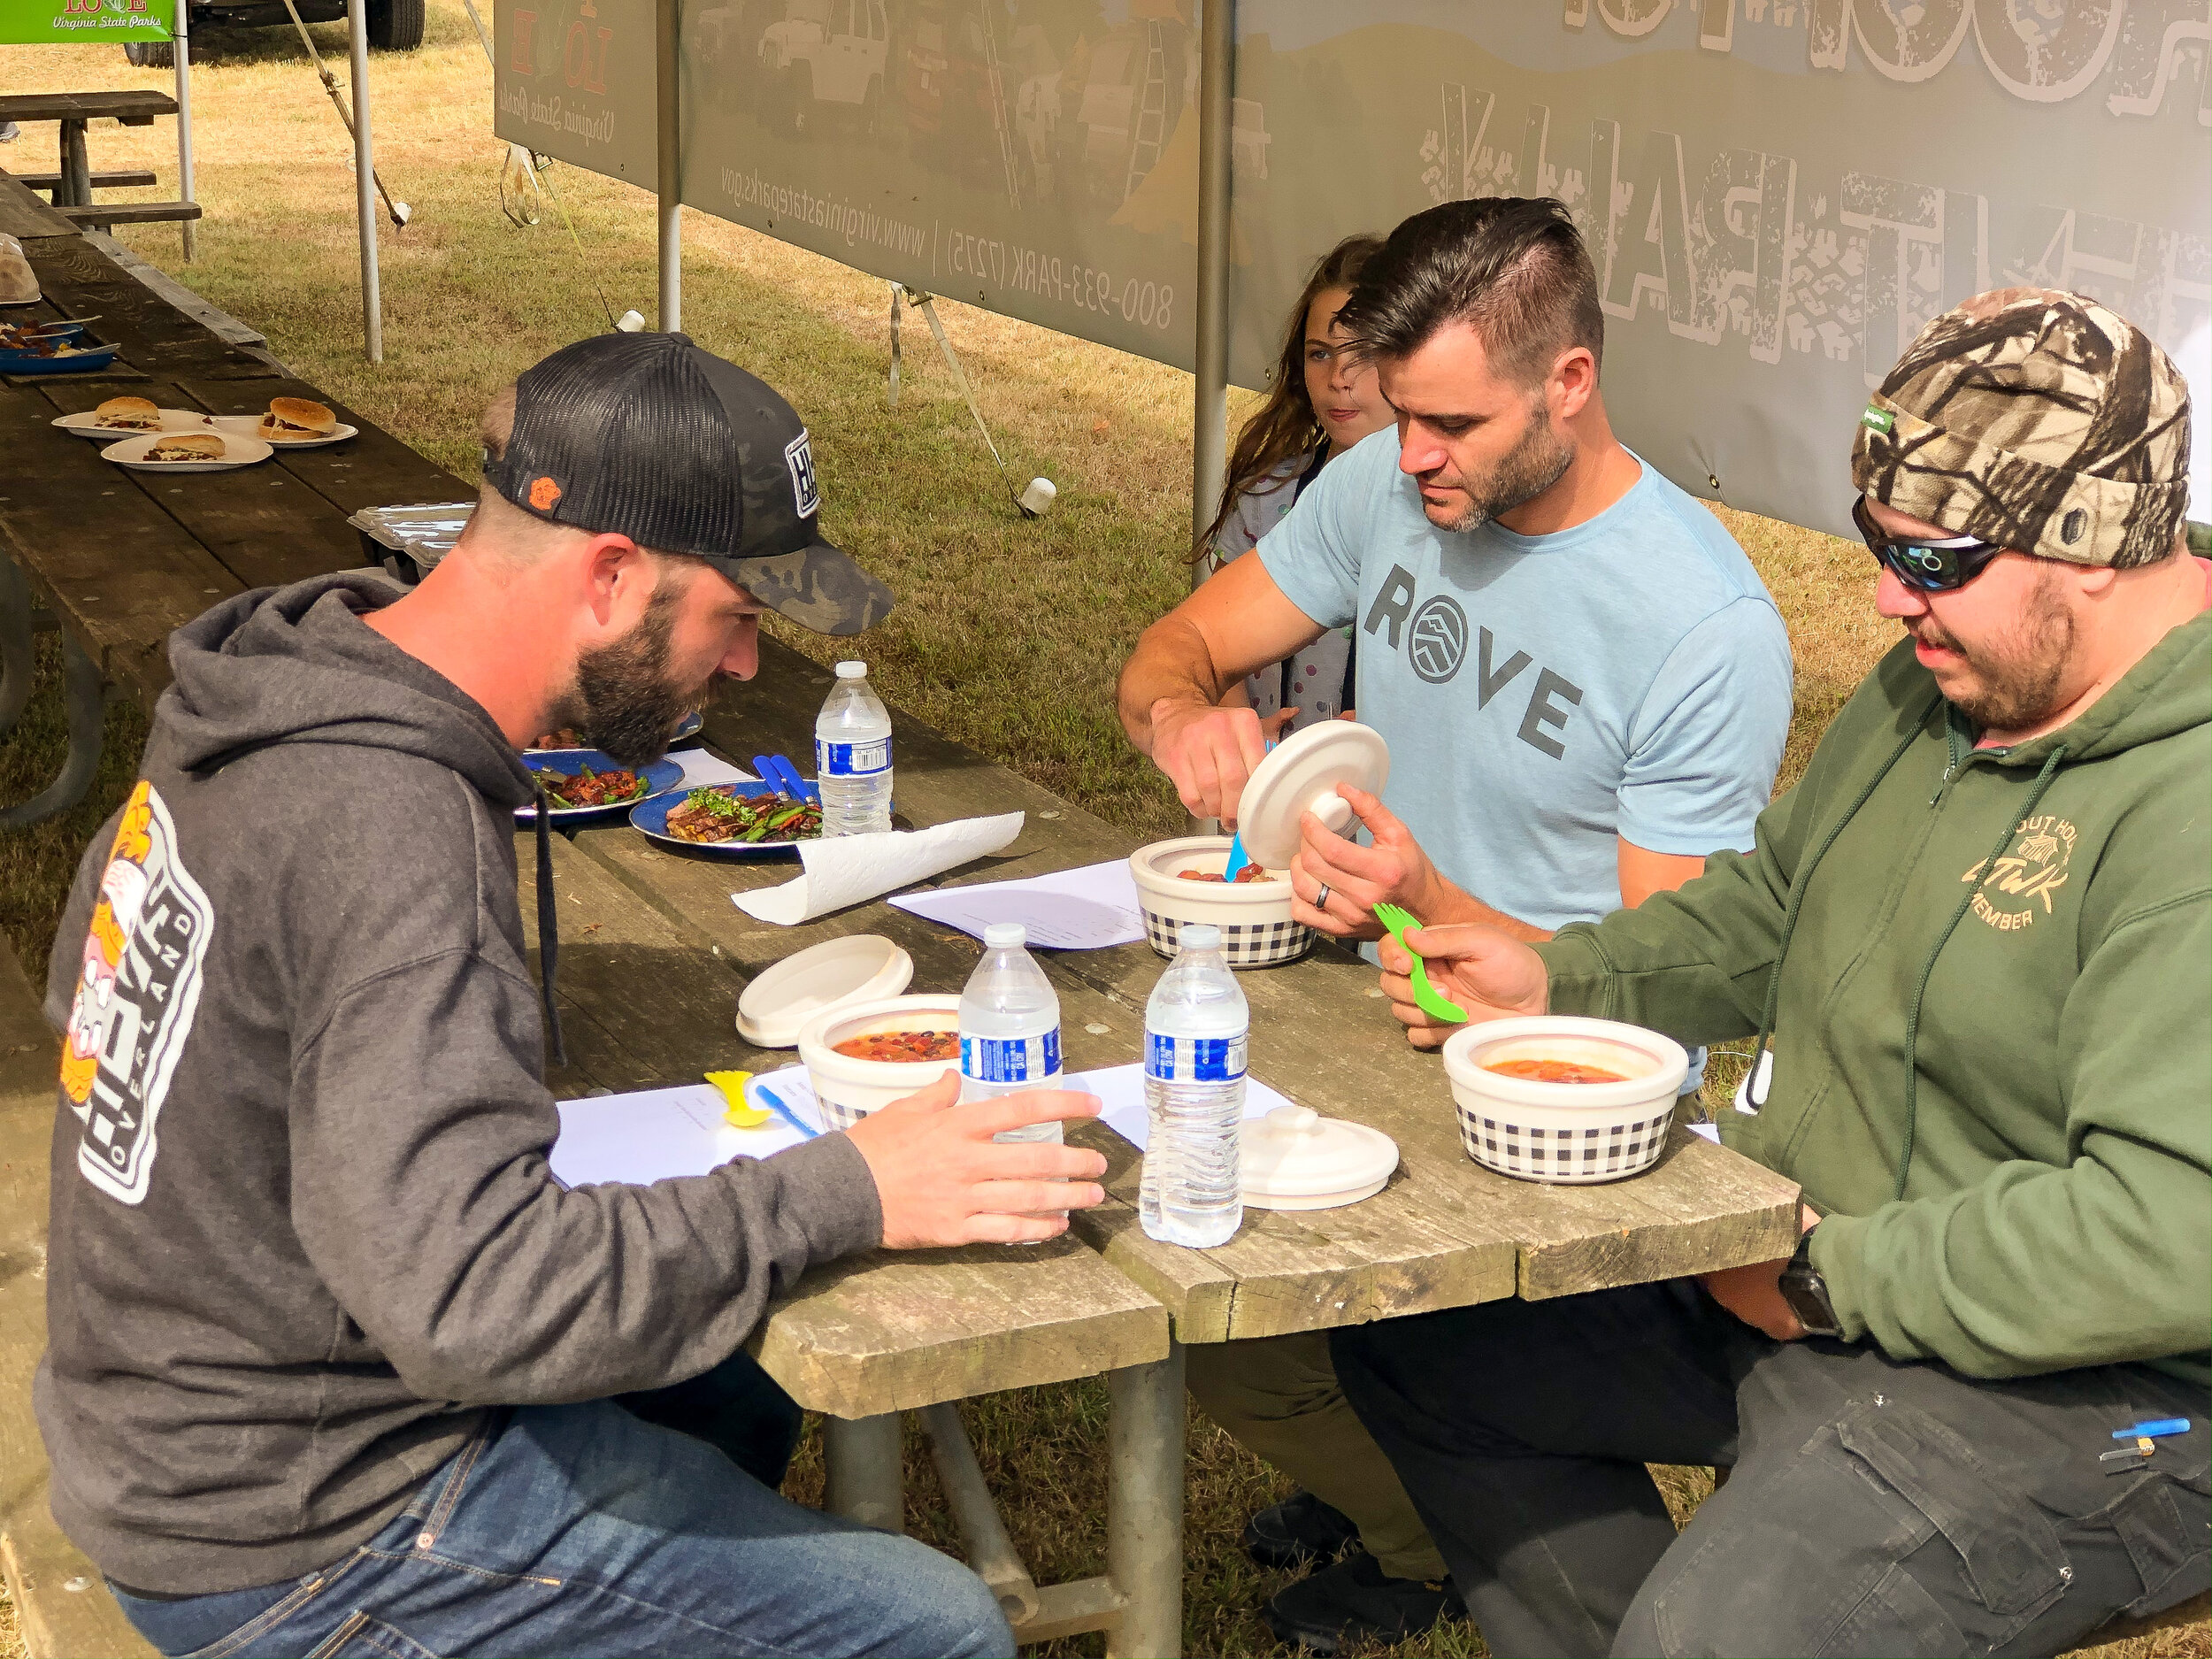
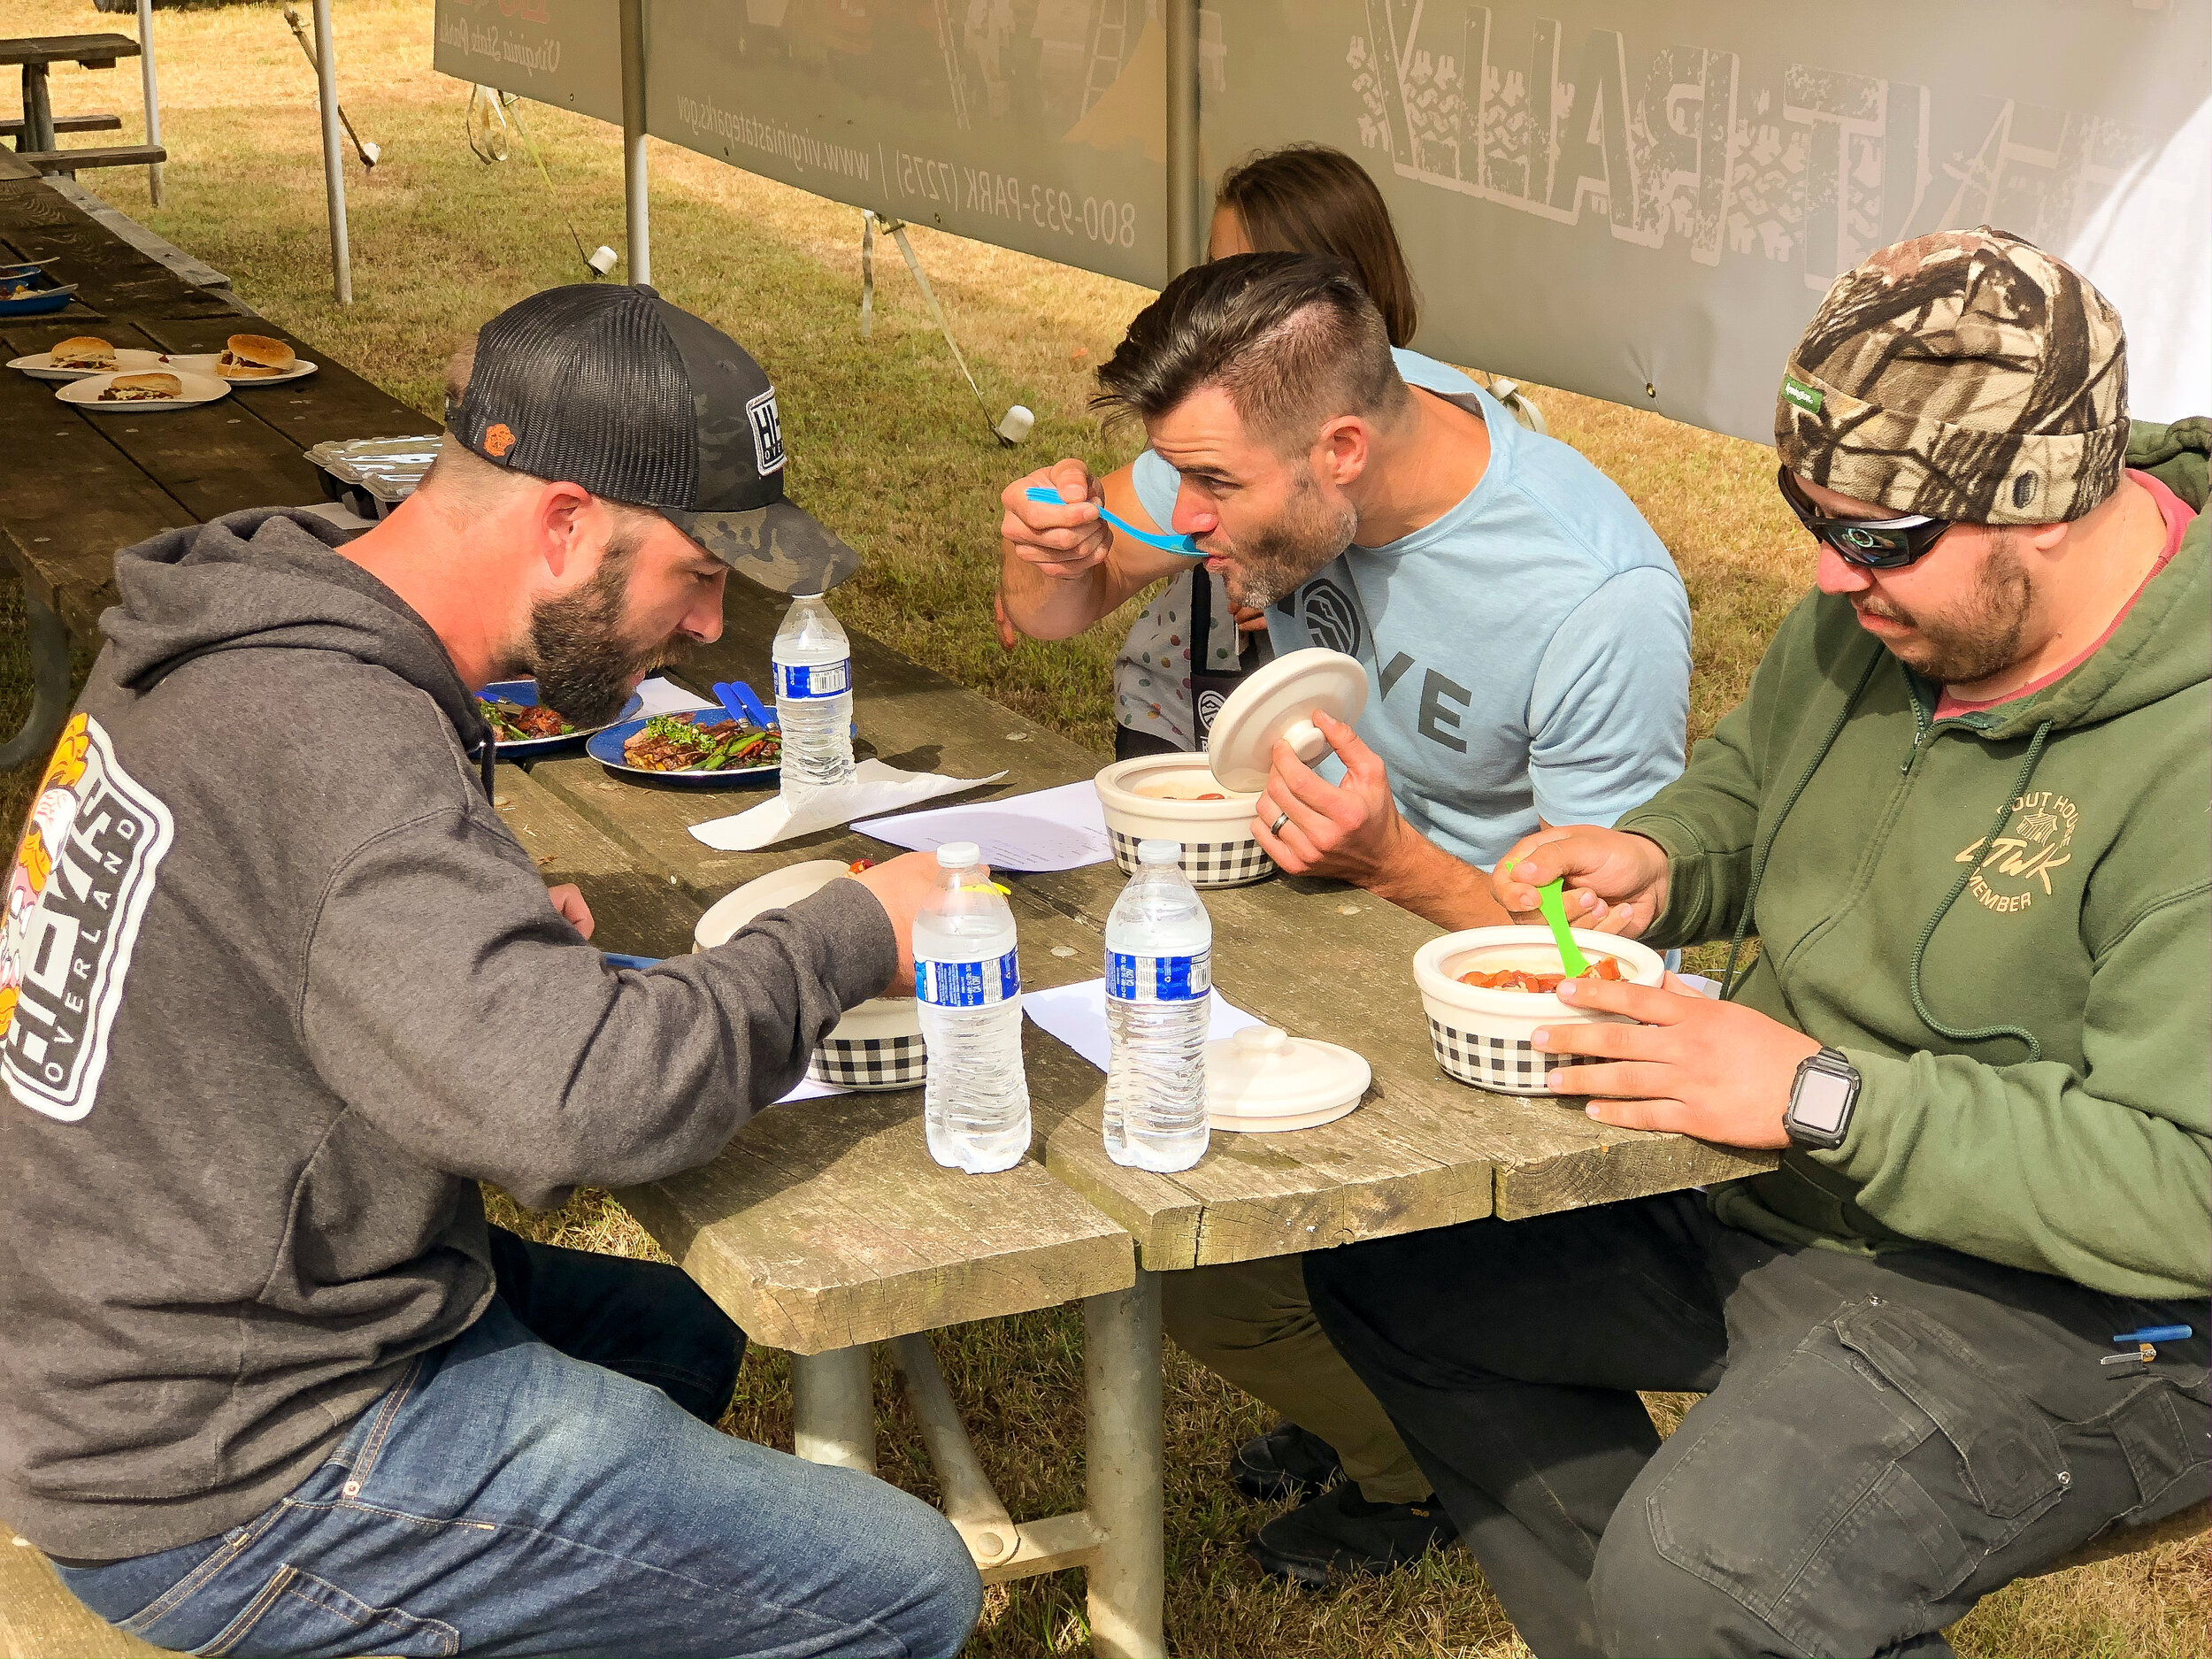
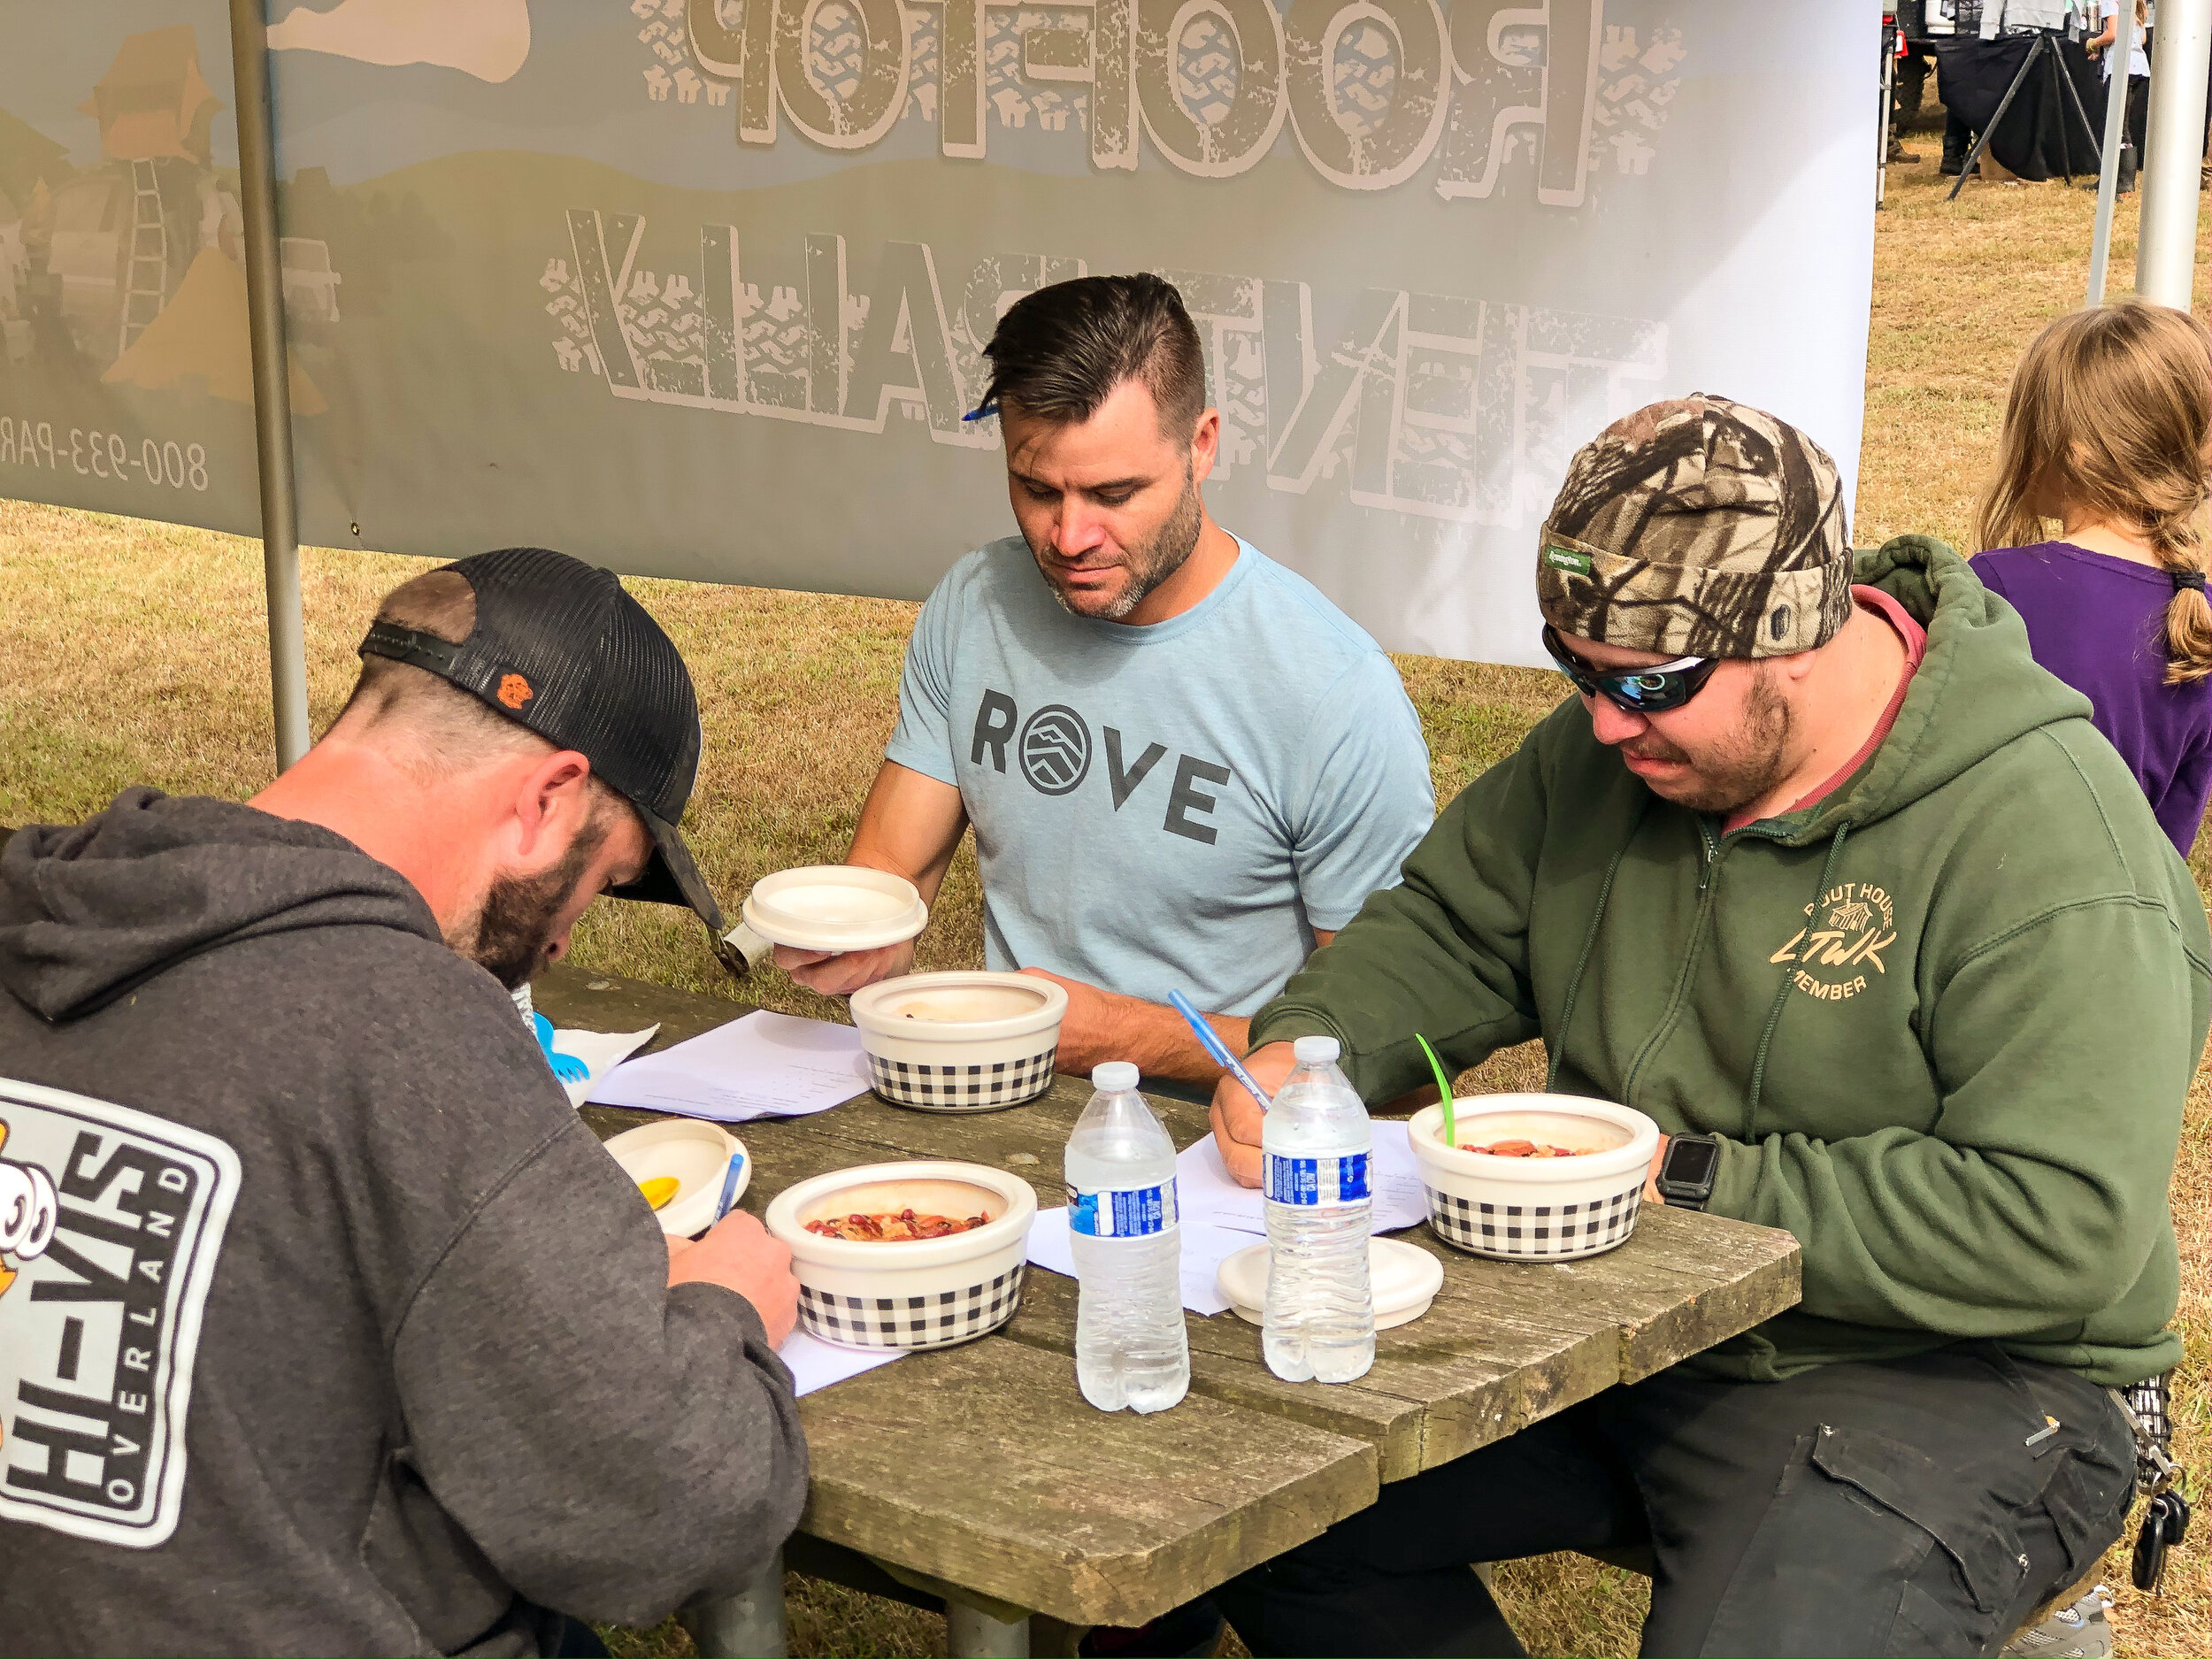
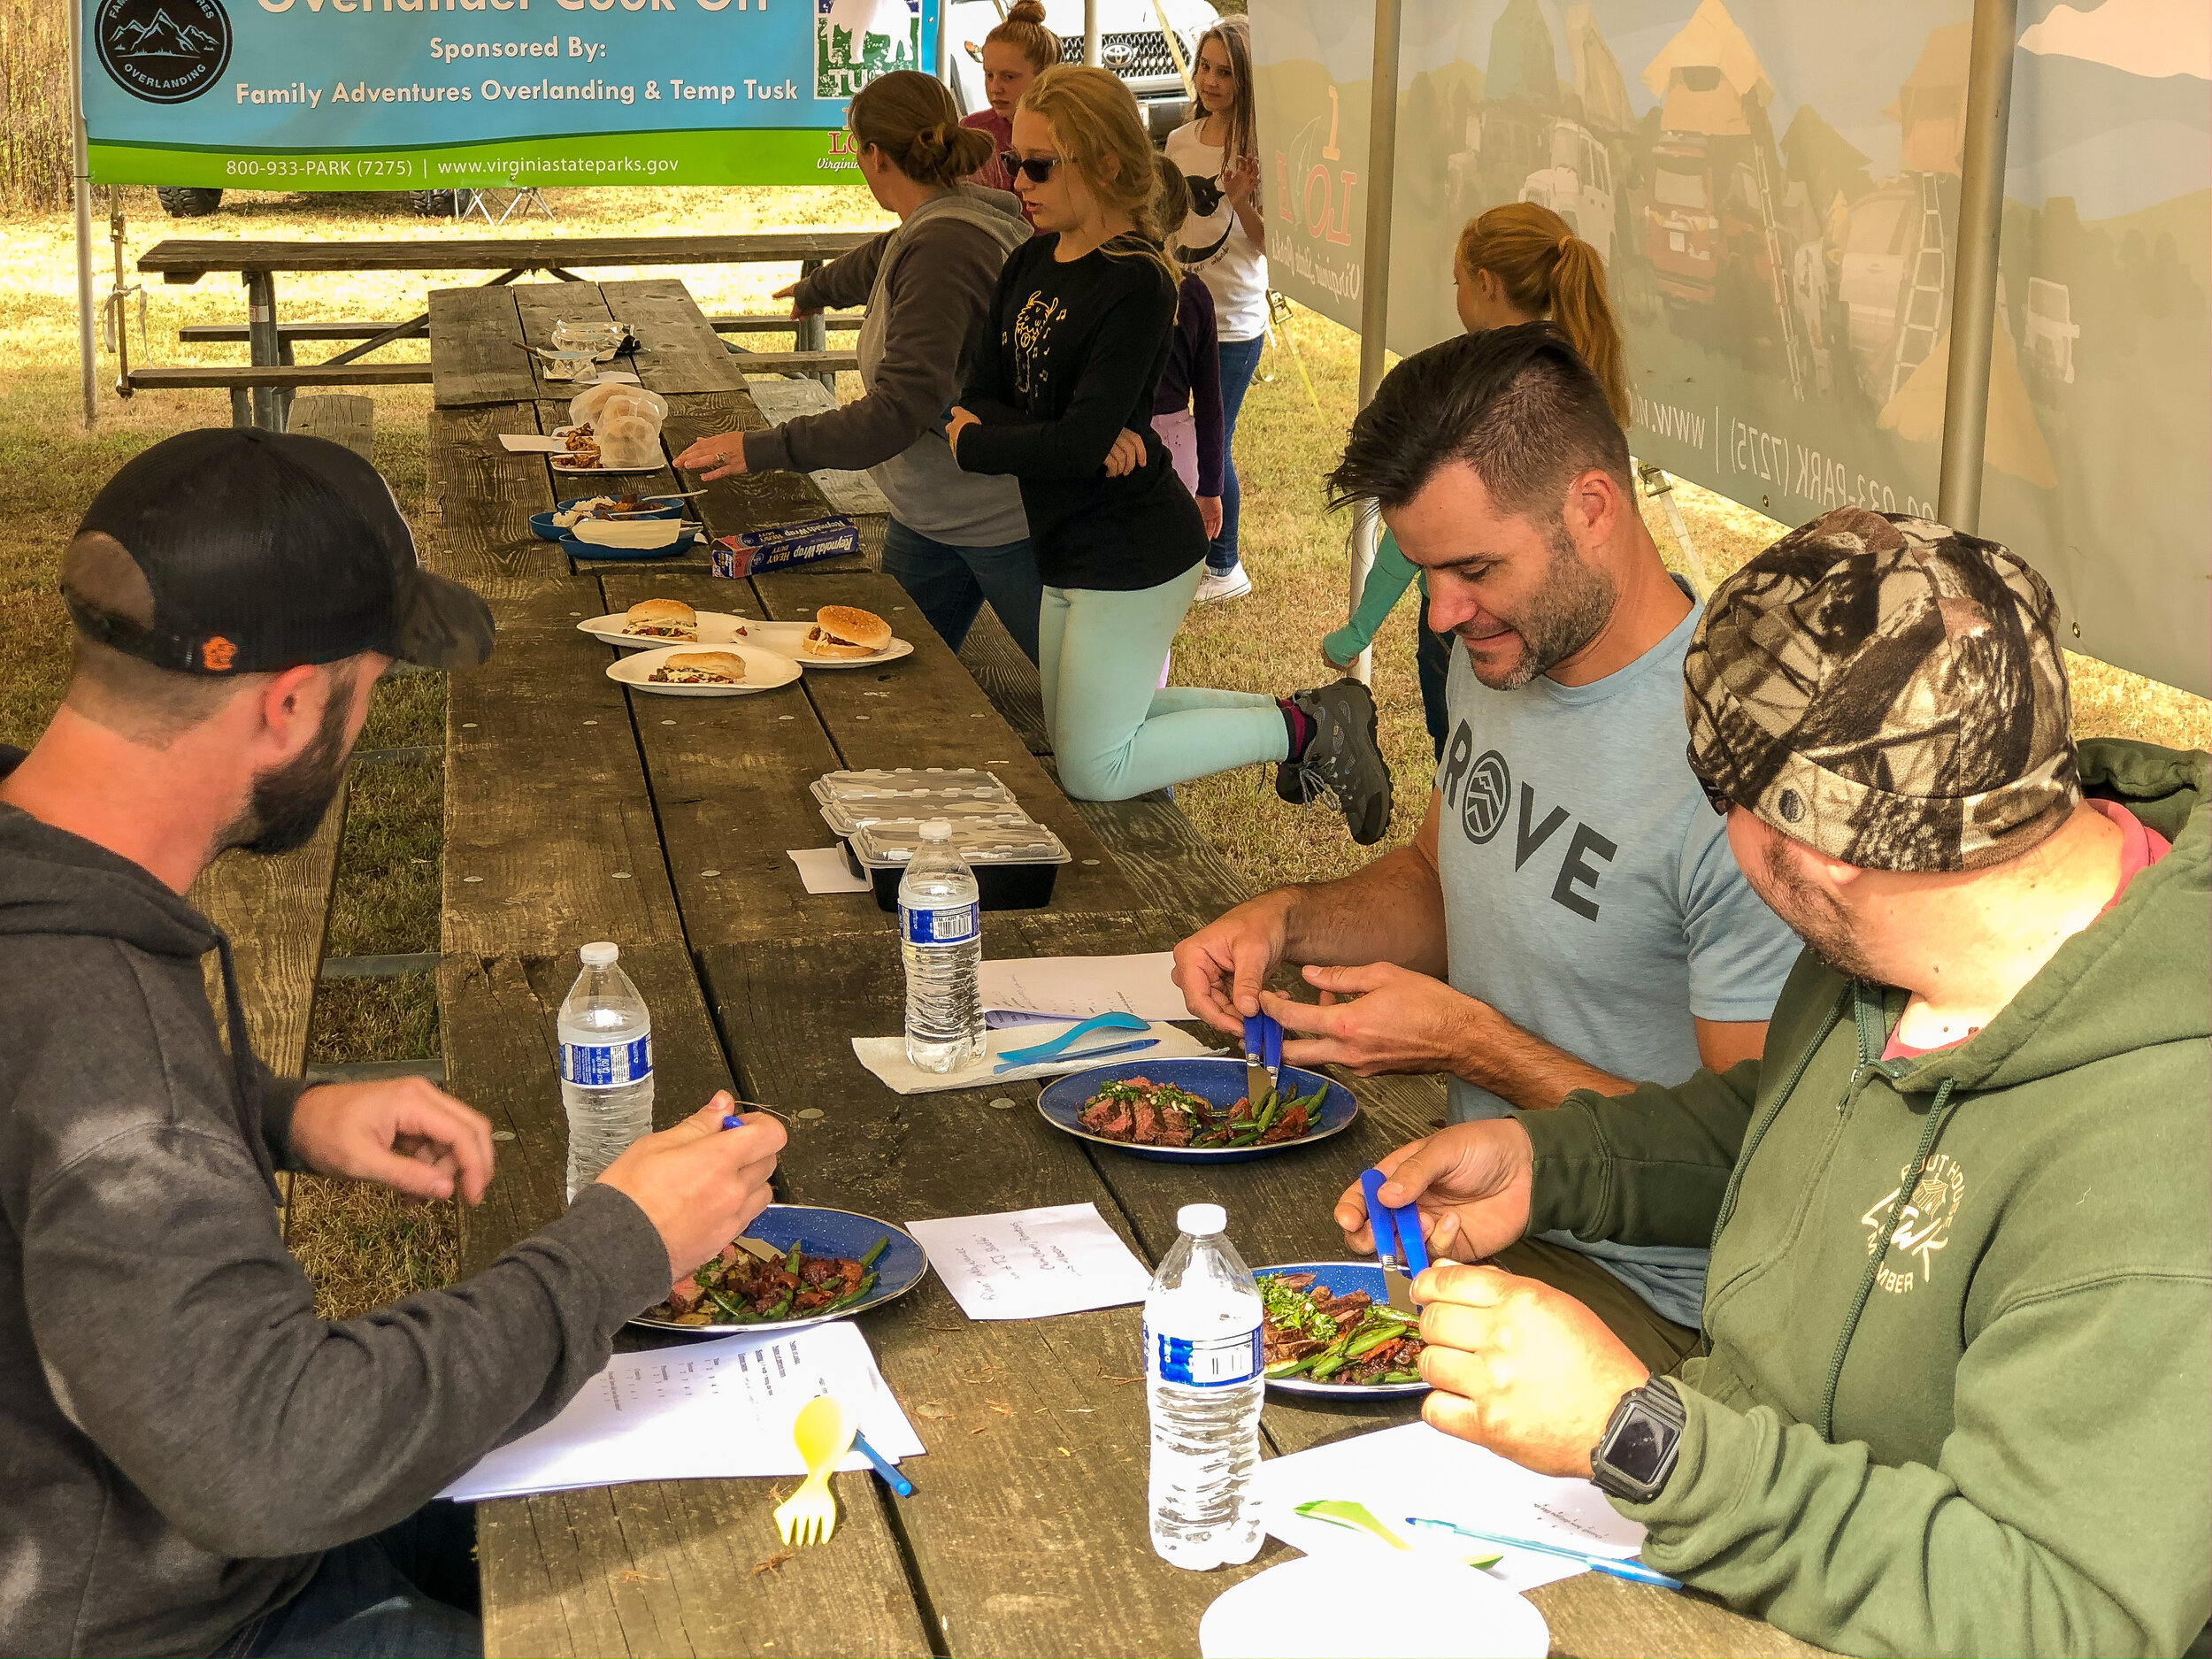
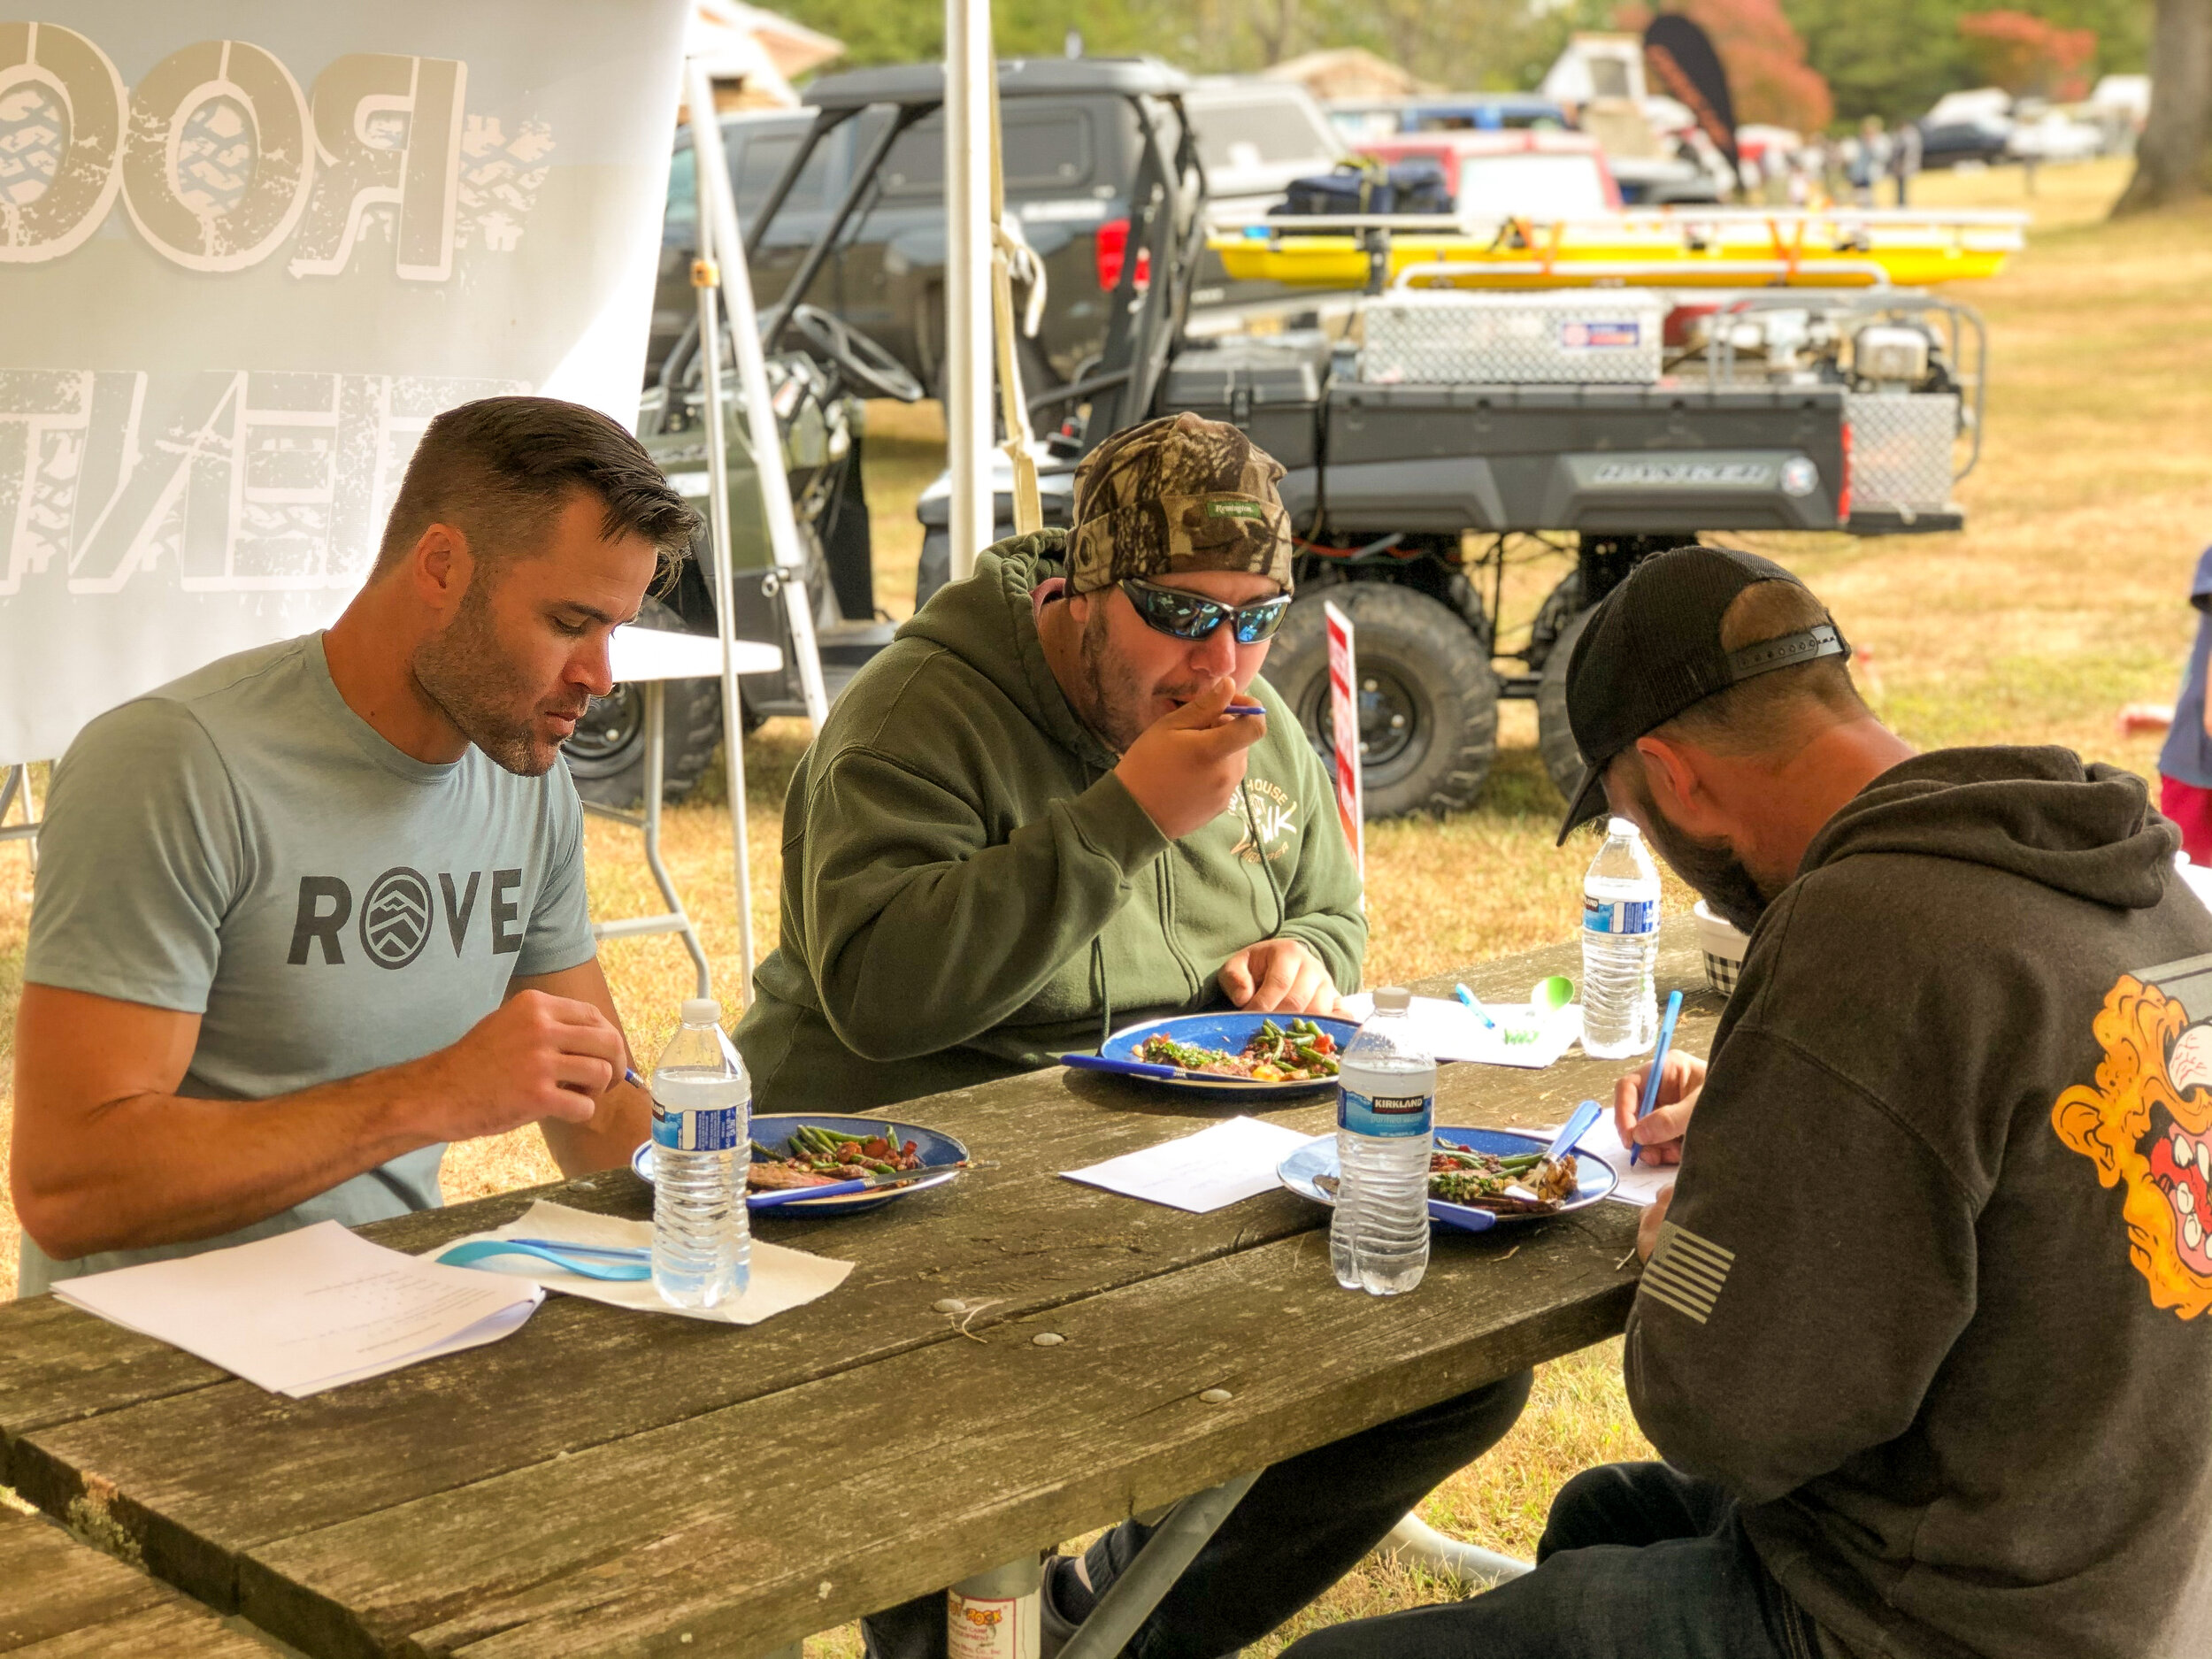
A special thanks is needed for our guest judges this year. The competition was tight and they had the difficult task of deciding the winner. Thank you for all of your hard work!

Judges:

Name:

Johnny Pratt

Social Media:

@roverentals (Instagram)

Rove Rentals (Facebook)

Name:

Sam Delong

Social Media:

@ltwrightknives (instagram)

L.T. Wright Handcrafted Knives (Facebook)

Name:

Brad Self

Social Media:

@hi.vis.overland (Instagram)

Hi-Vis Overland (Facebook)


We also want to thank John Fury and the James River State Park Staff, as well as Blue Ridge Overland Gear for coming together to make the RTTR what it is. Without these two organizations, this event would not exist. Thank you for all that you do!

Also a huge shout out to Jerry at Tembo Tusk for co-sponsoring the Overlander Cook-off for the second year in a row and to Jennifer for putting in all of the hard work required to pull such a competition off. Thank you both for making this possible!

IMG_4986.jpeg
IMG_0401.jpg
IMG_0369.jpg
IMG_A3F426A5CF08-1.jpeg
 

I’m sure by now you’re wondering who the winner of the 2019 Overlander Cook-off was….

Congratulations to Ben Heriford and his amazing camp meal Halibut Tacos w/Cilantro Lime Sauce & Slaw. Ben picked up a brand new Tembo Tusk Skottle Grill Kit for all of his hard work!

IMG_4983.jpg

Exploring The New River Gorge

We made our way across the West Virginia border and a new level of excitement was building. Our journey from the coast of Virginia had given us plenty of time to wonder about the things we were about to discover.


The New River Gorge has long been on our list of places to visit. It’s a place well known for it’s scenic views, powerful waters and epic white water rafting. It’s also a playground for adrenaline junkies. But this trip wasn’t about barreling down some river in a quest to get our adrenaline fix. This was a sight seeing trip, an Overland adventure. Typically when it comes to Overlanding, we like to point our vehicle in a general direction and see what comes of it. However, for this particular trip, we were not traveling alone. Fellow Overlander’s from Florida, Maryland and Virginia had joined us and instead of aimlessly wandering around, hoping to find something interesting, we had done a little pre-planning. This trip we chose to zero in on a few key locations, the Canyon Rim Visitor Center, the New River Gorge Bridge, Nuttalburg, Prince Army Camp, Thurmond and the Glade Creek Gristmill. An ambitious list for sure, considering we only had 2 days in which to pull it off. 

IMG_1751.jpg
IMG_1736.jpg
IMG_1733.jpg

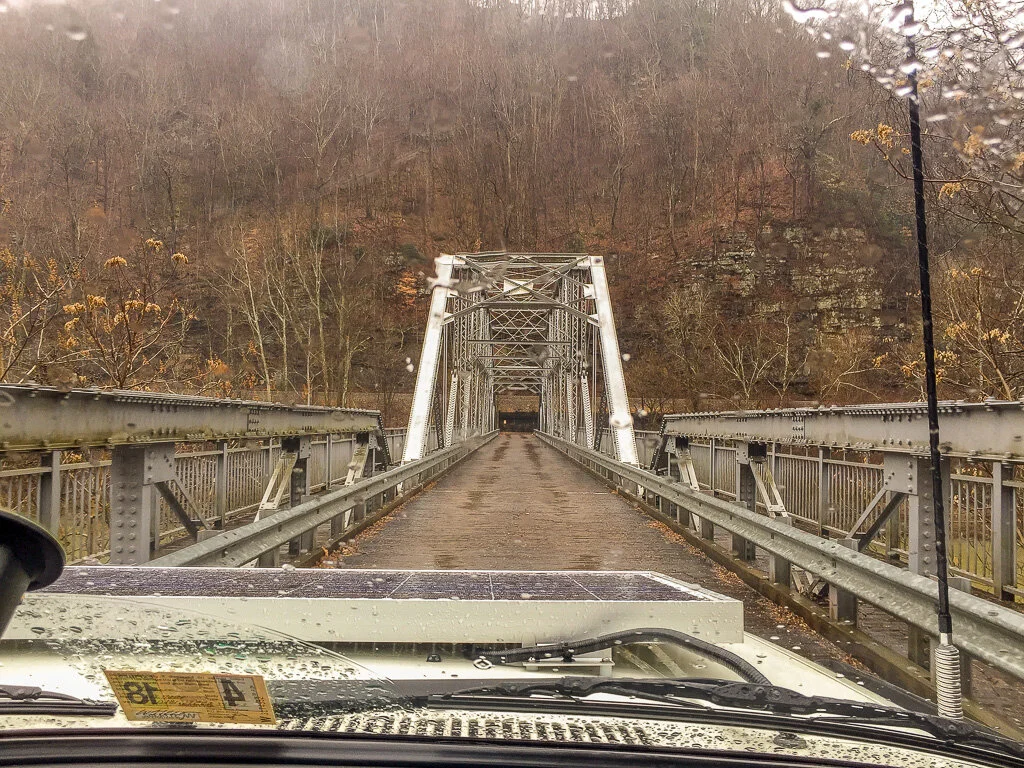
Arriving at our first destination, we made our way into the Canyon Rim Visitor Center and through the historical exhibit in the New River Gorge museum. After looking through the exhibits and talking to the Park Rangers, we made our way outside and in to the rain where we explored the hiking trails and the many scenic overlooks that peered into the gorge. With all of the exercise we were getting, we were quickly reminded that we hadn’t eaten yet and decided a little lunch was in order. Ok, little was an understatement as there was sixteen of us in total. As we made our lunch, the kids banded together for a game of Simon Says under the shelter and tried their best to avoid the torrential downpour outside. Once lunch was finished, we packed everything away and made our way out into the rain and back onto adventure. There was a light fog in the air and the torrential rain was making for some amazing waterfalls on the walls of the gorge. As we continued our way down into the gorge, we couldn’t help but pausing every so often to take in the views. Making our way to the one lane bridge below and across to the other side, we took a short break in a parking lot adjacent to Fayette Station Rapids and marveled at the immense power of the river. Nature’s power was in full force and it was a force to be reckoned with.

Photo Feb 17, 2 29 47 PM.jpg
Photo Feb 17, 2 03 25 PM.jpg


Soaked from the torrential downpours, we began to work our way out of the gorge and back north across the New River Gorge Bridge. It holds the record for the longest steel span in the western hemisphere and was built as recently as 1977. It’s also the third highest bridge in the United States and is truly a modern engineering marvel. Seeing pictures of it doesn’t do it justice, trust me.

Photo Feb 17, 2 05 18 PM.jpg


IMG_1814.jpg
Photo Feb 17, 3 46 05 PM.jpg

On the other side of the bridge, we turned east toward our next destination. Nuttallburg is considered to be one of the most complete abandoned coal mines in West Virginia. Founded in 1870 and named after its owner John Nuttall, it was the second mine, of fifty, in the state to ship smokeless coal. Furthermore, it became known on a national level when automobile industrialist Henry Ford leased the mines in an attempt to gain control of every facet and resource needed to produce his automobiles. His plan ultimately failed and the mines production eventually ceased in 1958. In 1998, the Nuttall family transferred ownership to the National Park Service and in 2011 the grounds were improved, making it easier and safer for travelers to explore this historic mining town. As we made our way through the grounds, we were amazed by how much of it was still intact. From the Head house and conveyor to the coke ovens, the Park Service has done an amazing job of preserving the history and depicting what life was like at the mine. 

IMG_1805.jpg
IMG_1811.jpg
Photo Feb 17, 3 45 59 PM.jpg
 
Photo Feb 17, 7 35 25 PM.jpg

With Nuttalburg in our rear view mirrors, we slowly made our way up and out of the gorge. The torrential rain had switched over to snow as we gained elevation and we quickly found ourselves driving through a winter wonderland. Our friends from Florida had never had the chance to experience actual snowfall, let alone any wintery conditions, and were beside them selves with excitement. At our next fuel stop, we all couldn’t help but indulge in some form of winter hi jinx and antics. Back on the road we made our way south to Prince, Wv. Prince is a small community nestled on the banks of the New River. But more importantly, Prince is also the location of an old Army encampment that was used to teach soldiers bridging techniques. The Army camp was last used as a military installation in 1957 and the foundations of the original eleven buildings can still be found on the property. Today the Army camp is a free campground run by the National Park Service. It boasts eleven pull in camping pads, a boat launch and a very nice restroom facility. There is no running water or showers, so you’ll have to come prepared. Pulling into camp, we quickly picked our sites, setup camp and began cooking dinner. We had the place completely to ourselves and the only sound that could be heard was the rain and the roaring river. Eventually the rain stopped and we all gathered around the fire to warm ourselves before calling it a night. 
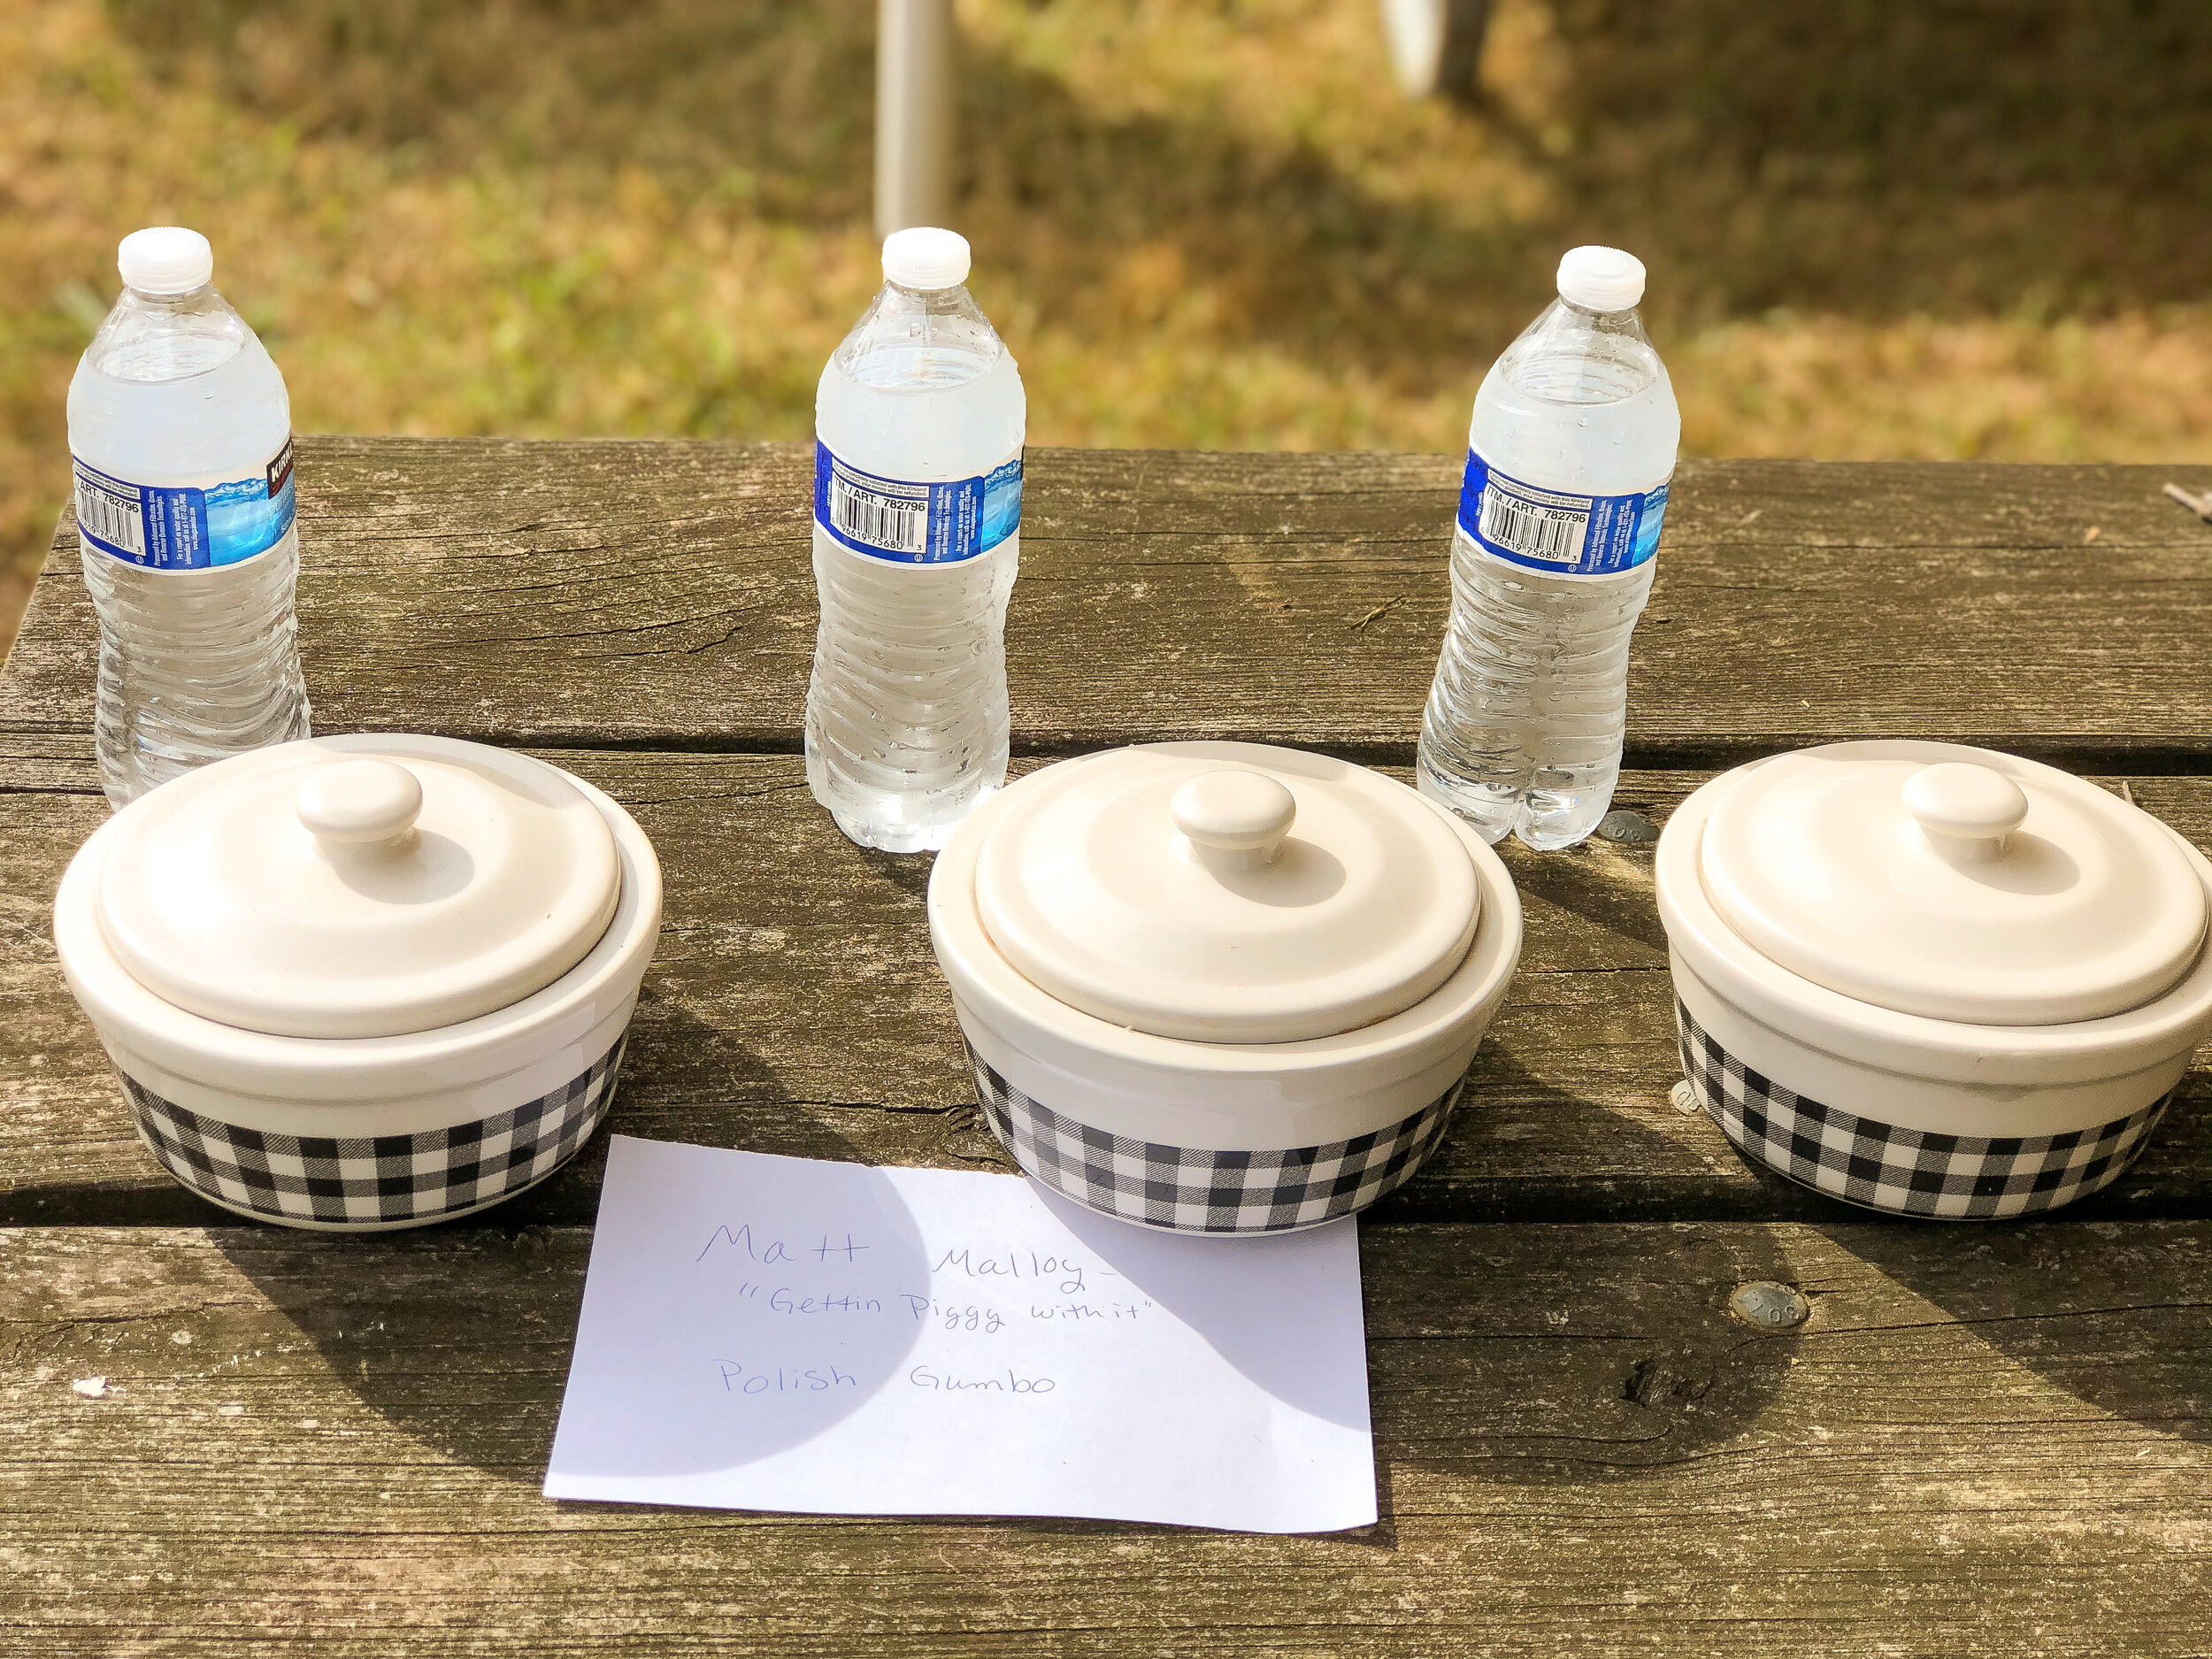
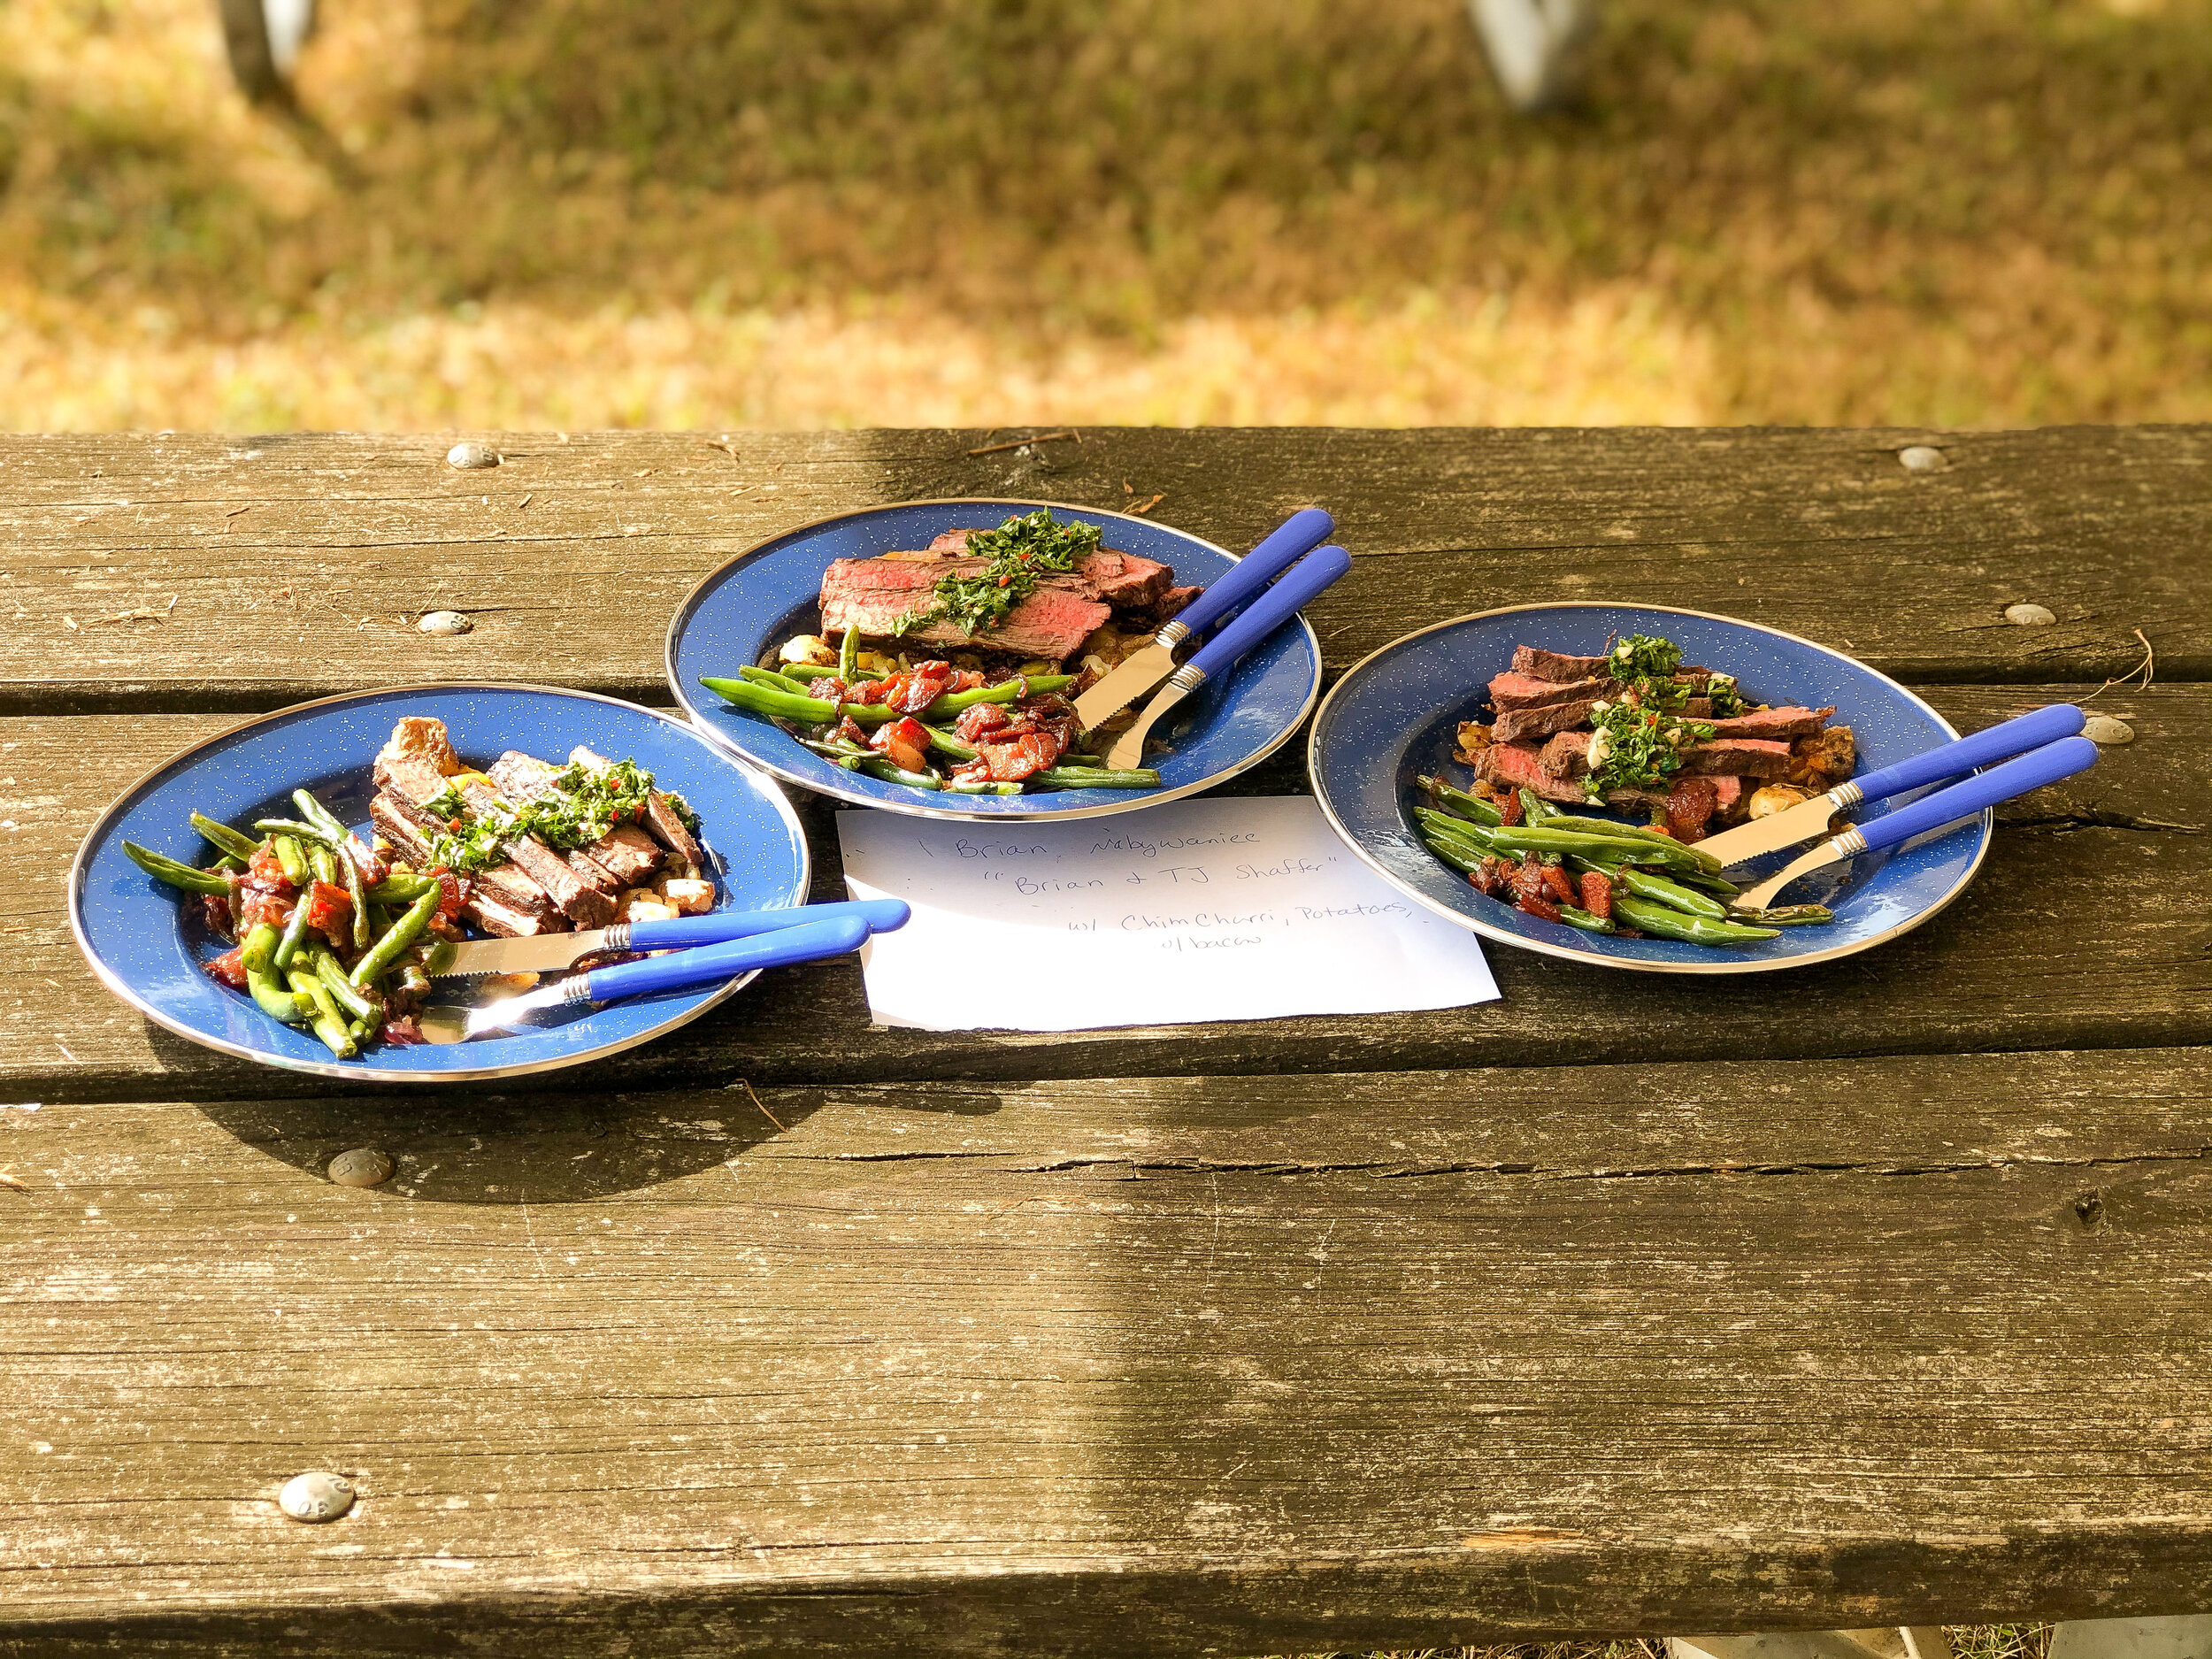
Photo Feb 17, 7 36 27 PM.jpg


IMG_1849.jpg
IMG_1859.jpg

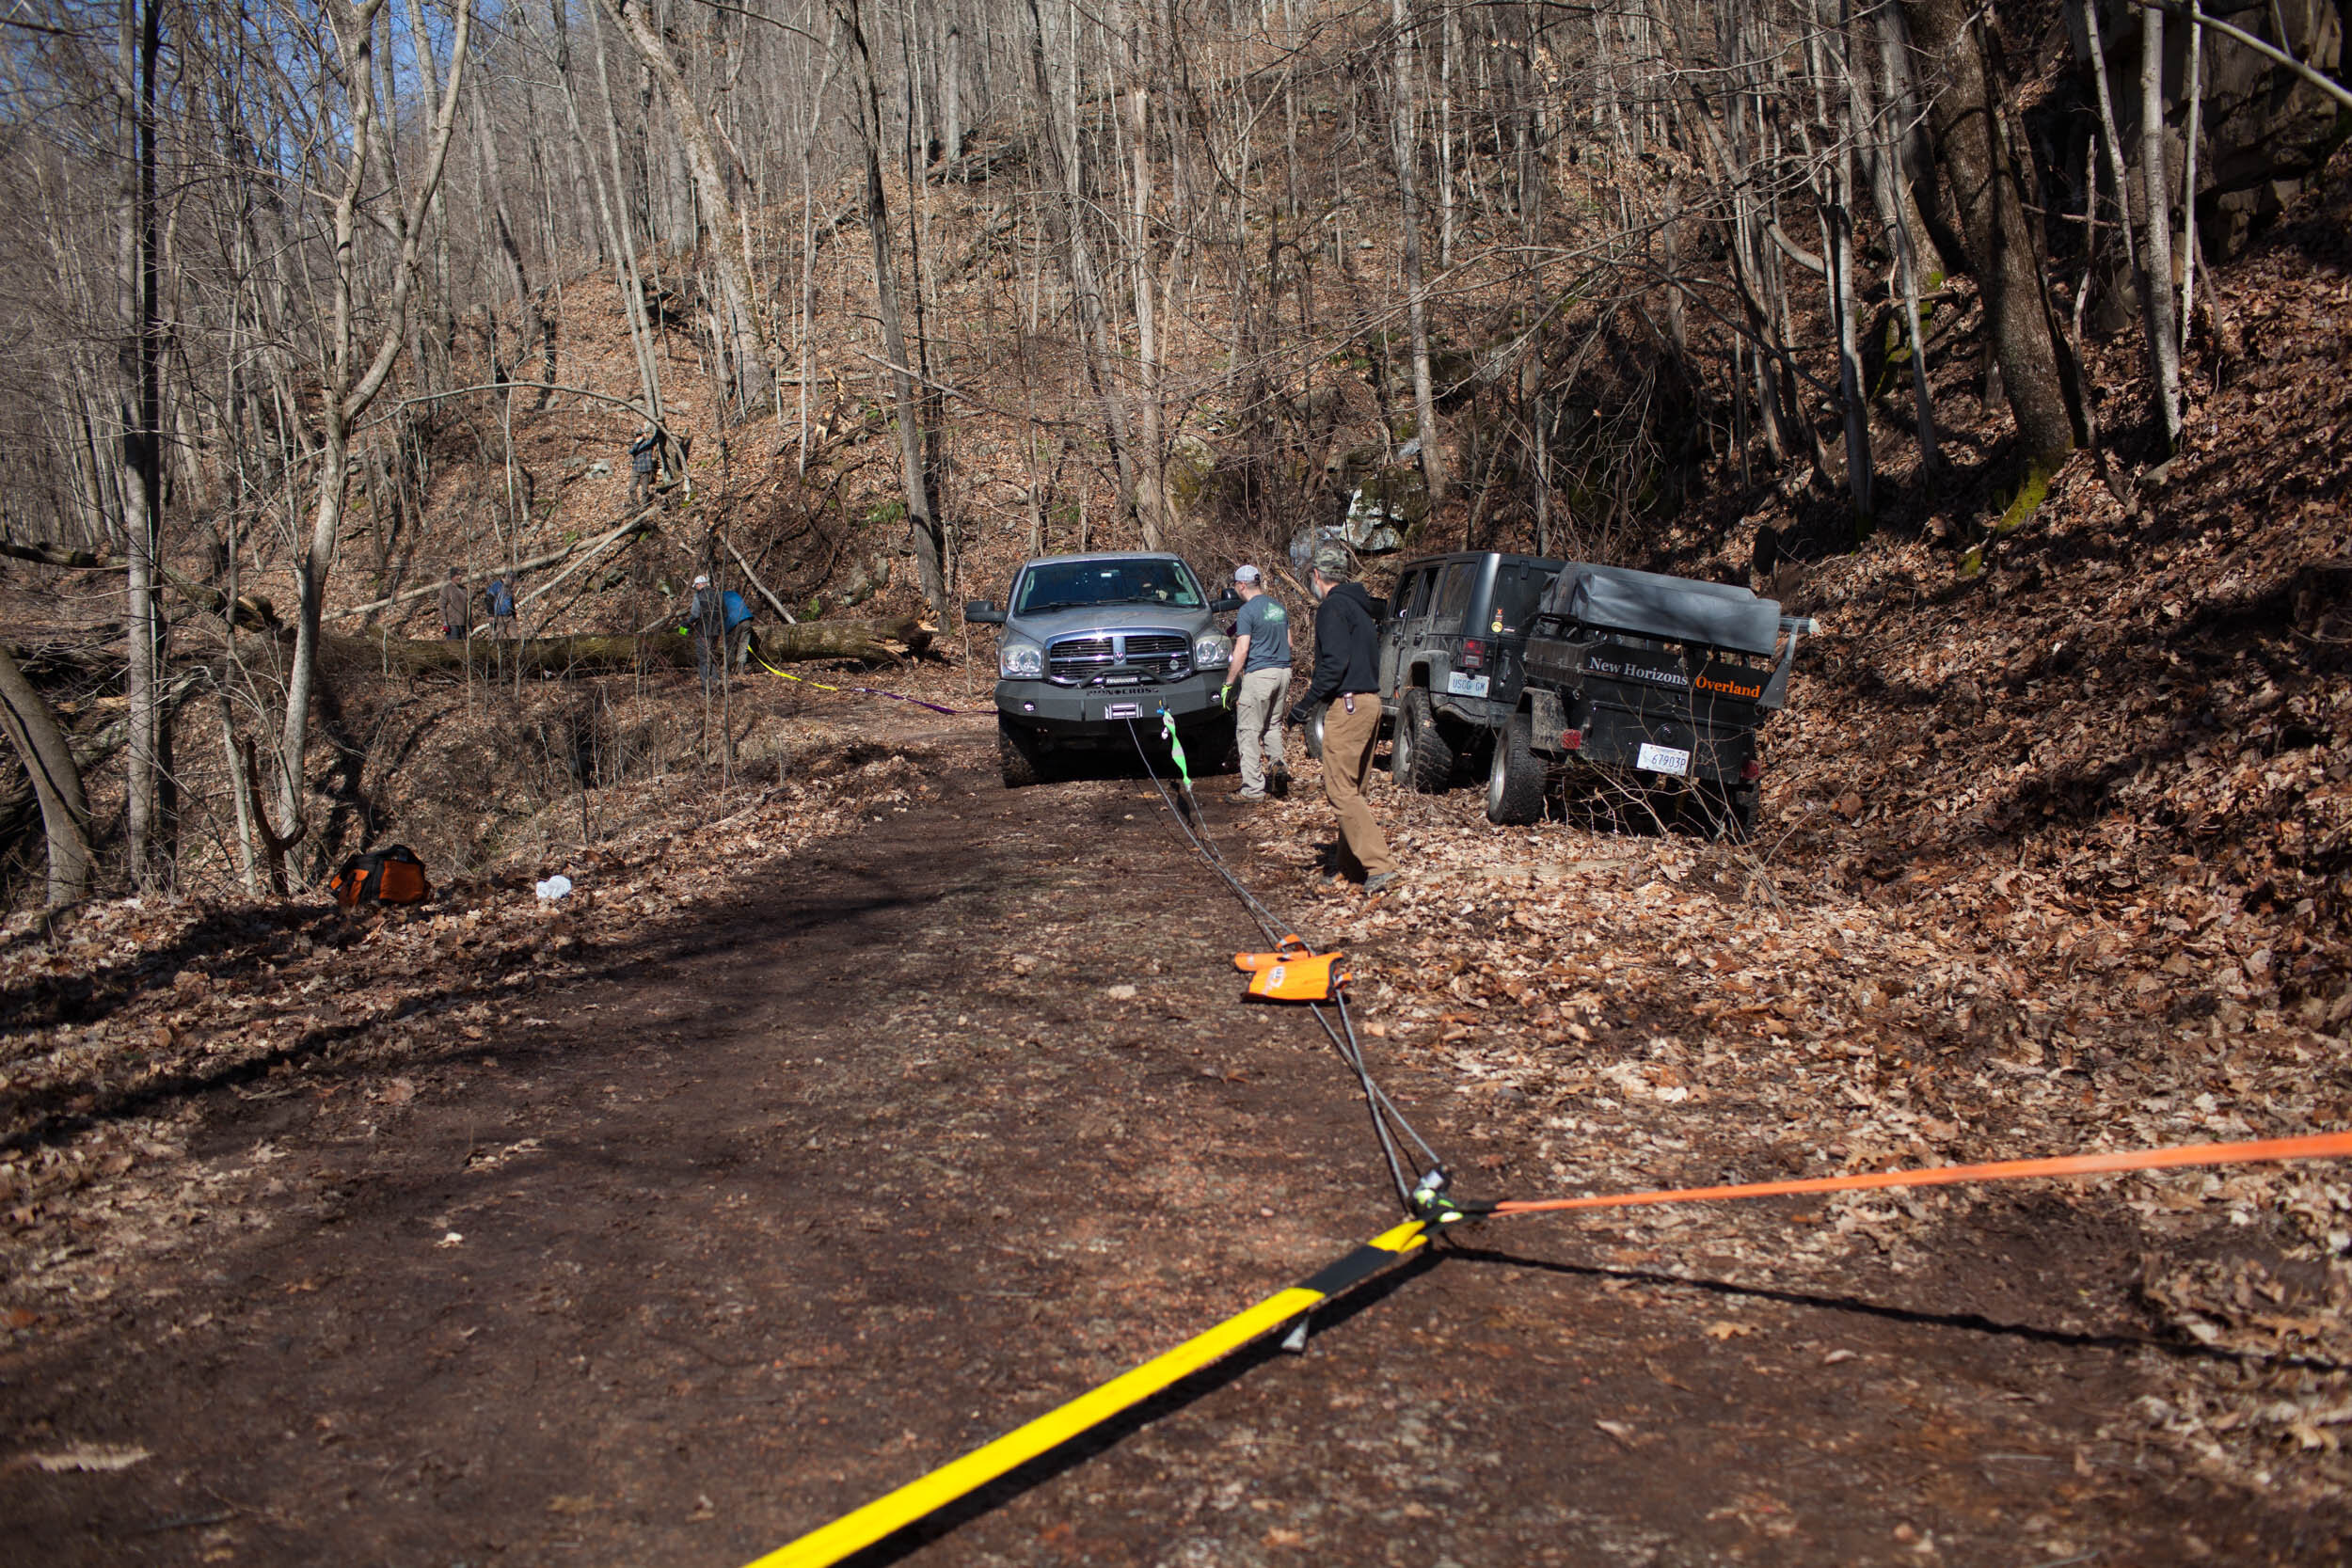
The next morning we woke to warmer temps and sunshine. After an enjoyable breakfast, we broke camp and started to make our way toward Thurmond and the Glad Creek Gristmill. Since the weather had cleared up, we decided to take a more scenic route and headed north on a gravel road just outside of town. As we made our way up the mountain, we found the road conditions deteriorated rapidly. Several sections were washed out creating some precarious off camber situations and we dealt with mud holes and downed trees around every bend. We were in a good rhythm and we were really starting to enjoy the road, when a quarter of the way through our route, on a narrow section of trail, we found ourselves trapped. Directly in front of us was a tree measuring approximately three feet in diameter and laying across the road. The root bulb still high on the embankment and the limbs hanging a good thirty feet over the shear edge told us this was going to be a fight. With our trusty 80 Series in the lead, we pulled cable and began winching the tree. Once down from the embankment, the Cruiser and winch quickly ran out of steam. The tree was a lot larger than anticipated and it was going to require something with a little more muscle. Clearing the rigs to one side, we managed to get the biggest vehicle we had to the front. Hooking up to the Dodge 2500, we were all but certain this would get the job done. But after multiple attempts of pulling, winching and winching while pulling we were quickly proven wrong. The tree was far too heavy to just be muscled to the side. So out came the electric chainsaw, as it was the only one we had, and the group went to work. As the sawing began, I ran ahead to scout the road and not more than a mile up I discovered the road was impassable for many in our group. By the time I rejoined the group, they had just successfully cut through the tree and their spirits were high. I felt a sense of remorse that I had to break the bad news to them. After a quick meeting, we decided to finish clearing the tree and turn around on the wider road just beyond it. Hooking the Dodge up for the final pull, we all cheered in victory as we watched the tree move. We had spent close to 4hrs clearing trail and fighting this behemoth and not a one of us was sour about it. Did we kill off any chance of making it to the Gristmill later that day? Sure, but we’ll go another day. Today we learned a lot about ourselves and one another and we’ll take that any day.

Photo Feb 18, 12 27 24.jpg
West Virginia Overland Trip 54 W.jpg
West Virginia Overland Trip 53 W.jpg
IMG_9147.JPG
 
IMG_1895.jpg
IMG_1884.jpg

Back on the highway and racing the sun, we made our way to our last stop. Thurmond, Wv was a booming rail yard and community in the late 1800’s to early 1900’s. At one point, the town produced more freight revenue than the larger cities of the east and midwest and it’s Banks were the richest in West Virginia. During it’s peak, Thurmond would see fifteen trains a day and served over ninety-five-thousand passengers a year. The Amtrak Cardinal still continues to serve the town as a “flag” stop and is the second least used stop in the country. Walking through the town, we marveled at it’s picturesque surroundings. The downtown buildings still standing, tower above the active rail lines and placards with photos do their best to show what type of business would’ve been carried out inside the now empty shells. Across the tracks, the turntable, engine house and freight depot have long been gone and all that remains is a barren lot. But despite all of the changes, the National Park Service and the five remaining residents of Thurmond, yes I said five, are still making efforts to share and preserve the history of this once prominent town. Several out buildings and a small museum are on display to help tell the tale of what was once the most bustling town in the state. With the sun hanging low in the sky, we made our exit from Thurmond and the New River. Never had we expected to discover so many amazing places in one area. We didn’t make it to all of our destinations, but we’ll rest assured that every trip back is sure to be as amazing as the first. 

Photo Feb 18, 4 18 38 PM.jpg

We’d like to send a special thank you to C.T. Bell and Chris Shontz for sharing some of the photos, and Chad Lauderbaugh for putting together the awesome video!

Creating History

5C64B3DE-9AB0-4A03-9DF6-3B5FD4E9F211.jpg

For 107yrs the Stingray Point Lighthouse stood tall above the shoals and marked the entrance to the Rappahannock River and Deltaville Harbor. In 1965, in the name of “Forward Progress & Modernization”, the lighthouse was deconstructed in favor of a steel skeleton tower bearing an automated light. The remains of the lighthouse were sold to a local boatyard owner whom intended to reconstruct the lighthouse on their property. That project never materialized and the lighthouse was all but relegated to a memory of the past. Not one to stand idly by and watch the history of this locality fade into oblivion, the owners of Stingray Point Marina decided to bring the lighthouse back by recreating an exact replica of the historic structure. The structure that you see here is the result of that venture and was built using the original 1858 engineering blueprints. Which, by the way, still hangs on the wall just inside the main entry door of the lighthouse. The recreated lighthouse was erected in the middle of Stingray Point Marina, in Deltaville, VA, for all to enjoy. The inside of the lighthouse is viewable by appointment only and can be arranged by calling or emailing the marina. Lee, an employee of the marina, was gracious enough to give us a guided tour of the lighthouse and share his vast knowledge of the surrounding area and its past. Did you know that Stingray Point received its name from none other than Captain John Smith himself? Legend has it that Captain Smith was fishing in the nearby waters and was stung by a passing Stingray, which are plentiful in the area. Hence the name, Stingray Point. I bet you didn’t know that piece of history!

IMG_3934.JPG

By definition, history is about past events and experiences. Our family had an amazing experience taking in this piece of the past and the knowledge that Lee shared with us. Now this place and this experience is a part of our own history. Something we will forever cherish. We can’t thank Lee and the owners of Stingray Point Marina enough for preserving this piece of history and allowing us the privilege to experience it. 


IMG_3935.JPG


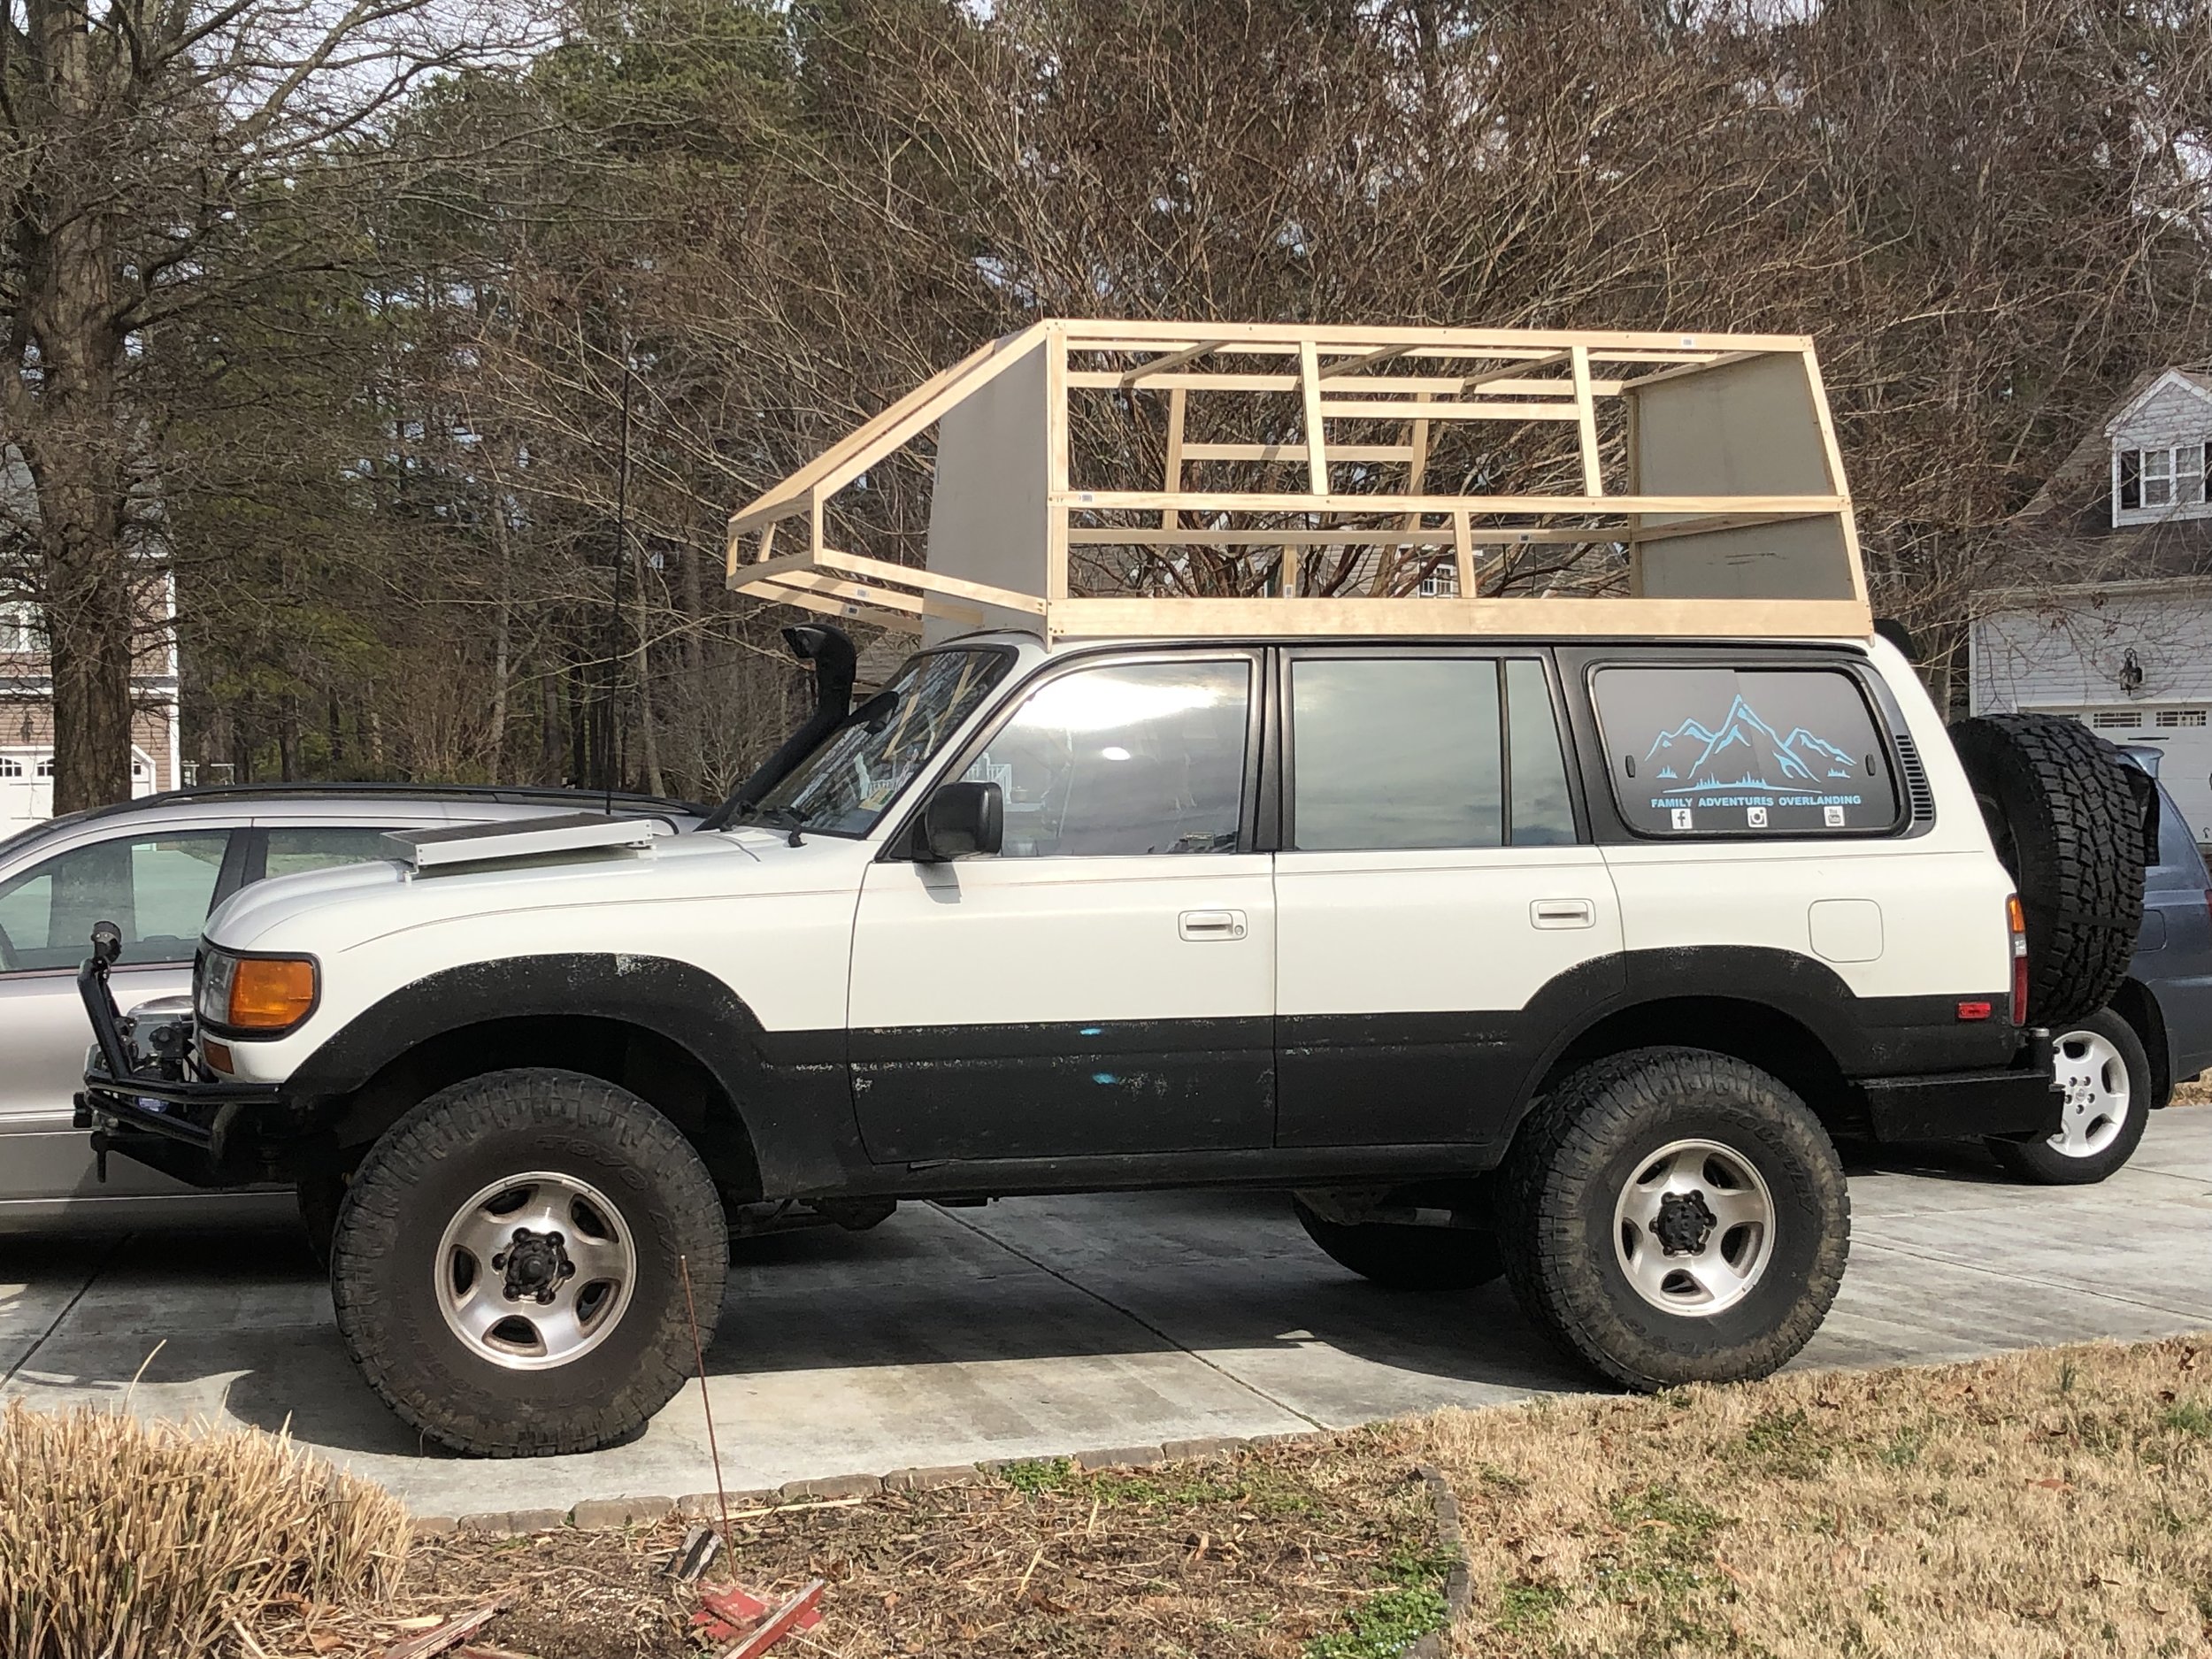
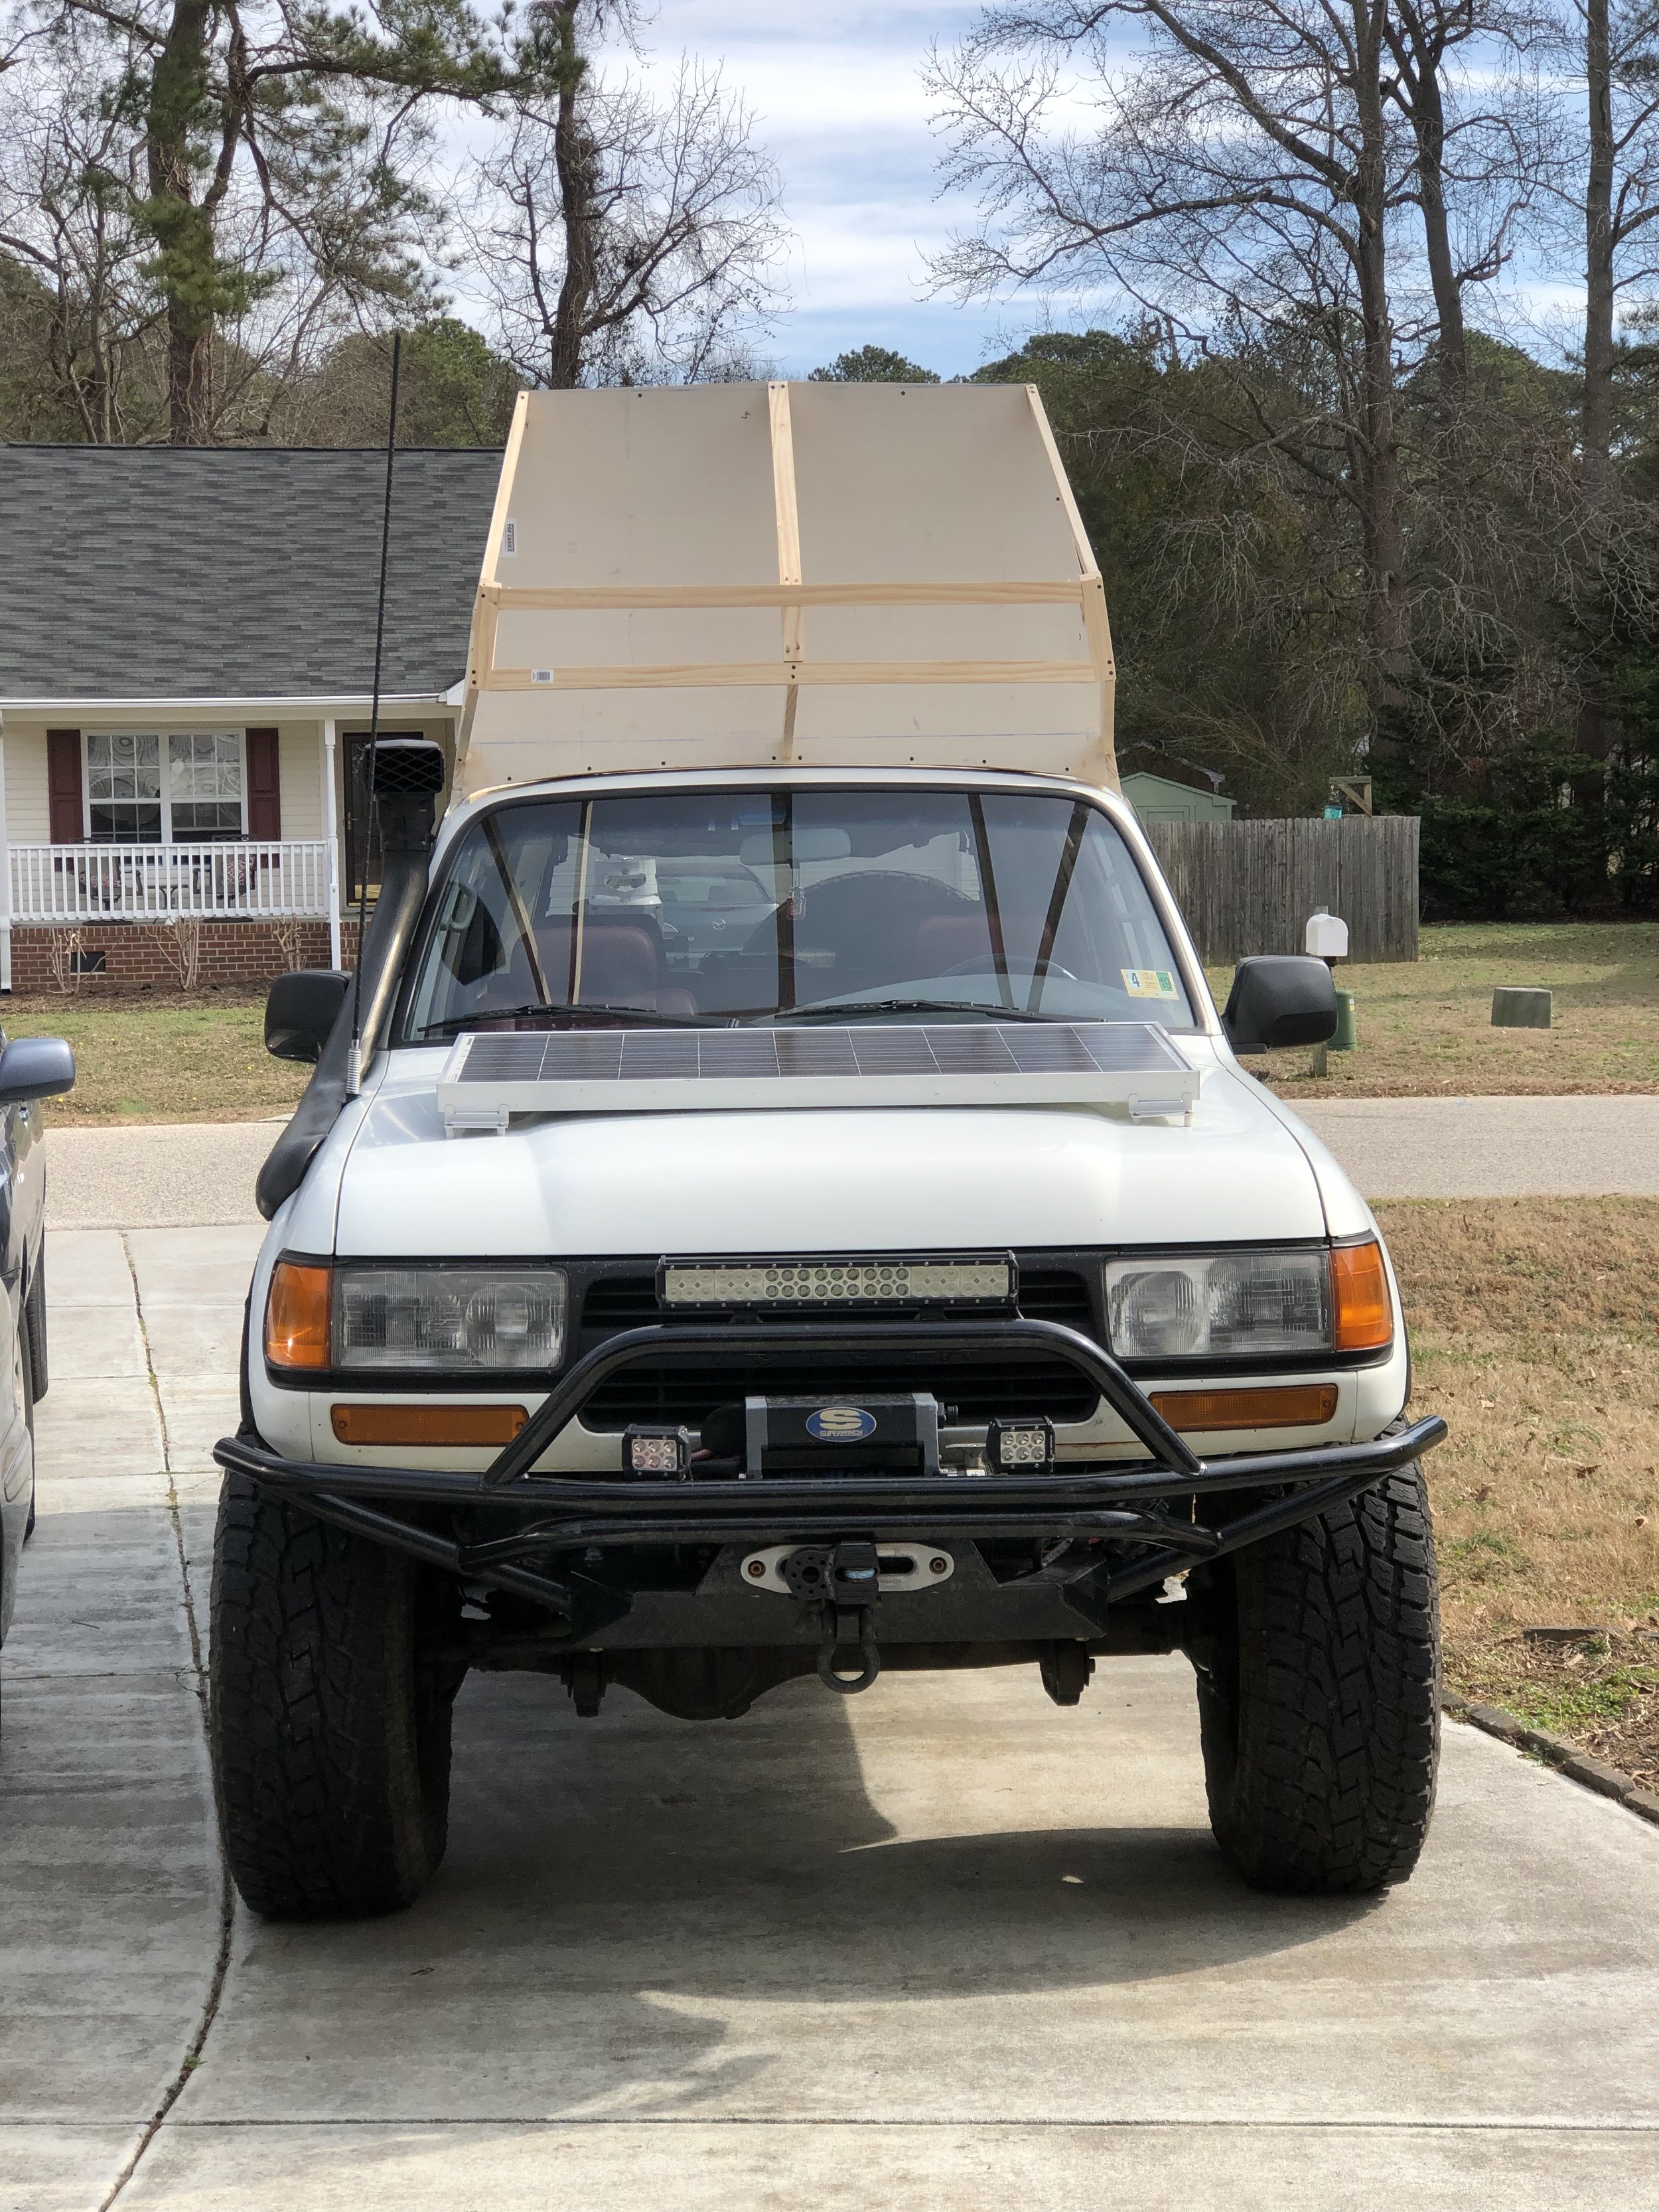
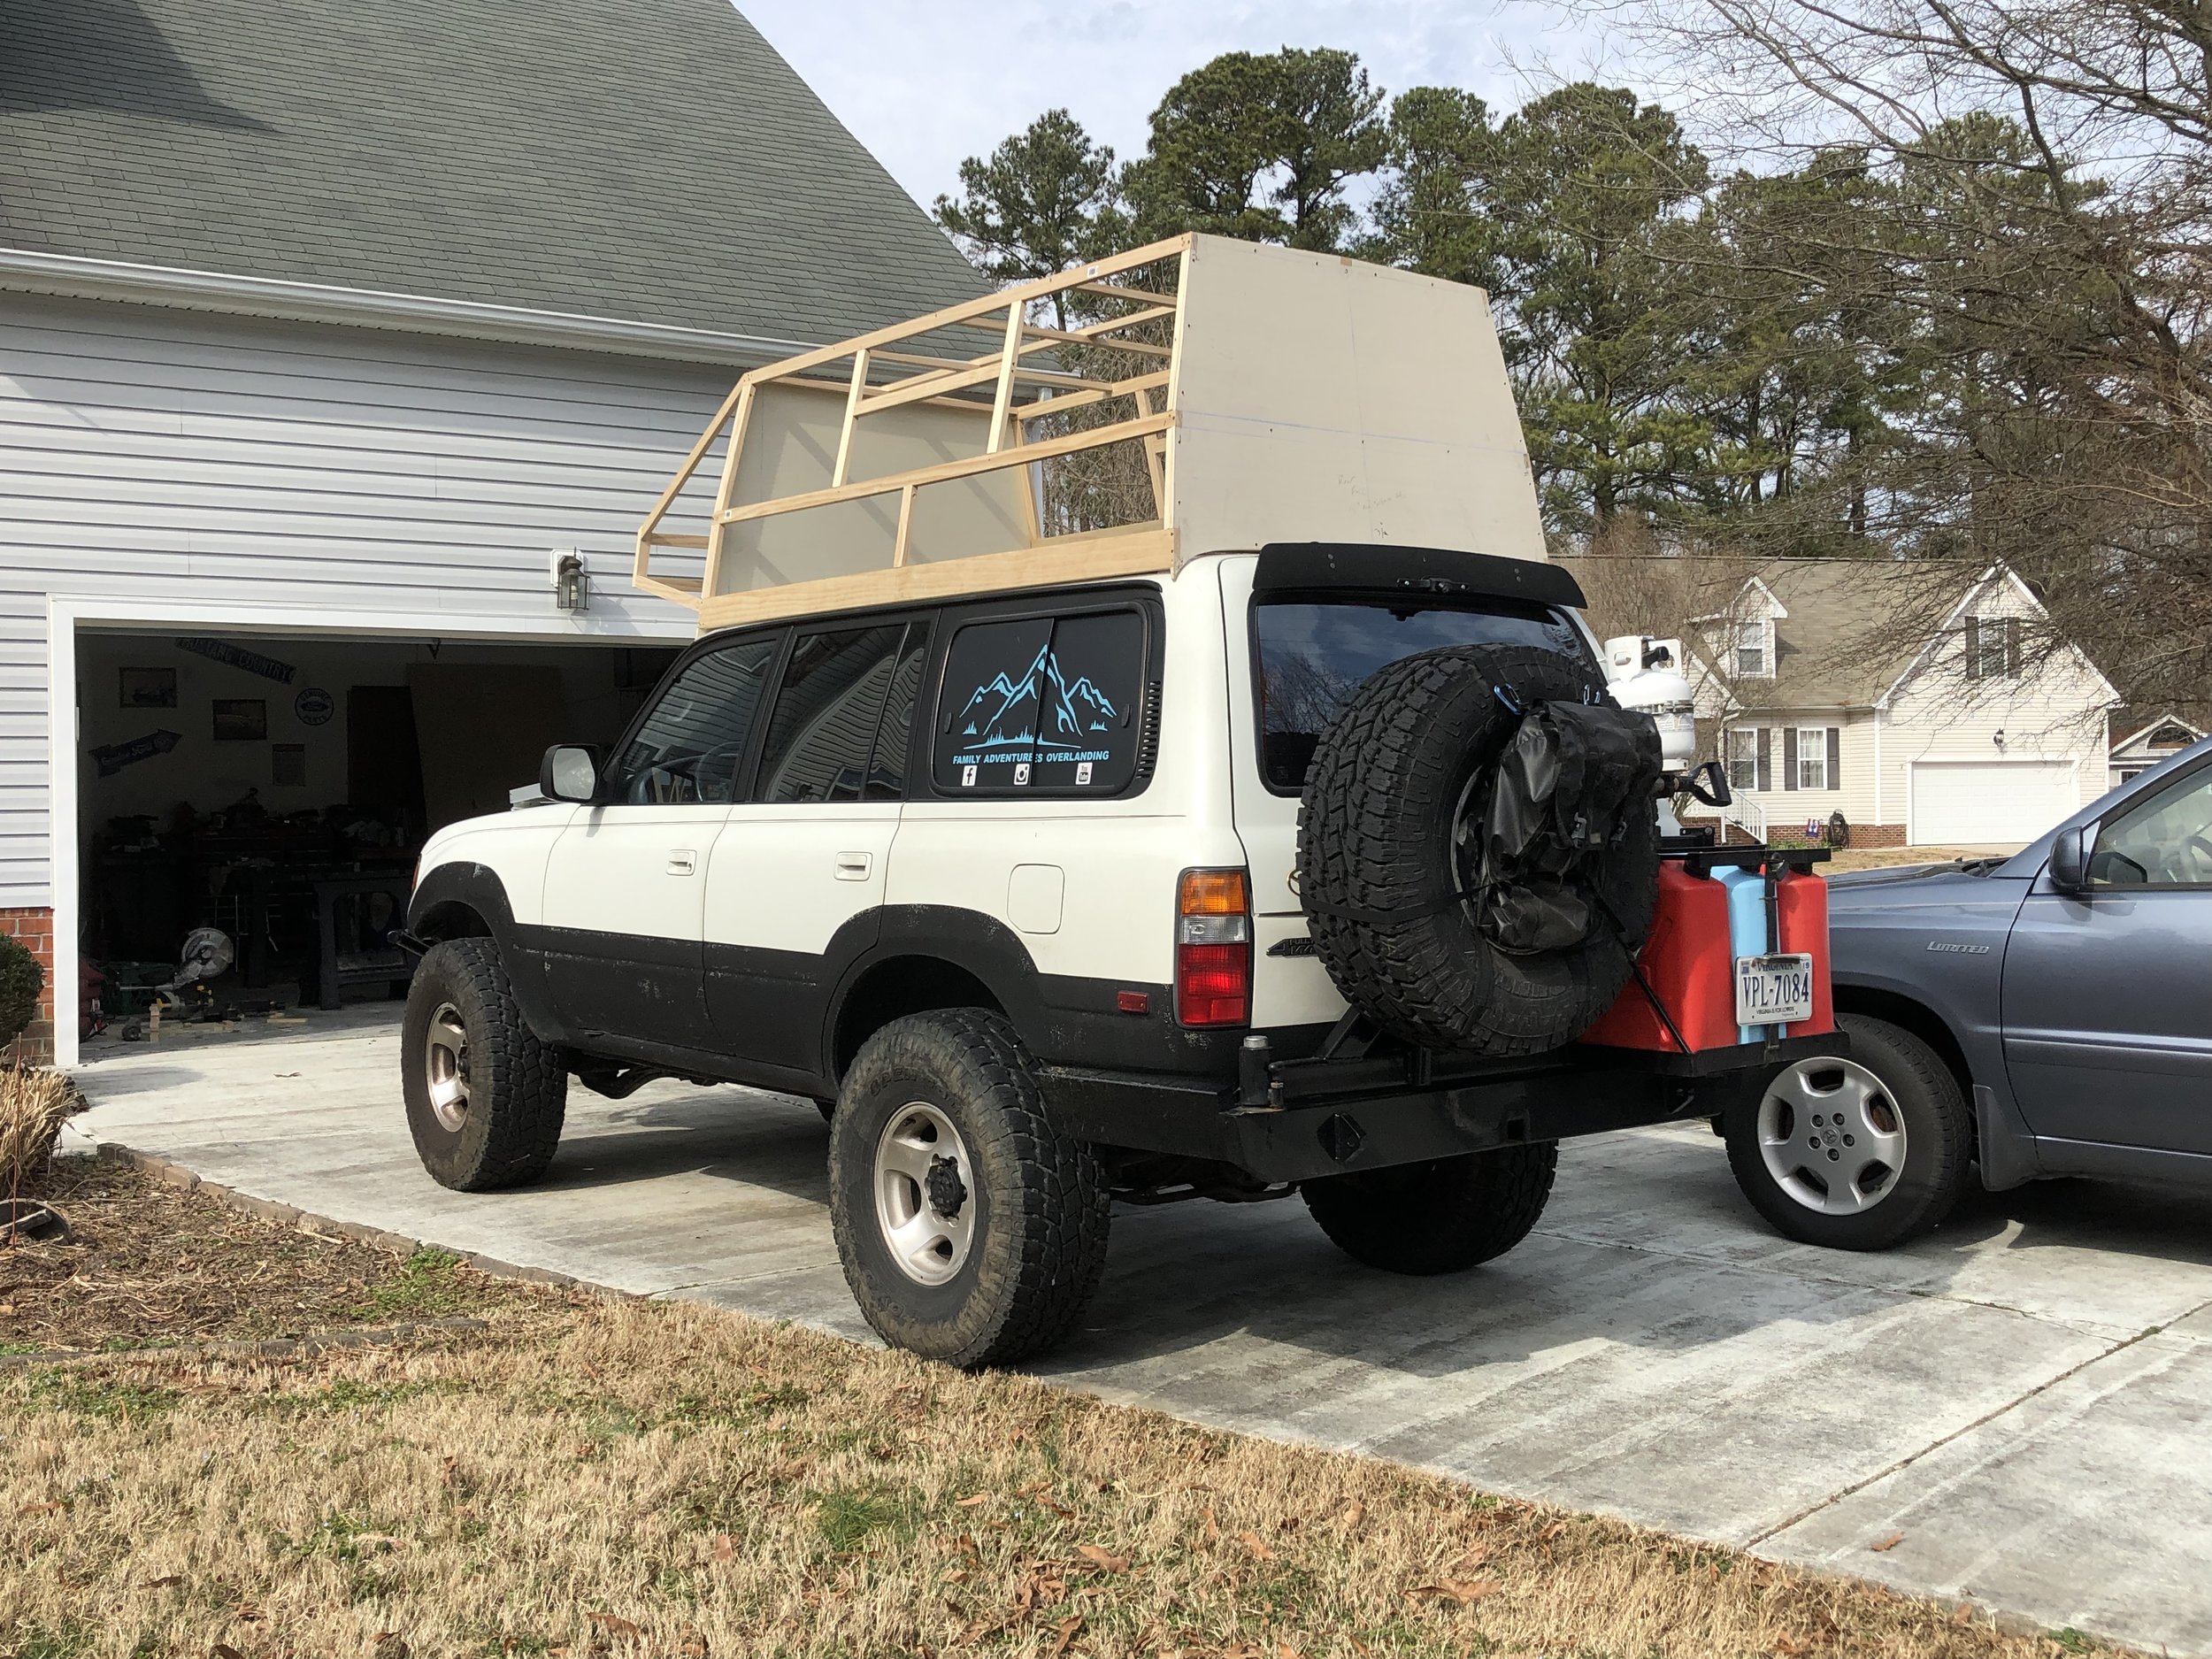
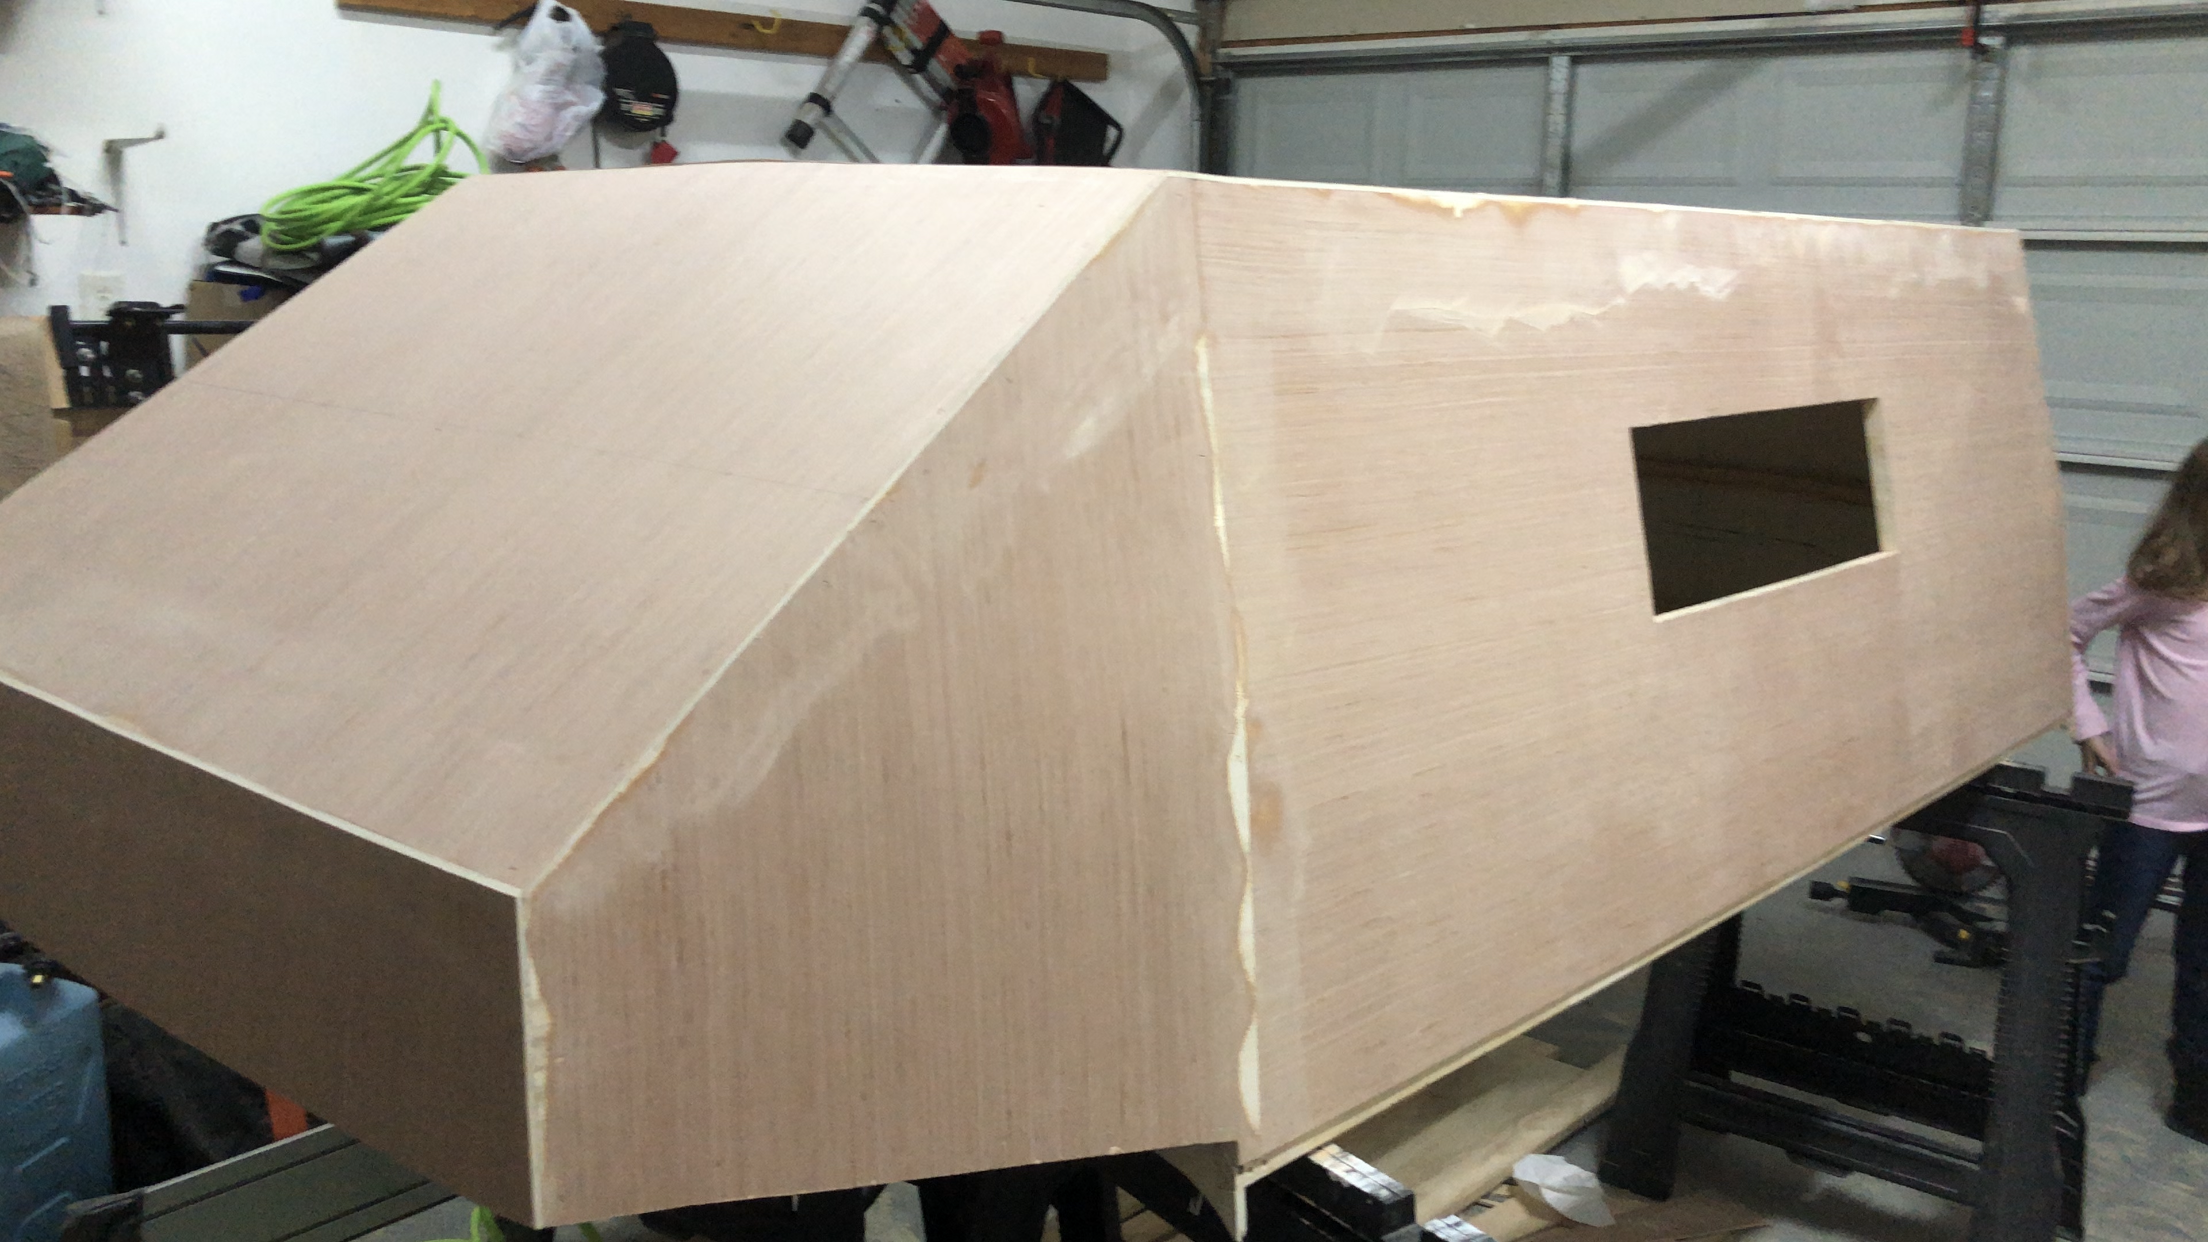
The Land Cruiser High Top Project Update

Due to the recent amount of inquiries about how this project is coming along, we feel we should probably bring you all up to speed. Firstly, we want to thank all of you that have followed us during this project. We had no idea that our crazy idea would have so much interest. Truthfully, it was more of a crazy, off the wall “what if” kind of project. We had no real way of knowing if it would really work out and it was kind of a toss in the dark, hoping that we could some how squeeze a lot more usable space out of an already jam packed Land Cruiser. 


The update: In short, the project has met its demise. As you all have probably experienced with your own builds and projects, enthusiasm was high at the beginning and slowly diminished as we went along. Days turned to weeks. Weeks turned to months and so on. We were still pretty excited about the prospects of the project, but we were beginning to question whether it was going to be enough room and if we were just placing a temporary fix on an outstanding issue at the cost of mutilating our beloved Cruiser. Several family discussions over this very issue were had. Some were pretty low key and others were... Let’s say others were a little more tense. Eventually we came to a decision and as a family, made the choice to stop the project. We needed more space than what the Cruiser could offer and we were not going to destroy her on a chance. 


So the search began for a new adventure vehicle. We looked at vans, suburbans, excursion and even an ambulance. We eventually came across an 80 series that had already been chopped into a Ute, that a friend of ours had. As luck would have it, we even came across a Flippac at the exact same time. After another family discussion and a lot of messages back and forth with our friend, we decided that we were going to go take a look at the Ute and spare our 80 the plastic surgery. It was all set, we were going to leave in the morning and drive to Tennessee to take a good look at the Ute. But life had another plan for us instead. As luck would have it, the planets aligned and presented something that I had been lusting for, for quite some time. 


Let me just start by saying that Facebook Marketplace is an evil, yet wonderful thing. You all know what I mean. As I said earlier, I have lusted after a particular vehicle for sometime now. But finding one at a price I was willing to pay was a major hurdle. But wouldn’t you know it, the day before we’re about to take a 10hr trip to look at a vehicle, Marketplace provides the impossible. I’m not going to bore you all with the particulars, but when a two owner (by brothers) 2007 Dodge Power Wagon pops up in immaculate condition at the right price, you better be damn sure to at least look at it. We did and the rest is history.  


So what about the Cruiser? Well, that was another topic of multiple family discussions. The short answer is, that she will get her rear interior reinstalled and will get a much needed deep cleaning. Then, we plan to put her up for sale. For sale! I know, shocking! None of us really want to get rid of her, there’s too many memories. But those memories were made in her, not by her and we would be remiss to let her just rot away in the driveway. Especially, when she could bring that same level of joy to some other family. So if you’re a family looking for an adventure vehicle that we’re sure will bring you as much joy as it has brought us, then be on the lookout for the sale posting. 


Again, we want to thank all of you for taking the time to follow along with this project and our adventures. Sometimes life doesn’t work out how we plan, but that’s just part of the adventure. Stay tuned to see where we go from here. And remember, Family First, Adventure Always!


The Beginning

Jennifer and I both came from small towns in the Midwest. Both of us had parents that instilled great work ethic as well as the need to be outdoors. In the Midwest, that's code for manual labor outside. Don't get me wrong, we both enjoyed our childhoods and we had plenty of fun along the way. But we also learned quickly that life could be hard and that there was a time for work and a time for play. Play almost always followed work and if you worked hard enough, play might mean something really fun. Like fishing, camping or hunting (in my wife's case for mushrooms) with our parents. Whether we realized it or not these activities, whether work or play, were building the foundation for our love of nature and the outdoors. Little by little, as we grew older and matured, we started looking at our surroundings less in relation to the amount of work left to be done and more for the beautiful landscapes that we were a part of. For me, a summer afternoon of pitching hay into the back of a pickup truck quickly turned into laying in the bed of the truck and staring at that big prairie sky. Still to this day, when I close my eyes, I can see the slow moving clouds, hear the sound of the wind blowing through the prairie grass and smell the fresh cut hay in the pasture. 

fullsizeoutput_1e99.jpeg

Fast forward several years... Jennifer and I had just graduated college and moved from Chicago to Virginia Beach. We were new to the east coast and southern living. Our free time was mostly spent exploring the surrounding areas and camping. We found that we really enjoyed camping in the Outer Banks of North Carolina and the Appalachian Mountains of northwestern Virginia, as it was so different from anything we’d experienced in the midwest. We were in our twenties, having adventures and life couldn't get any better!

2016-11-18 16.30.55 HDR-2.jpg

As we started to approach our thirties, one particular conversation kept occurring. A conversation that would lead to our greatest adventure ever. Parenthood. With the birth of our oldest daughter Hadley, we challenged the unknown like we had done so many times before. But as new parents, we  found ourselves acting less adventurous and more conservative. We traveled that fine line of being over protective as we were always trying to do everything right the first time. So much, that we had put our love of the outdoors on hold and focused all of our attention primarily on her. We pretty much ran ourselves ragged. About the time Hadley was 3, we had our second daughter, Bailey. She unlike her sister was a little more, what’s the word I’m looking for, spirited. Yeah, we’ll call it spirited. Again we found ourselves running nonstop and were desperately in need of a break. Some type of vacation was in order and with kids we realized that it took a little more planning than just jumping in the truck and heading to the mountains like we used to. After much debate, we bought an old Coleman pop-up camper and once again began to spend our weekends camping. But unfortunately, that only lasted a few years until the roof went bad on the camper and we were forced to get rid of it.

2014-08-31 17.46.13-1.jpg
2014-05-26 14.34.02.jpg

In the search for our next adventure, we went the complete opposite direction and bought a 20ft Cuddy cabin boat. Again, we spent our weekends outdoors, running up and down the Inter coastal water ways exploring and playing on the river. From time to time we would anchor off in a cove somewhere and spend the day and sometimes even the night. We clearly loved exploring and the adventure of not knowing what you may see next! After a while, we grew increasingly tired of being blasted by the sun on a day to day basis and had all but run out of locations to explore on the river. The kids enjoyed spending time in and on the water, but enjoyed the exploring and camping parts more. So, still thirsting for adventure and exploration, we turned back to camping and to the mountains. 

2014-06-06 20.37.48.jpg
2016-05-29 17.27.23.jpg
2016-05-29 18.51.27.jpg

At the time we had a 2000, gas guzzling beast, Dodge Durango. It had a 5.9L Magnum V8 and was 4 wheel drive. Insert Tim the Toolman Taylor grunting noise here! We bought a new tent from REI and brought just about every piece of camping gear we could think of. Remember, we had just come out of boating and a pop-up camper, so we packed accordingly. Meaning we brought everything including the kitchen sink. A two day trip looked like we were out on a ten day expedition. We were staying in State and Federal Campgrounds and that was the norm. That is until the day we took a drive down Coal Rd to go hiking in St Mary's Wilderness. There were vehicles pulled over and people were just camping in the woods. It looked so peaceful. Imagine, no more putting up with the group of college kids or the partiers the next site over. Just us and nature. We liked the sound of that! As soon as we got home, we started scouring the internet and found all kinds of dispersed camping throughout the Blueridge mountains. Dispersed sites you could hike or drive to. Then it happened, we discovered Overlanding!

2016-08-28 12.34.29 HDR.jpg
2016-06-29 18.06.27-1.jpg
2016-10-14 17.34.58-2.jpg

Not only did we discover it, we also discovered that we had done it quite a few times already. So we dug further in, gathering as much information as we could. We found out that it was very popular in South Africa, Australia and on the western half of the United States. We discovered Ronny Dahl, Expedition Overland, Andrew St. Pierre White and a local group, Mountain State Overland. We watched their videos over and over and I started doing little things to the Durango in the hope to build our very own overland rig. I built a storage box for the rear and did my best to imitate the rigs the professionals use. You know, the ones that were built by people who's pockets seamed as deep as the Grand Canyon itself. The Dodge was an alright off-road vehicle, but there wasn't a whole lot of aftermarket support for it. Parts like suspension upgrades, armor, recovery gear were all but non existent, causing me to come to a screeching halt very quickly. A decision had to be made. Keep going with the Dodge and fabricate one off parts or find some other platform that has a lot more options and support. With my decision made, I began to look for a better platform from which to build our overland vehicle. Eventually I found a really good deal on a 1993 Toyota Land Cruiser. Now all that was left was to convince my wife that we needed a third vehicle and this 230,000mi Toyota was a sound choice. Surprisingly the talk went better than expected and she agreed with one exception. Her exact words were "If we do this, we do this as a family. Not just camping, but all of it. We get to help repair and outfit the truck too." Wow! I was in shock! I thought I was lucky enough just to spend time with them in the outdoors, now we get to build the vehicle as a family! What more could I ask for? I don't think I could have been any happier! Obviously I agreed to her terms. We bought that Cruiser and Jennifer and the girls have helped with just about everything along the way. It goes without saying, we've had some amazing Family Adventures Overlanding and we haven't looked back since! 

2016-10-16 16.47.28.jpg

Unexpected Landscapes

Our trip through the Midwest in the summer of 2017 was a diverse one to say the least. 10 states, 5000 miles and 15 days on the road allowed us experience a lot of different environments, weather conditions and landscapes. For the most part, we experienced what we expected from all the states, but one. 

We were on day three of our trip and we had just spent a sleepless night, due to severe weather, in Arrow Rock, Mo. It was an early morning and a wet start and we only had a few things on our mind. Coffee, Adventerure Motors in Kansas City and Toadstool Geological Park. With warm coffee finally in our bellies and the kids situated in the back of the Cruiser, we made the short jaunt to Kansas City to visit the guys at Adventure Motors. They were lending a helping hand in replacing a faulty piece of equipment in our rig. After a tour of their facility and some great conversation, we hit the road and hit it hard! We had 665 miles to travel to make it to Toadstool Geological Park in the northwest corner of Nebraska.

Nebraska. What can I say. The state is full of long and painfully straight roads, surrounded by corn fields as far as the eye can see! Exactly what we expected and were dreading. As we made our way across the state, it became painfully obvious that we were not going to make our destination unless we drove long into the night. We had a decision to make. Keep going or find another place to camp. I for one, was not to willing to make camp in a remote area, late in the evening, after a sleepless night. So at our next fuel stop, we decided to look for alternatives. Fueling up on the outskirts of Bridgeport, Ne, Jennifer discovered a State Recreation area on the other side of town. With exhaustion setting in, we decided to go have a look.

lake.png
fullsizeoutput_1eb1.jpeg

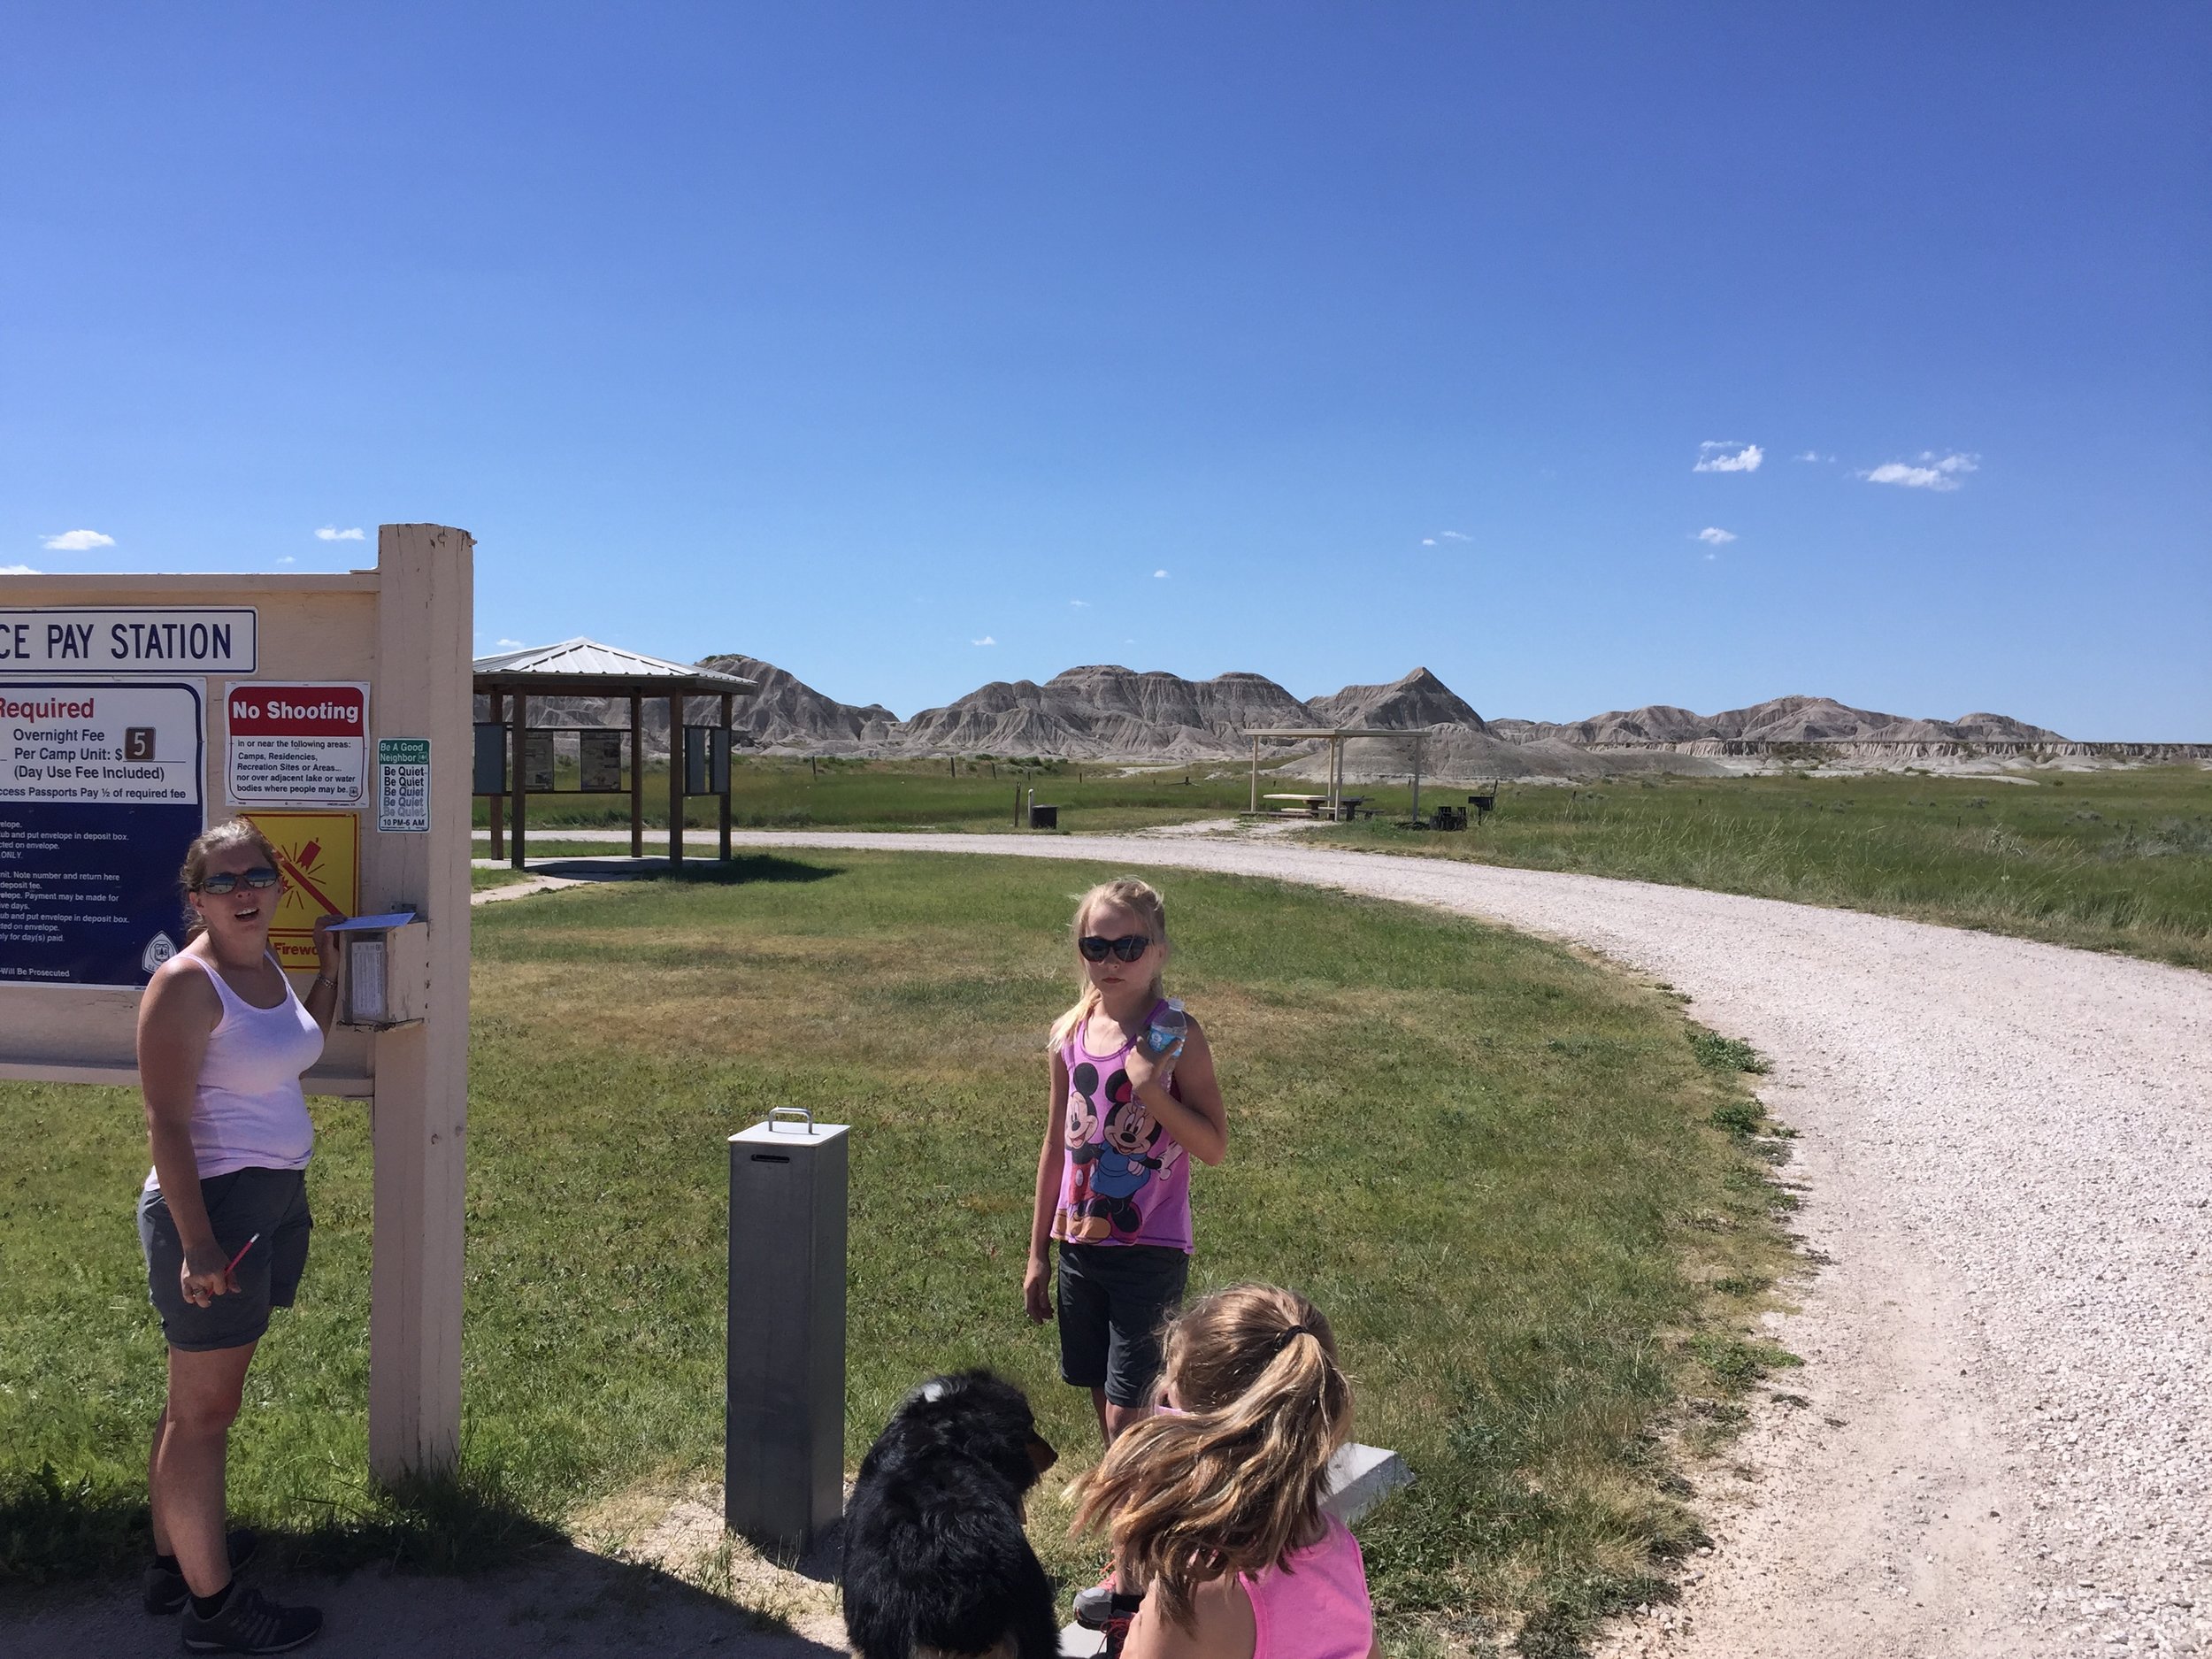
Driving through the quaint little town of Bridgeport, named for the bridge just north of town that was constructed in the late 1800's and crosses the North Platte River, we made our way toward the Recreation area. There wasn't much activity in town and it almost seemed as if the town of 1500 was more like a town of 500. Once we pulled into the Recreation area we discovered why. It was as if the entire town was camped there! We made our way around the lake looking for any resemblance of an open site. Being a Friday night though, we were not having any luck. Campers, tents and RV's littered the camp sites and it appeared we would have no choice but to continue on. As we were rounding the lake, we noticed that the designated campsites ceased, yet people were still camped along the shoreline of the lake. We pulled into a open gravel area and reassessed our options. As we were sitting there, we noticed several tents set up on the gravel lot which was obviously the parking lot for the boat ramp. Not only were they set up, but they had campfires going. A short time later a Park Ranger and a Game Warden drove by. After witnessing the Ranger passing by without issue and taking into account how tired we were, we made the decision to pull the Cruiser into a grassy area adjacent to the parking lot and set up camp. We deployed quickly and decided to enjoy our first night, in camp before sunset, with a walk to the pay box and around the lake. The views were absolutely breathtaking as the sun faded over the horizon!

The next morning Jennifer and I awoke early as normal. Enjoying our coffee and our lakeside view, we discussed the plans for the day ahead. During our conversation, we noticed we had received a message through our Instagram account suggestiong a place to see in the near by area. With our curiosity peaked, we decided to wake the kids and get a move on! Back on the road, we followed the signs, as suggested, to Scottsbluff. Driving through the the Nebraska countryside, we began to wonder, what could be so amazing out here that someone felt it was something we couldn't miss? Then we saw it, Scottsbluff!

fullsizeoutput_1e7e.jpeg
fullsizeoutput_1e88.jpeg
fullsizeoutput_1e86.jpeg

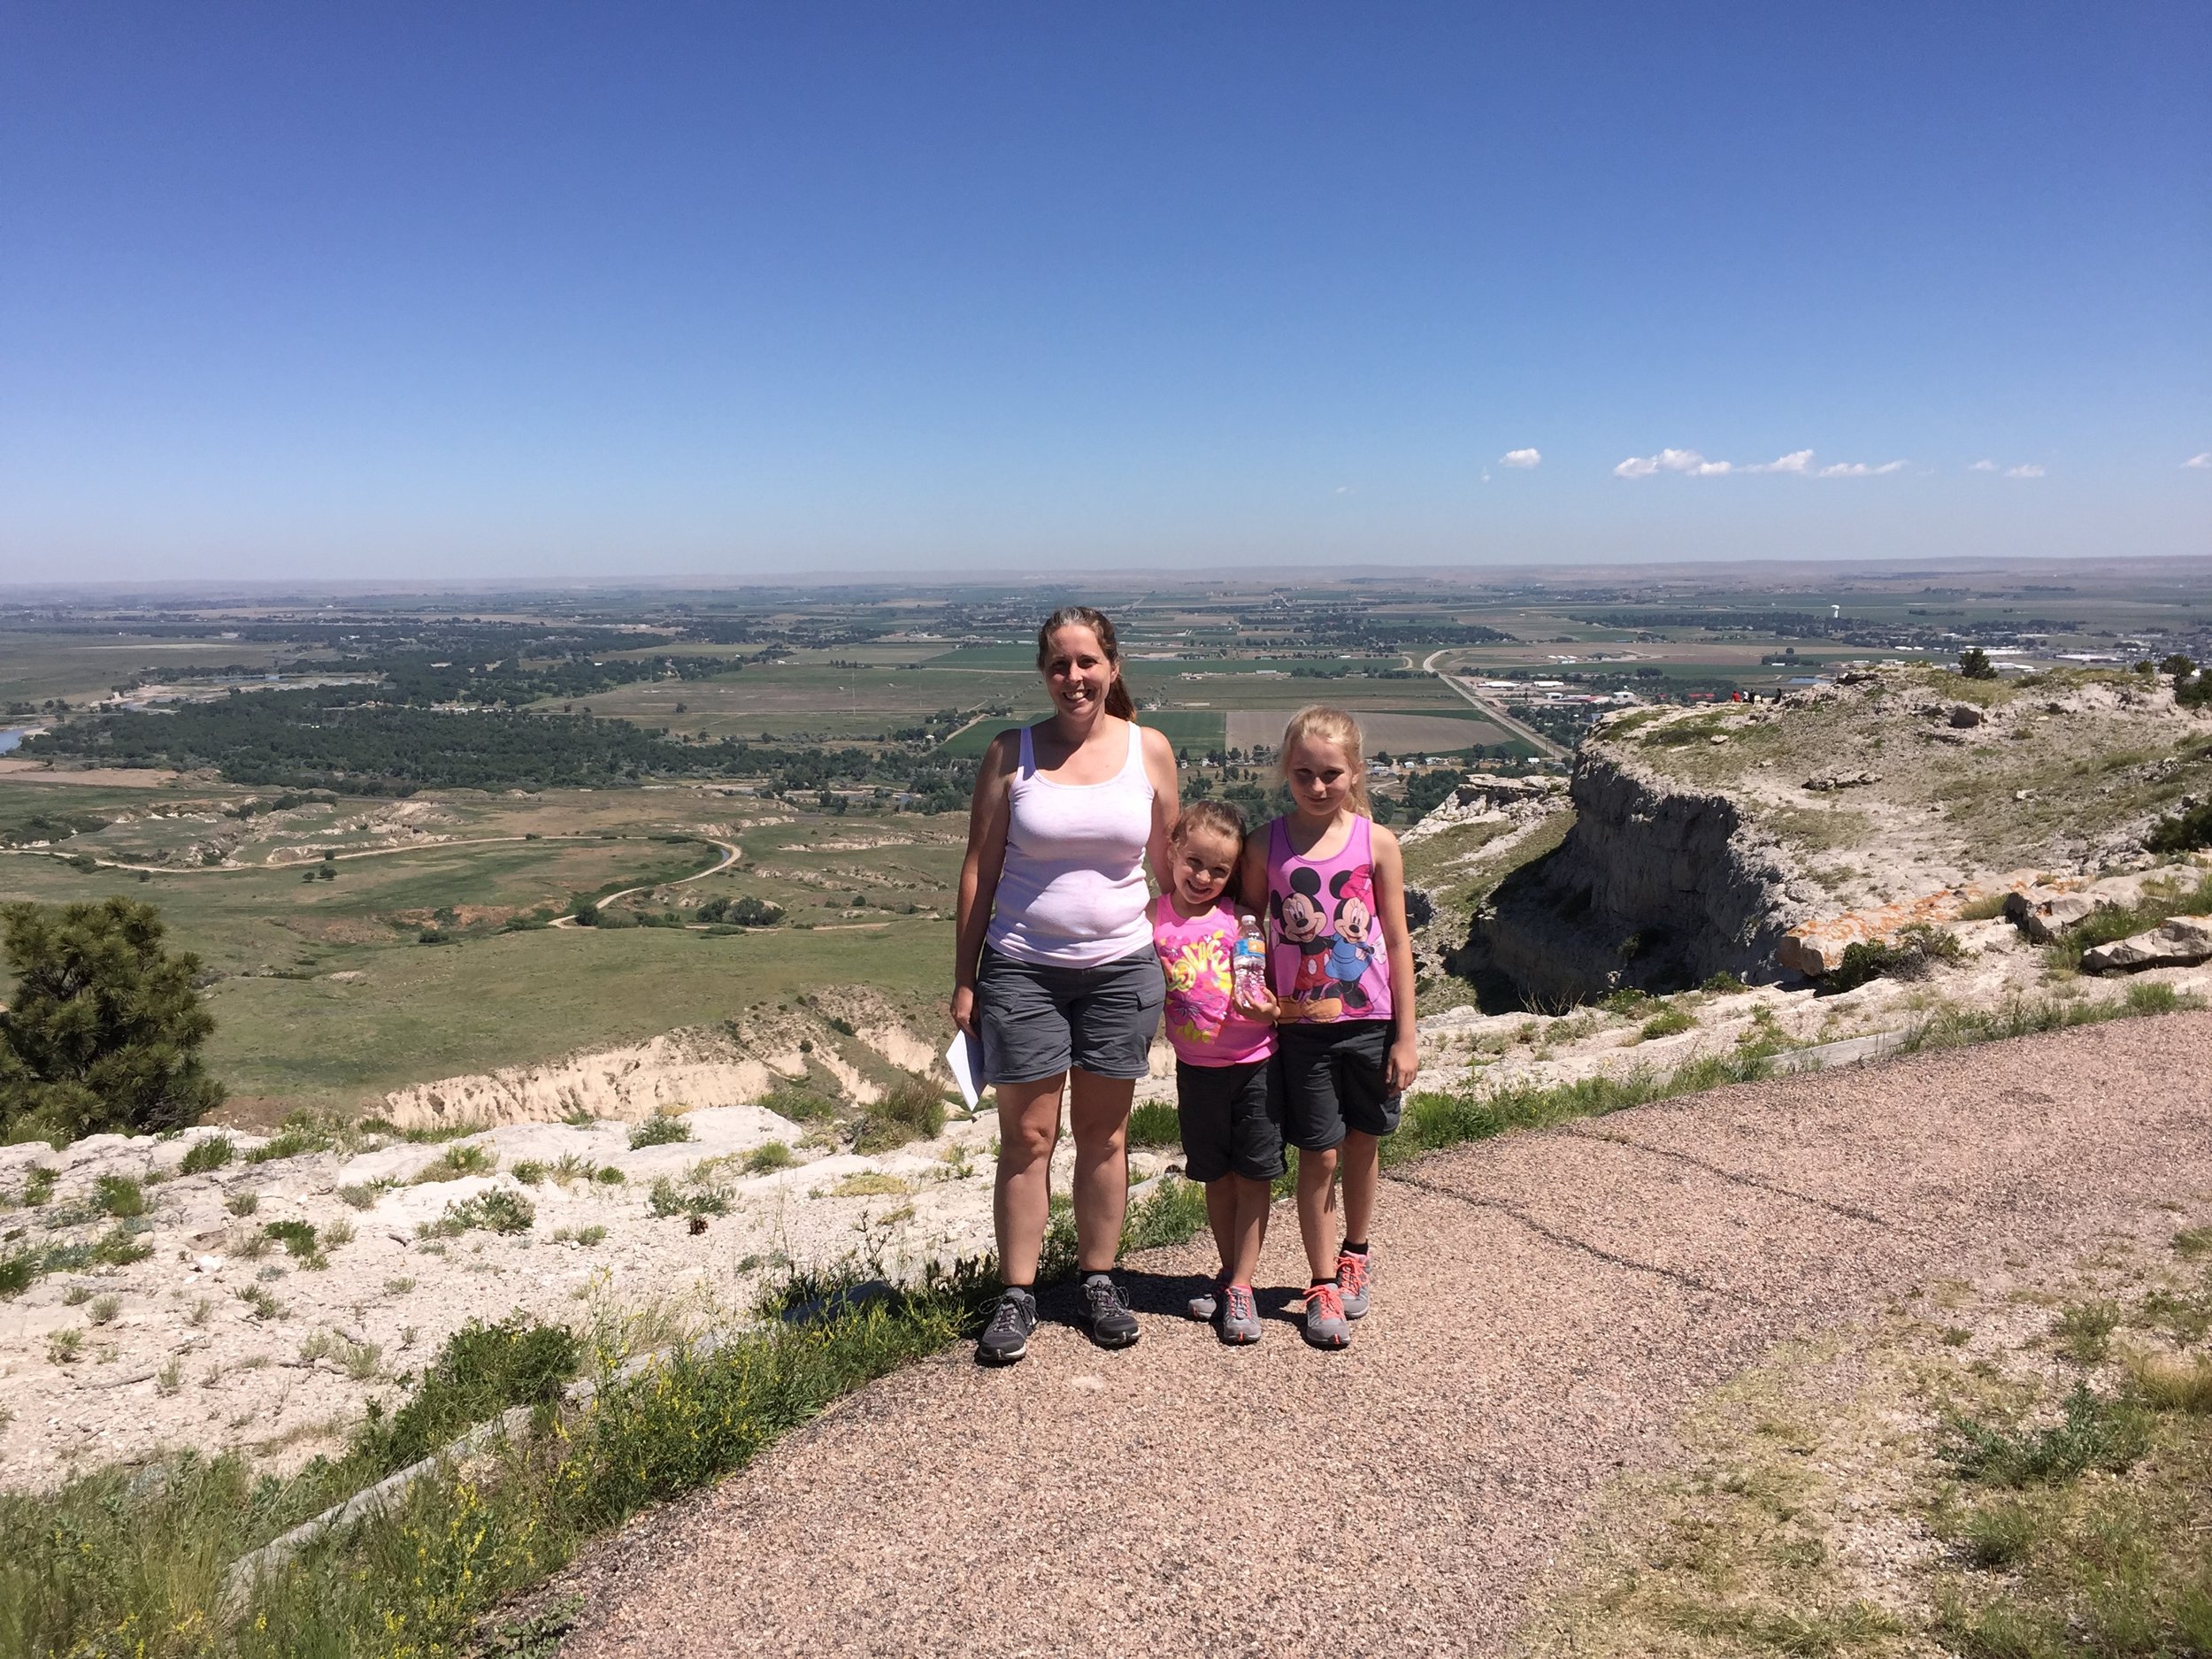
Scottsbluff is just another small Midwest town. However, Scottsbluff National Monument, just south of town, looks like something that is more suited for monument valley in Utah. than rural Nebraska. Ascending the bluff on the Park's paved road to the top, we took in the amazing views. Towering 800 feet above the surrounding North Platte River, the views were stunning! Off in the distance you could see Courthouse Rock, Jail Rock and the unmistakable Chimney Rock. We took our time exploring the hiking trails on the bluff and made sure we took in the views from every vantage point possible. Once we had our fill, we made our way to the bottom and stopped at the visitor center. There we discovered that not only does the historic Mormon Trail run on the north side of the bluff, but our Cruiser was parked exactly 50 feet from the legendary Oregon Trail! Needless to say, we couldn't leave there without walking at least part of the trail. Once on the trail we met a Park Ranger that gave us a historical walk through of what it would've been like walking the Oregon trail. Dressed in period correct clothing and using wagons and fake oxen they had replicated on the trail, did wonders to give us real insight into the humongous under taking the pioneers accepted on by traveling west. Passing between Sentinal and Eagle rock at Mitchell pass, we found the wagon wheel ruts were still present in the dirt below. A marking that has forever changed the landscape and tells the tale of the thousands of people who tempted fate as they traveled west. 

fullsizeoutput_1e8e.jpeg
fullsizeoutput_1e8a.jpeg
fullsizeoutput_1e8b.jpeg
fullsizeoutput_1e8d.jpeg
fullsizeoutput_1e96.jpeg
fullsizeoutput_1e97.jpeg

Approaching lunch time we decided to have a quick bite to eat and get back on the road. Northbound and on our way to Toadstool Geological Park, we passed through a rural area that had been devastated recently by a tornado. Most likely by the same storm we experienced in Missouri. As we drove through the the countryside, we looked around with a sobering awe at the damage. Homes and barns had been ripped a part. Tractors and machinery had been tossed about and the irrigation sprayers in the fields were twisted up like pretzels. Debris was everywhere! The families were walking about their properties, assessing the damage and trying their best to clean it up. What an amazing testimate to them and the human spirit for forging on in the face of tragedy!

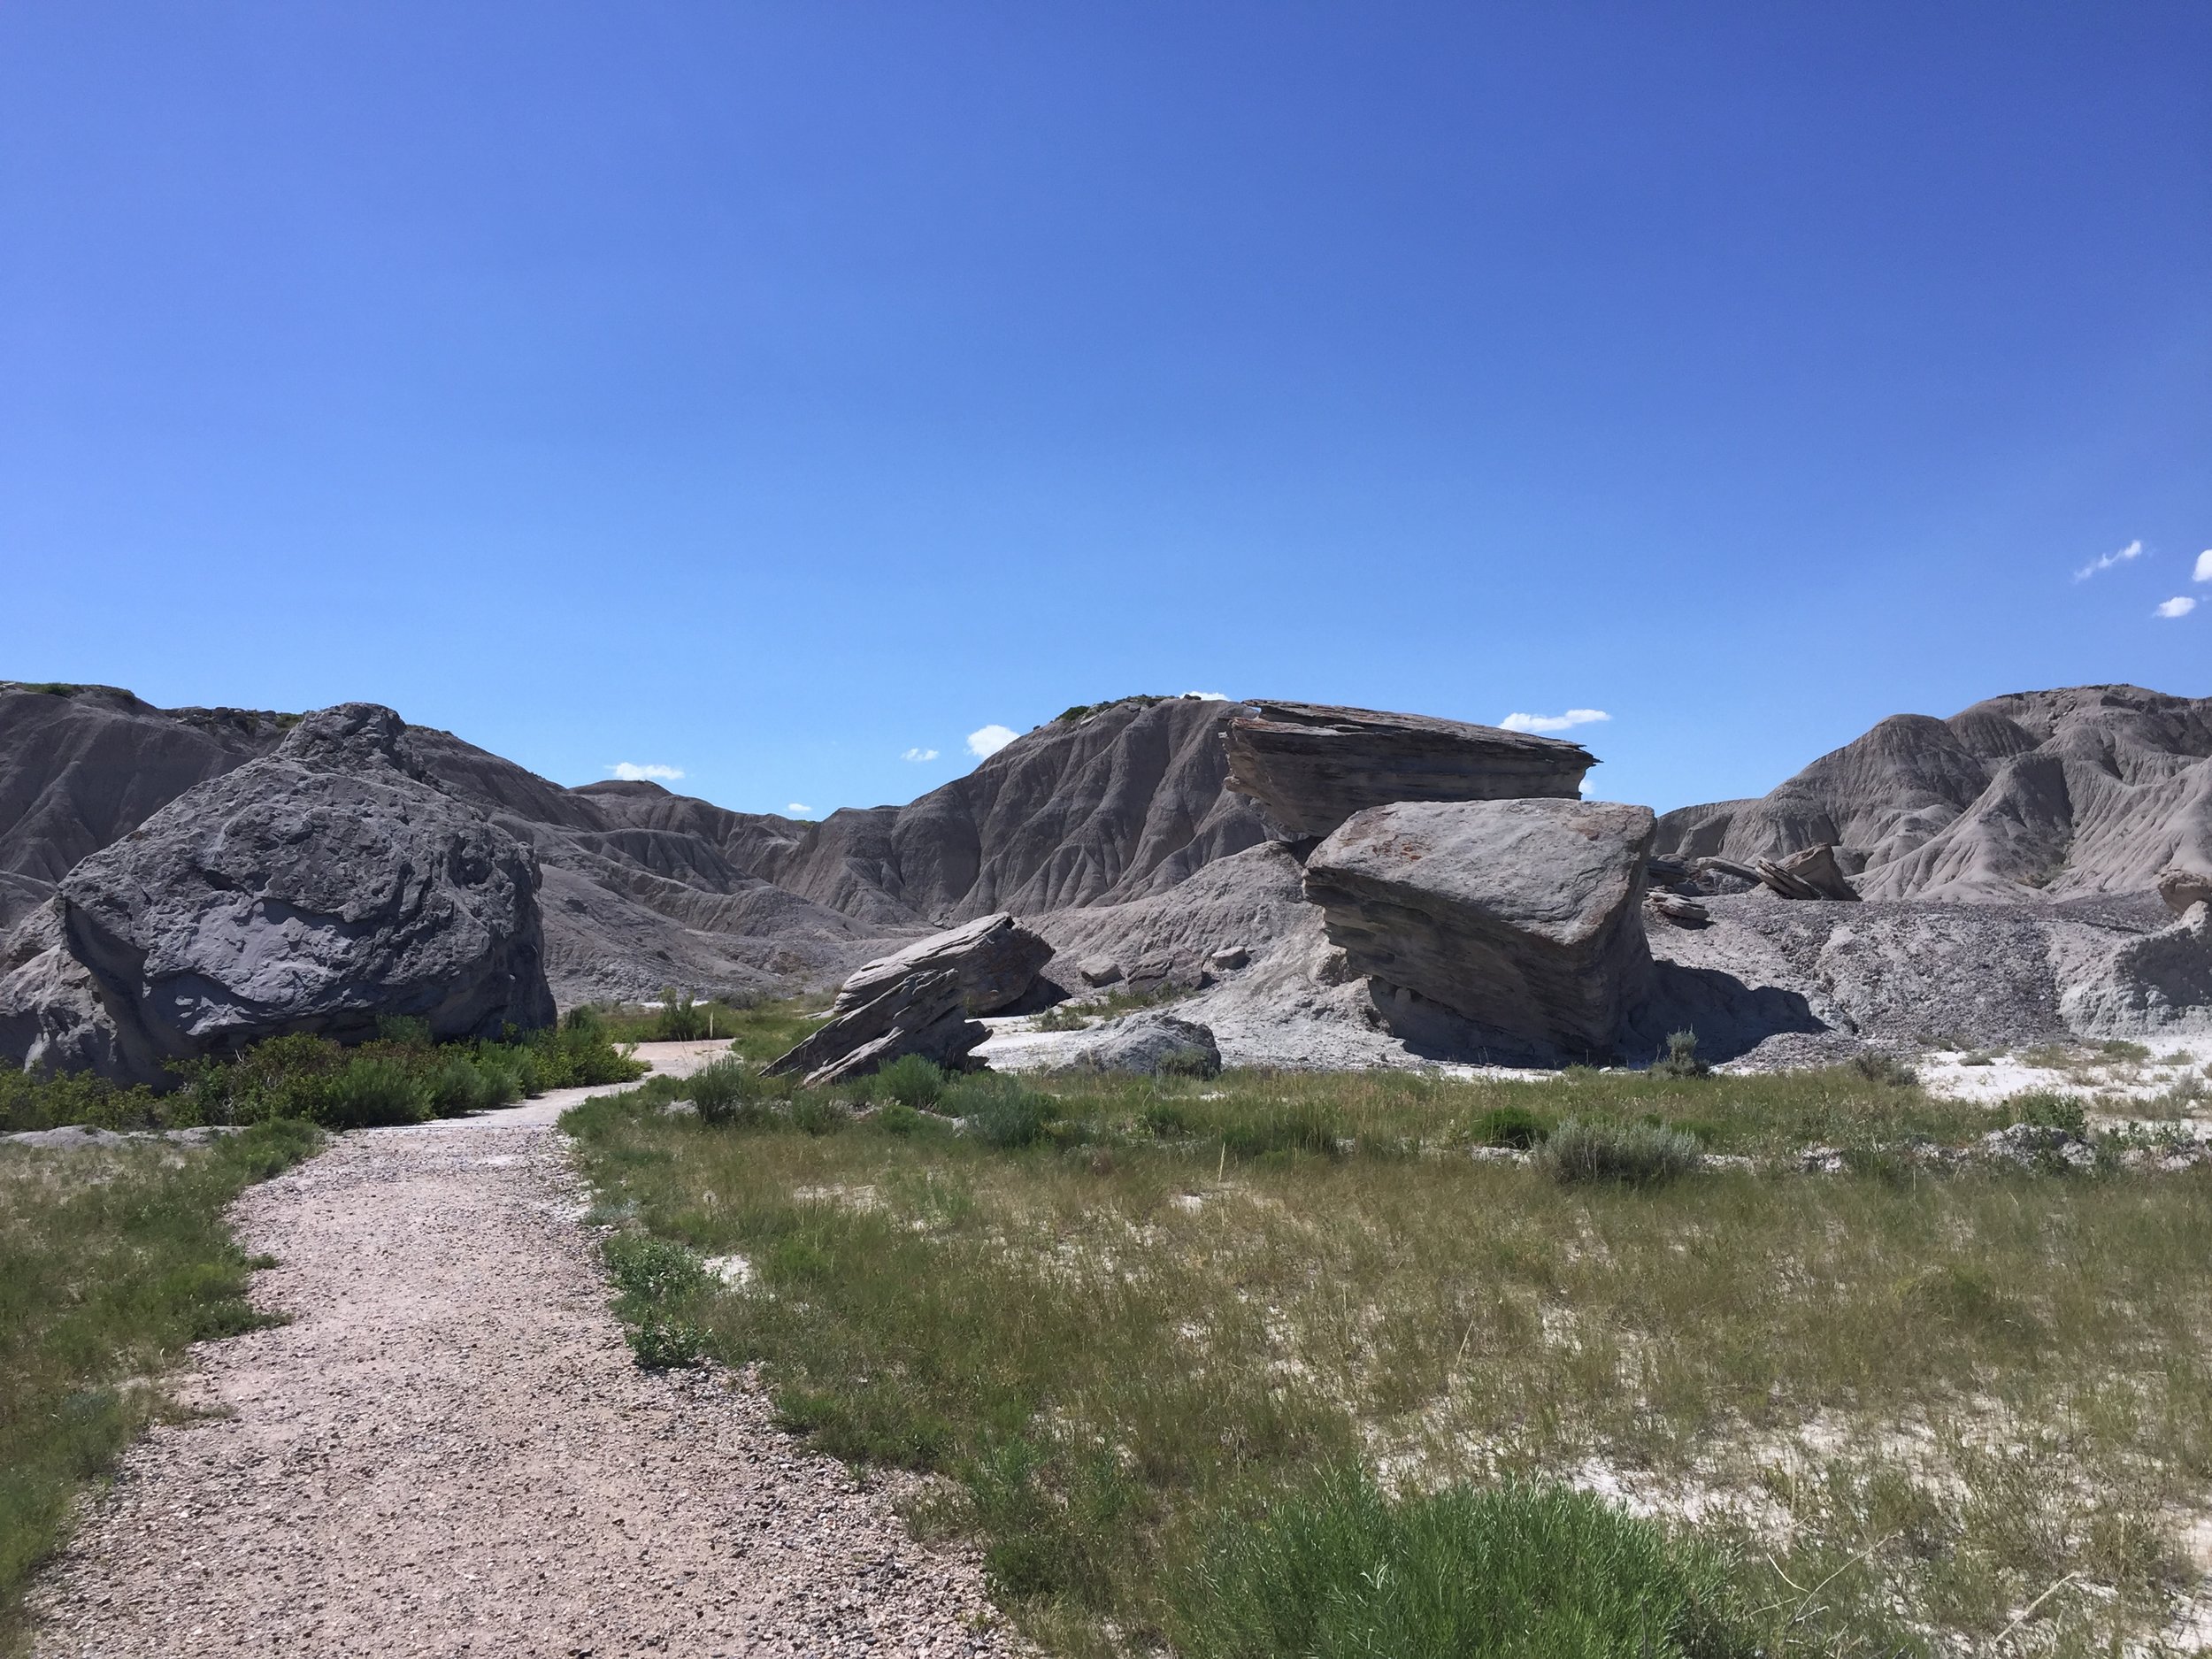
We Turned off the hightway just north of Crawford, Ne and made our way through the countryside. Traveling down a long and dusty road that mirrored the adjacent train tracks, we couldn't help but get lost in the beautiful surroundings. The landscape was changing from the flat prairies to a small valley with rock formations that closely resembled the badlands of the Dakotas. Making our way into the park, it felt as if we'd just landed on some distant planet. The landscape was like nothing we'd ever seen before. Stepping out of the Cruiser we made our way through the gate and onto the 1 mile trail loop that runs through the geolgic park. One of the most amazing things about this park is that it is completely open to exploration. Meaning you can pretty much venture away from the trail at anytime to explore. The trail itself was marked by steel poles with numbered placards attached, driven into the ground. If you didn't pay attention, it was very easy to get lost in a few sections. But that only added to the mystery and the adventure of the park, in our eyes! Walking up and down the rock formations and standing next to shear drop offs, we saw firsthand how Mother Nature's power had slowly eroded these landscapes and created the amazing formations before us. The deeper into the park we traveled, the more we felt as if we were on some distant planet exploring it for the first time. Fossils could be seen all around us in the rock faces. It's quite an experience to be able to touch history rather than view it behind a pane of glass in some museum. It was truly something we had never experienced before.

fullsizeoutput_1ea7.jpeg
fullsizeoutput_1e9e.jpeg
fullsizeoutput_1e9d.jpeg
fullsizeoutput_1ea1.jpeg
fullsizeoutput_1eaa.jpeg
fullsizeoutput_1eab.jpeg

 After making our way back to the trail head, we loaded up into the Cruiser and drove all of 100 yards to a Pioneer sod house adjacent the parking lot. The summer sun was unrelenting and we were ready to get out of the heat. But we'd be remiss if we didn't take the time to explore this historic recreation of a pioneer house. As we approached the house, the thick mud walls stood out more and more. The walls had to be at least 12" thick! Once inside, we found the air was rather cool and the living area was somewhat spacious compared to other pioneer homes we had visited. The mud walls actually acted as a thermal barrier and kept the house fairly comfortable! Walking to the back of the structure, we were amazed by the view of the geologic park. Could you imagine? Being the only one for miles? Living in a sod house with such an amazing view? We're sure during the times it was looked at more along the lines of survival and with less of a romaticized tone. But we still couldn't help but pose the question, was it really all that bad? 

fullsizeoutput_1eb1.jpeg

Winter Camping

Adventure doesn’t stop when the temps drop and the snow starts to fly. As a matter of fact, you have to be a lot more adventurous to take on those conditions. But with the change in environment, comes adaptability. So we ask, “What do you do to stay warm when Mother Nature is trying to turn you into a popsicle?”

IMG_7818.JPG

Our method starts as any other. Layers! Layers of clothing and layers of insulation in your sleeping setup. We all know how to layer our clothing, so we’re not going to get into that right now. But staying warm while sleeping is where a lot of people have issues. So where to start? Well, a sleeping bag rated for the temps you’ll be in is a good place. However, that shouldn’t be your only line of defense. Our setup typically starts with a cheap Walmart quilt placed over the mattress in our RTT. This helps keep the cold air from the floor from permeating upward and keeps the heat you’ve generated laying on top of it from escaping through the floor. Then we have our sleeping bags. We just bought a pair of Kelty 15* for this season. But truth be told, last year we only had a pair of Ozark 30* bags. So how do you make your bag handle colder temps? Well you can spend the money and buy a liner, or you can do what we did and toss another cheap Walmart quilt on top of your bags. Now that you’re insulated in your bag, what about the air temp in the tent? It still gets plenty cold in there. Normally you’d just throw on a beanie and burry your head as far down into the opening of your bag as you can, right? But when camping with children, they don’t exactly sleep still. Matter of fact, if you’ve shared a tent  with a few of them, then you’ve most likely experienced being hit and kicked throughout the night as you’ve tried to wrestle them back into their sleeping bags to keep them warm. So what’s the solution? Well, we’ve found 2 good ways to take care of this problem. The first is simple. Place an emergency blanket between the internal frame of the RTT and the ceiling fabric. This will create a radiant barrier that will aid in containing the heat in the tent and reflect it back downward. The second option, and actually works best when used along with the first option, is to use a Mr. Heater propane heater. But before we go further, this needs to be said.....

Caution: Using a propane burning heater should never be taken lightly. It should never be used anywhere near the Tent material or your sleeping bags! Always make sure to have adequate ventilation!

IMG_7935.JPG
IMG_7936.JPG
IMG_7937.JPG

Now that we have that out of the way, we can continue. We have found the best solution for us is to install our RTT annex and place the Mr. Heater on a Ridgid case in the center of the floor of the annex. We run a propane hose from the heater out the door and to a propane tank. You can use either a 5lbs or 20lbs propane tank. The 1lbs propane tanks that are meant to be used with the heater do work, but you’ll most likely find the heater will run out of fuel in the middle of the night. With the heater running, the heat will rise up into the tent and keep you toasty warm. It’s besr to leave a window cracked open for ventilation and to help control condensation in the tent. One other thing we highly recommend is a good battery operated carbon monoxide detector. The Mr. Heater does have an auto shut down feature if the falls over or the oxygen levels get to low.  But relying on that would be unwise as you will be above the heater and the levels may not be the same as down below where the heater is at. We usually place the detector by our pillows for the best monitoring. 

That’s just a quick run through of our typical winter sleeping setup. Are these the best options for everyone? Well, that’s for you to decide. Hopefully you can take something away from these tips and it can help turn that frigid Forrest into a winter wonderland! 

IMG_7940.JPG

The Adventure Skottle

Everyone has their opinions and preferences. What works for one may not work for another. We’ve noticed this has become very apparent, since we started Overlanding. We have gone through several revisions of our camp kitchen and have finally found what works the best for us at this time. I say at this time, because there are always bigger and better products coming out. Products that change everything. Products like the Tembotusk Skottle. It's no secret as to how much we love our Skottle and how it has changed the way we prepare food at camp. Heck, we even did a blog post on that very subject. But products don't always have to be bigger to be better. Sometimes good things come in small packages...

IMG_7751.JPG
IMG_7754.JPG
IMG_7760.JPG
IMG_7753.JPG
IMG_7766.JPG
IMG_7763.JPG
IMG_7759.JPG
IMG_7749.JPG

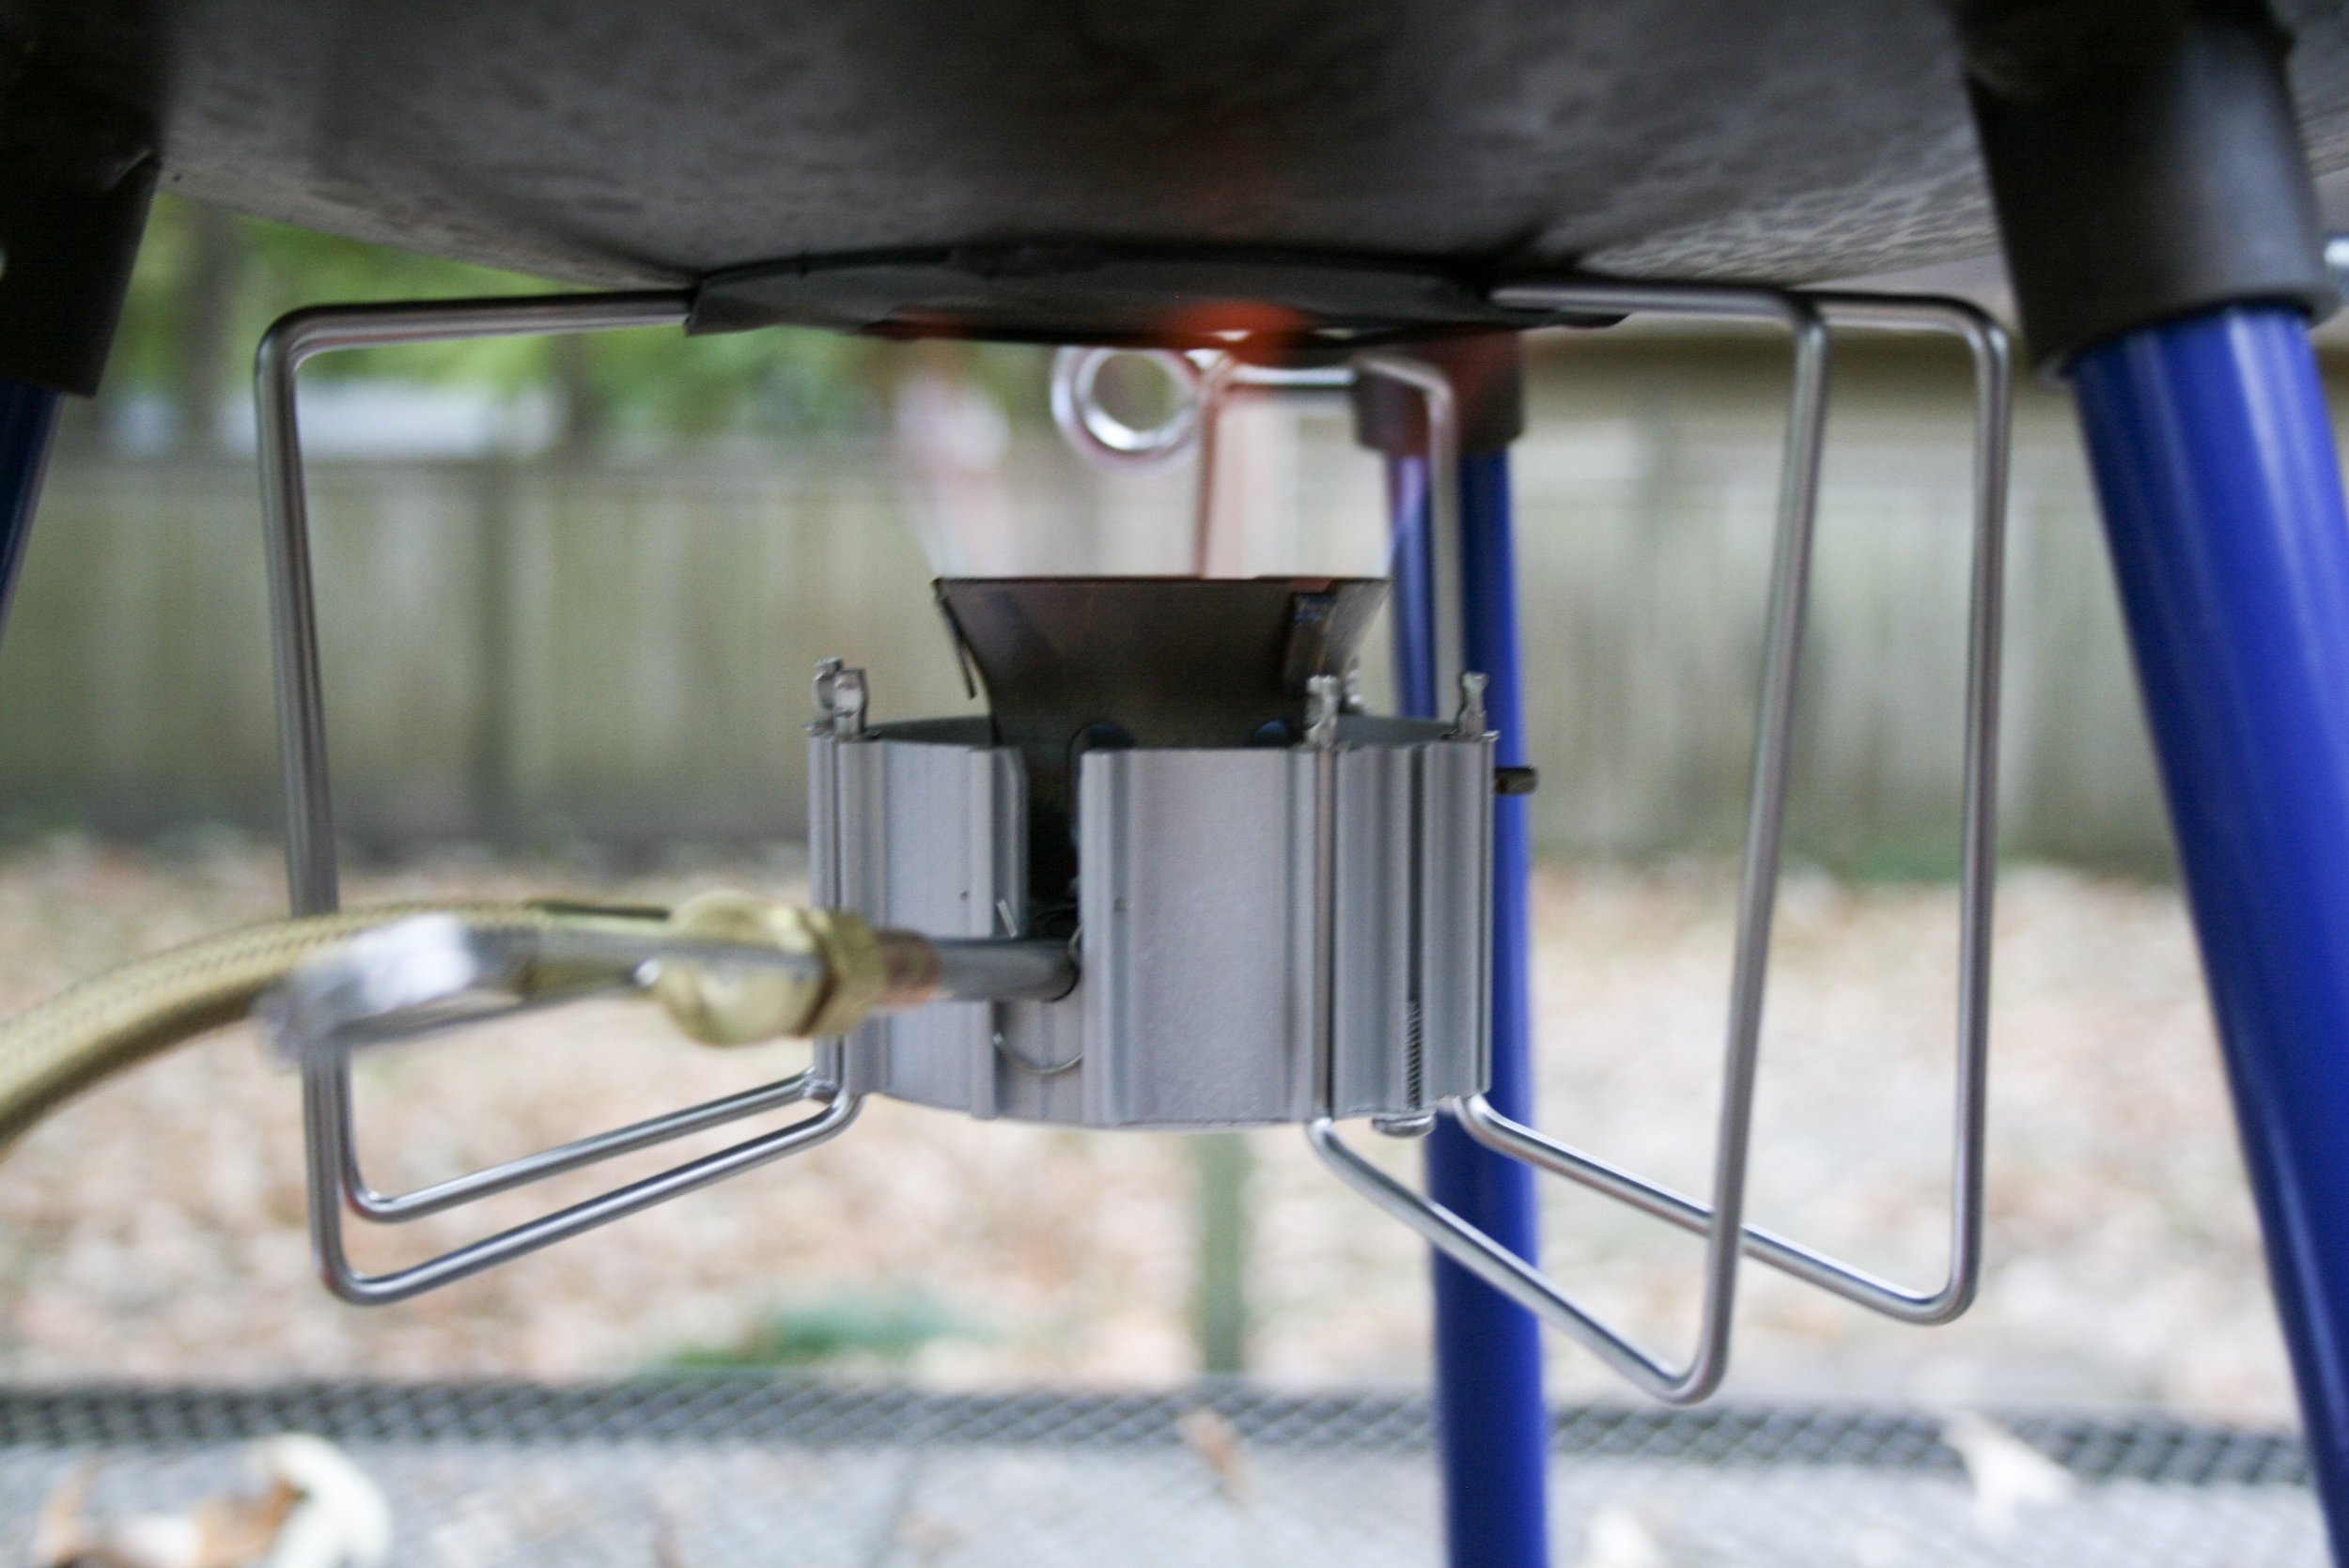
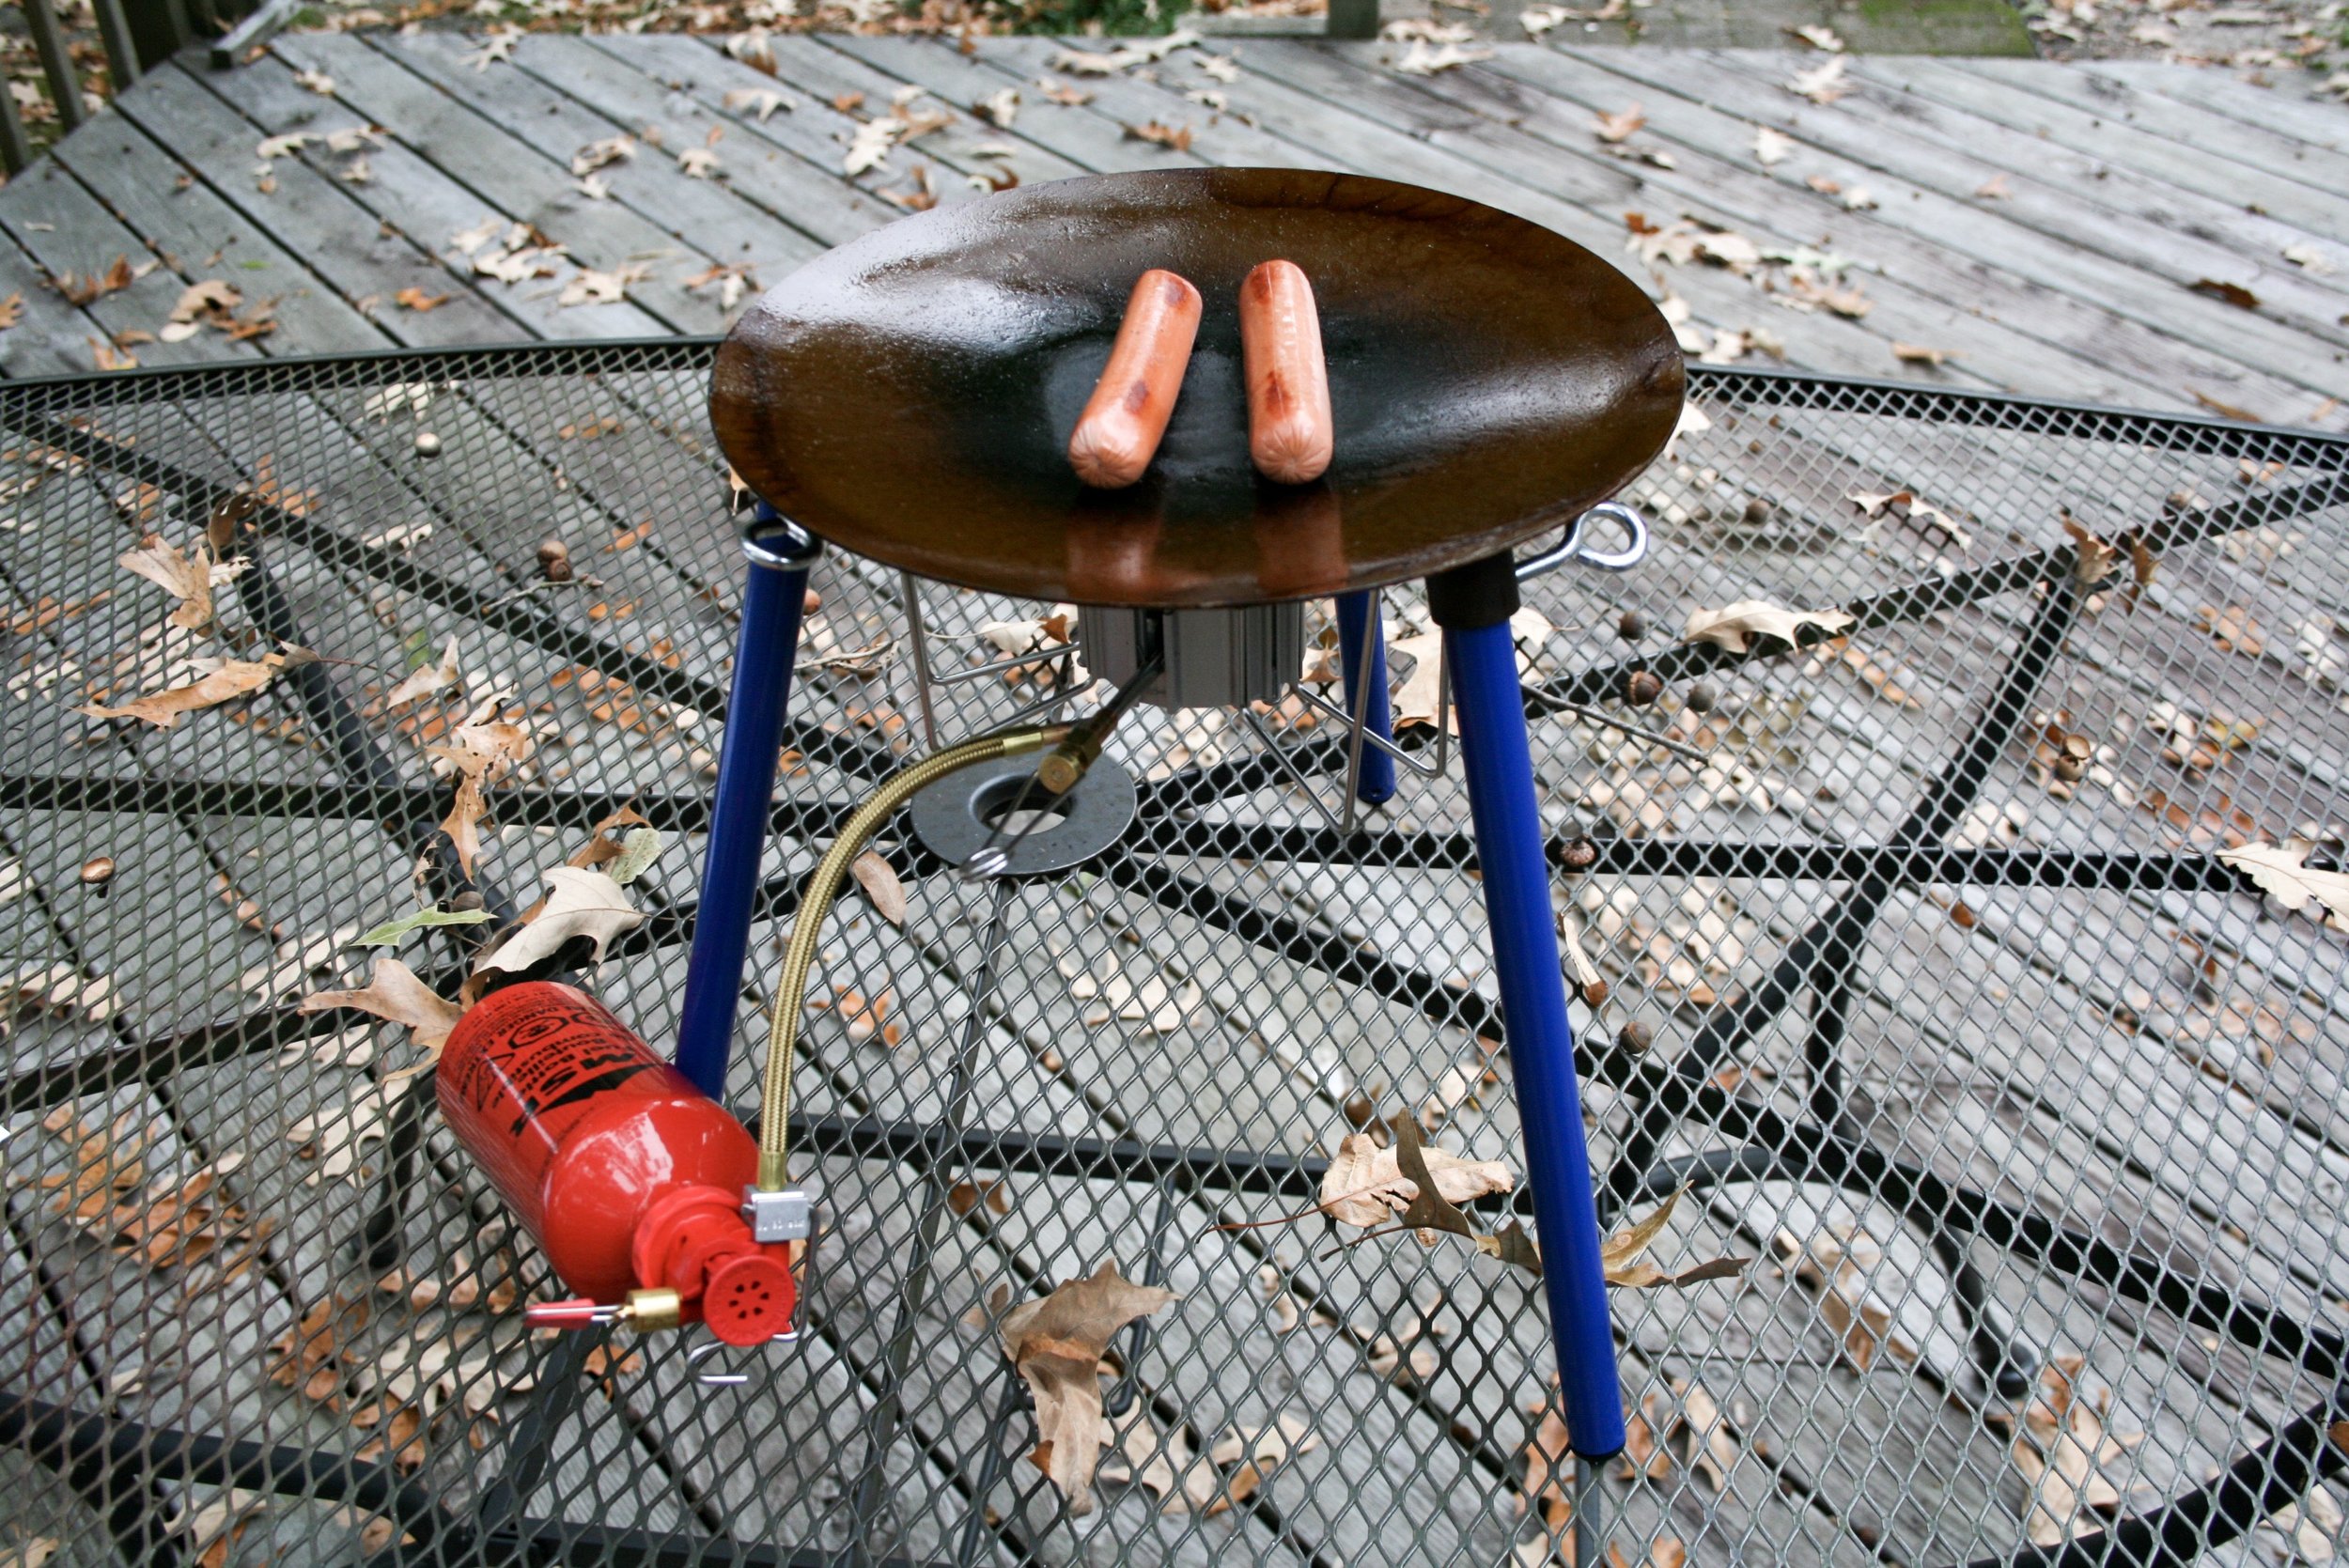
Recently, we had the opertunity to play with the new TemboTusk Adventure Skottle. To be honest, we were a little skeptical as to whether we'd like it. But based on how much we love its larger brother, we figured it was worth a try. Thats not to say we didn't have our concerns though. It is quite a bit smaller and it costs just as much as the original Skottle. Not to mention, if you throw in the cost of the MSR Dragon Fly burner, the price becomes staggering! Now, with that being said, we understand if you already have an MSR Dragon Fly burner, that the price is a lot easier to swallow. For us though, the question still remained, is it worth the price? For us, a family of 4 who doesn’t own an MSR Dragon Fly, we’re more likely to stick with our original Skottle. But that is due more to the size of the cooking surface, than the price. As far as the value is concerned? Once you carry, setup, cook and tear down the Adventure Skottle, you really start to see why this little guy is worth the price and then some. Everything in the kit is well thought out. The cooking surface is much thinner and since it still uses a 10,000btu burner, it transfers heat faster allowing for quicker cook times. The entire kit fits in one easy to stow, easy to carry Blue Ridge Overland Gear storage bag and it’s super light! Light, like the weight of one leg from the original Skottle light! A big plus! Anyone who has lugged the original Skottle around knows it's almost in the heavy weight cast iron class. So having something that weighs next to nothing but still performs like a full size Skottle is something to take note of. But the burner.. We were still hung up on that burner... Don’t get me wrong, the MSR Dragon Fly is a great burner and you can use a bunch of different fuels in it, proving it to be one of the most versatile burners on the market. But that's not what we need and it’s not for us. If we were on a global expedition where different fuels were a problem to obtain or we were through hiking, maybe we'd have a different opinion of the Dragon Fly burner. But we camp out of our Cruiser and already carry propane and Jetboil canisters. We’re not really interested in carrying another type of fuel. That just takes up more space and detract, for us, from the main advantage of the Adventure Skottle. It's size. So, we made a call to Jerry at TemboTusk and asked if he had tested any other burners with the Adventure Skottle. Like maybe a Jetboil, fingers crossed. After a brief brainstorming session, we managed to come up with a solution to adapt the Jetboil Mighty Mo burner to the Adventure Skottle and give it a test! What were our impressions? Talk about a match made in heaven! This burner is ultra compact and runs on your typical Jetboil canisters. It has its own igniter and the heat is extremely adjustable. Just like the Dragon Fly, the Mighty Mo burner is rated at 10,000btu. Also with this burner, the Adventure Skottle seemed to be quicker to setup, took up less room and is highly portable when assembled. Picinic tables, tailgates, patios, boats, you name it, it works! We are extremely impressed with the versatility of this new combination and it has changed our opinion greatly. The biggest advantage of all? The Mighty Mo is only $50. That’s $50 compared to the $160 of the Dragon Fly! That’s an opinion changer! Now we're not saying that everyone should run out and buy this thing and it will magically solve all of your camp kitchen needs. What we are saying is take a real close look at how you travel and what you need from your kitchen. Then, if you're considering a Skottle, compare that to the two options before you. The full size Skottle can cook more food at once, but is heavy and takes up a good amount of space. But it does run on propane. The Adventure Skottle cooks less food, but faster. It"s lighter and takes up a lot less space and can be run with multiple fuels depending on which burner you select. Keep in mind, when we say less food, remember that the full size Skottle cooks enough food to feed your camp and the camp next to you. Probably not something that you're going to want to do very often. 

IMG_7748.JPG

So where does that leave us? Again we ask that you remember that this is solely our opinion. The Adventure Skottle with the MSR Dragon Fly burner works well, but is just to dang expensive for us. We're not a big fan of this burner and feel its a little clunky to use. If you have an MSR Dragon Fly, and you like to use it, then this may be the setup for you. The Adventure Skottle with the Jetboil Mighty Mo burner, now that's something we can get on board with. We already carry the fuel and we love this burner. It's small, inexpensive, quick to set up and compliments the Adventure Skottle nicely. As for the question of if we're going to purchase one? If you'd asked us that question at the beginning, without a doubt we would've said "no." Now that there is another burner solution that is more within our realm and price range, we'd say there's a really good chance this little guy is going to become a part of our family.